NewTek TriCaster Advanced Edition User Guide User Manual
Page 40
Page | 28
Note: TriCaster supports a variety of optional session for live production. You can choose either HD
(High Definition) or SD (Standard Definition) operating modes.
SD options include both 4:3 and 16:9 (widescreen) image aspects. TriCaster Multi-standard models permit you to
select from different video standards according to your locale, choosing between NSTC, NTSC-J (Japan) or PAL.
Continue with session creation by designating the Video Standard used in your locale (Multi-standard models
only). For the moment, let’s choose 1080i for Resolution (even if the cameras you plan to connect are SD 4:3),
then click the Start Session link below. By default, new sessions are created on TriCaster’s D: (Media) drive
(see Section 5.2.1 for a discussion of session Volume options).
T
HE
S
ESSION
P
AGE
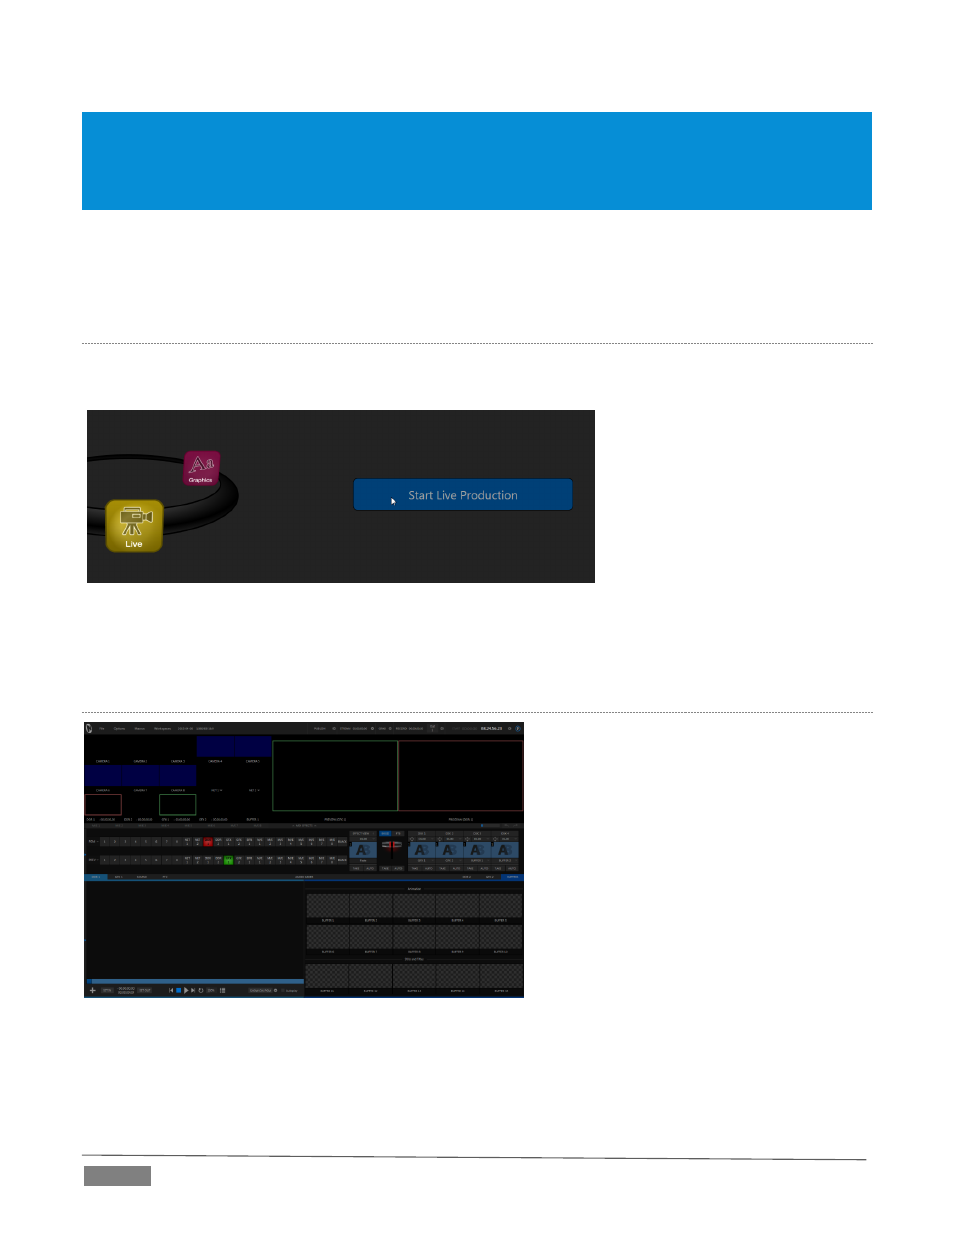
Clicking Start Session will take you to the Session Page. As our intention is to configure our connections (done
in TriCaster’s Live Desktop), click the Live button on the icon ring.
FIGURE 20
Simply click the link labeled Start Live Production to launch the Live Desktop, which is likely where you will
spend most of your time working with TriCaster.
T
HE
L
IVE
D
ESKTOP
Initially, as you have yet to configure input
devices or add content, the Live Desktop will
look a bit barren (Figure 21).
Take a quick look around, but then let’s
continue to configure your devices. (We had a
brief glimpse at the Live Desktop back in
Section 2.5, but we’ll examine it more closely
in Chapter 4, Basic – coming up soon.)
FIGURE 21 (TRICASTER 8000 SHOWN)