O4-17: real-time clock setting, No setting (default) – Yaskawa CIMR-PUxA User Manual
Page 84

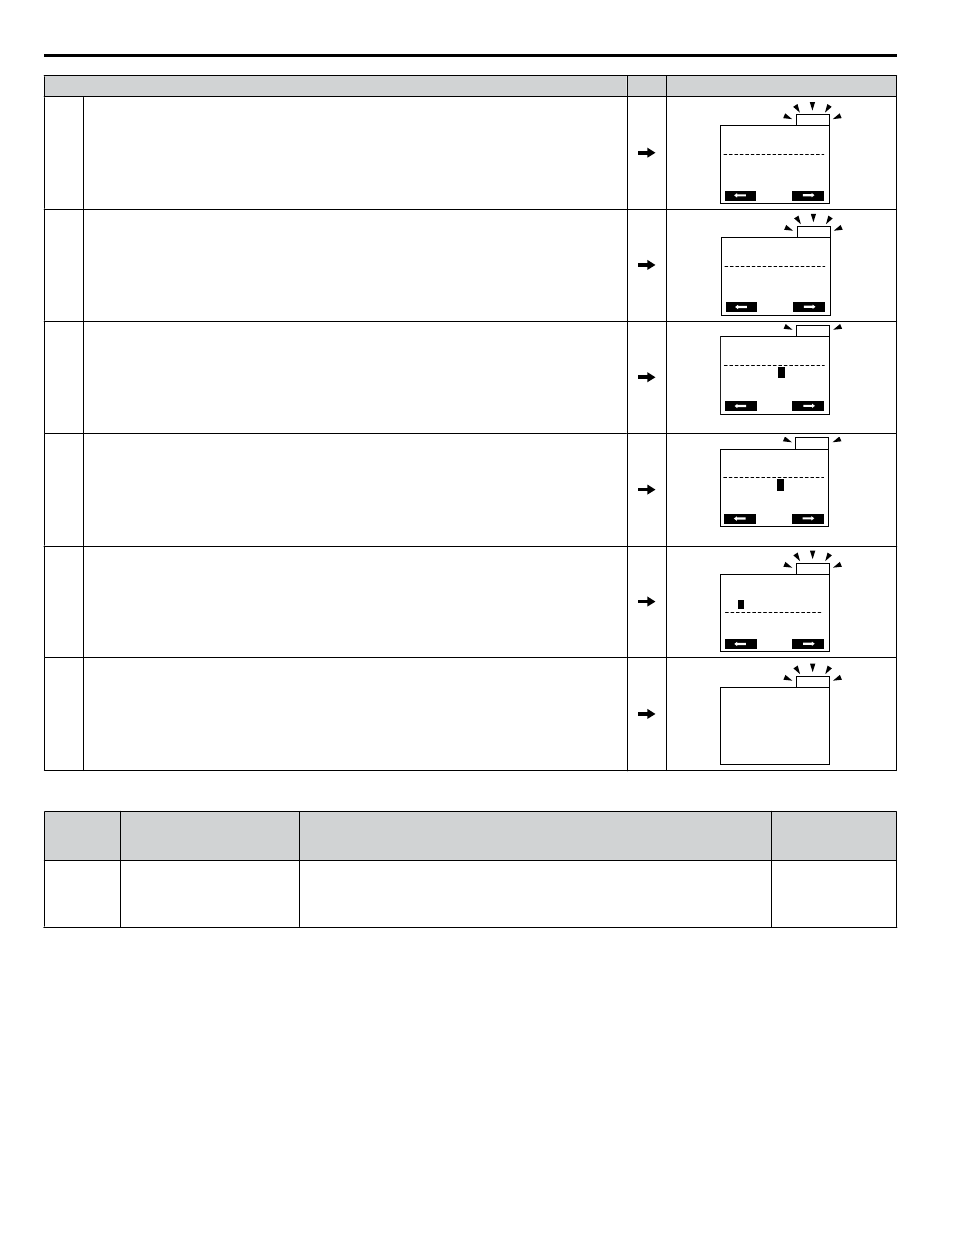
Procedure
Display
3
Press the ENTER key to enter select the parameter setting mode.
- PRMSET - PRG
ALM
Initialization
A1-00 = 0
Select Language
FWD
ALM
4
Use the up and down arrow keys to scroll through display menu until parameter o4-17 appears.
- PRMSET - PRG
ALM
Maintenance
o4-17 = 0
Set time
FWD
ALM
5
Press the ENTER key until “0” flashes.
- PRMSET - PRG
ALM
Set time
o4-17=
0
*0*
- -
“0”
FWD
ALM
6
Press the up arrow key so that the display changes to “1”.
- PRMSET - PRG
ALM
Set time
o4-17=
1
*0*
Set
“0”
FWD
ALM
7
Press the ENTER key and the time setting screen will appear. Use the right arrow key to select
the desired digit, then set the correct date and time using the up and down arrow keys.
ALM
20
1
0/01/01 00:00
Second per month
+ 0 sec
YYYY/MM/DD HH:MM
ALM
8
After entering the correct time, press the ENTER key to save the changes.
The display will return to the display shown in step 5 and the alarm LED will be OFF.
ALM
Entry accepted
n
o4-17: Real-Time Clock Setting
No.
(Addr.
Hex)
Name
Description
Values
o4-17
(3100)
Set/Reset Real-time Clock
Set Time
Sets the current date and time for the Real-Time Clock.
0: — — No Setting
0: — —
1: Real-Time Clock Set
1: Set
2: Real-Time Clock Reset
2: Reset
Default: 0
Range: 0 to 2
Setting 0: — —
No Setting (Default)
Setting 1: Set
When o4-17 is set to 1, the digital operator will show the Clock Adjustment display. In Clock Adjustment Mode the user can
adjust the Real-Time Clock.
Setting 2: Reset
When o4-17 is set to 2, the Real-Time Clock data is cleared. A TIM fault will occur until o4-17 is set to 1 and the Real-Time
Clock is set.
4.2 The Drive, Programming, and Clock Adjustment Modes
84
YASKAWA ELECTRIC TOEP YAIP1U 01B YASKAWA AC Drive - P1000 Quick Start Guide