Add a custom bevel path, Rotate an object in three dimensions – Adobe Illustrator CC 2015 User Manual
Page 311
306
Reshaping objects
Last updated 6/5/2015
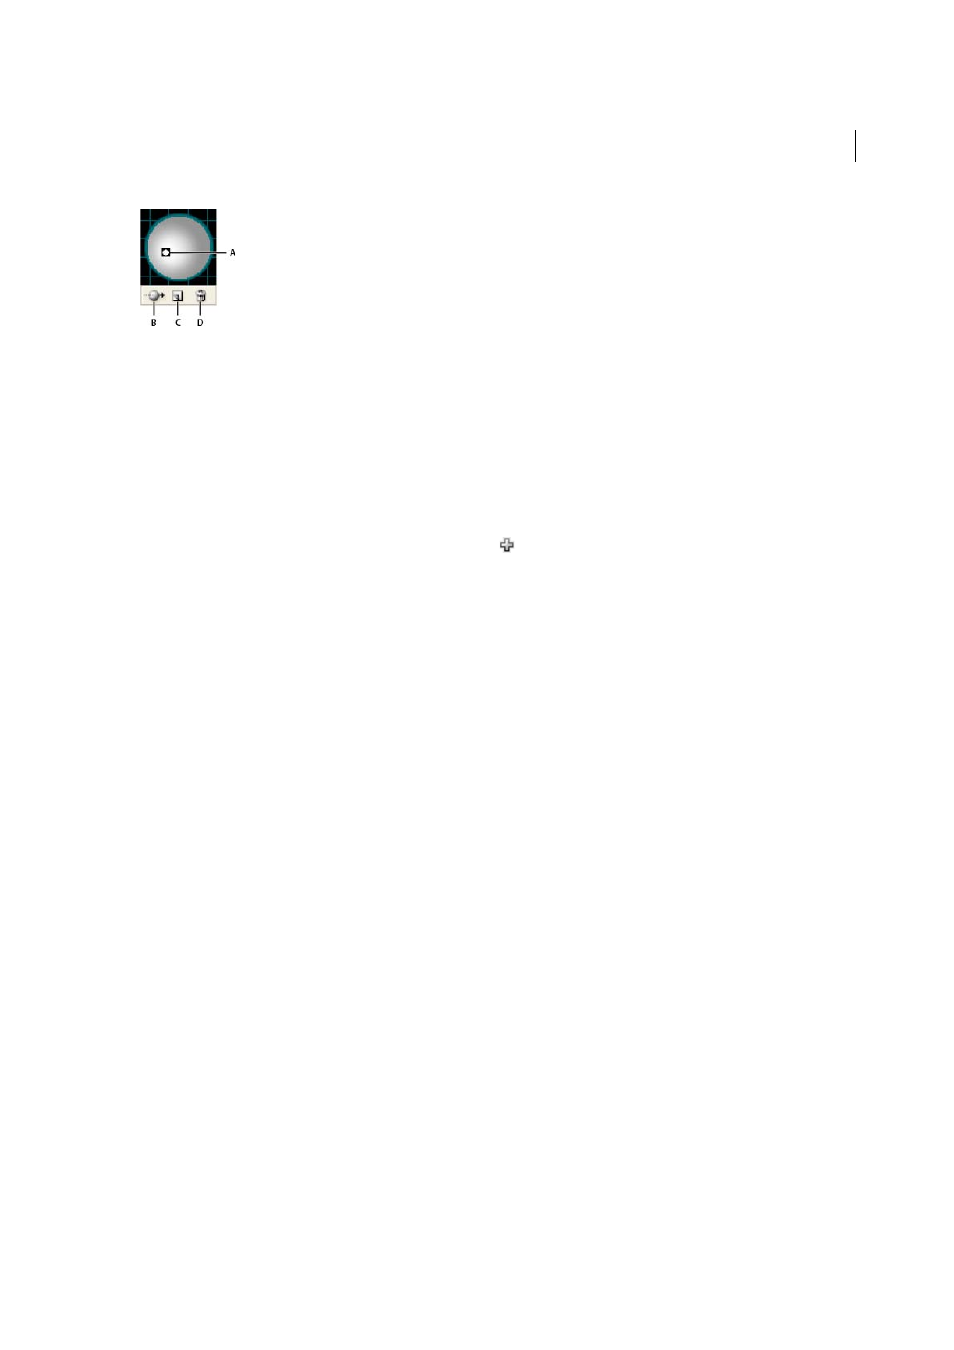
A Selected light in front B Move selected light to back or front button C New light button D Delete light button
Add a custom bevel path
1
Open the Bevels.ai file, which is located in the Adobe Illustrator CS5\Support Files\Required\Resources\en_US\
folder (Windows) or Adobe Illustrator CS5\Required\Resources\en_US folder ((Mac OS).
2
Create a single open path in the Bevels.ai file.
3
Choose Window > Symbols, and do one of the following to make the path a symbol:
• Drag the path to the Symbols panel.
• With the path selected, click the New Symbol button
in the Symbols panel or choose New Symbol from the
panel menu.
4
To rename the symbol, double-click the symbol in the Symbols panel, enter a name in the Symbol Options dialog
box, and click OK.
5
Choose File > Save.
6
Quit Illustrator and then relaunch Illustrator.
The Bevel menu in the 3D Extrude & Bevel Options dialog box lists the bevel.
7
To apply the custom bevel, do one of the following:
• To apply the bevel to an extruded 3D object, select the 3D object, and then double-click the 3D Extrude & Bevel
effect in the Appearance panel. In the 3D Extrude & Bevel Options dialog box, choose the bevel from the Bevel
menu.
• To apply the custom bevel to 2D artwork, select the 2D object, and then choose Effect > 3D > Extrude & Bevel.
In the 3D Extrude & Bevel Options dialog box, choose the custom bevel from the Bevel menu.
Rotate an object in three dimensions
1
Select the object.
2
Choose Effect > 3D > Rotate.
3
Select Preview to preview the effect in the document window.
4
Click More Options to view the complete list of options, or Fewer Options to hide the extra options.
5
Specify options:
Position
Sets how the object is rotated and the perspective from which you view it. (See
Surface
Creates a wide variety of surfaces, from dull and unshaded matte surfaces to glossy and highlighted surfaces
.)
6
Click OK.