Installing the optional second tractor, Opening the tractor area cover – Compuprint 4247-X03 User Manual
Page 36
OPERATOR PRINT TESTS
Quick Reference
4.
Press ENTER or START to print this test. The READY indicator comes on and
printing begins. Press STOP if you want stop the Print Test before it completes
printing.
5.
Wait for the printer to stop printing and the READY indicator to go off.
6.
Press FORM FEED until you can remove the printout. The printout should be
clear and readable.
YOU HAVE JUST COMPLETED A SETUP AND CHECKOUT OF THE PRINTER.
We recommend that you now print your printer configuration defaults. Save this
printout for future reference. You can create a printout of the printer configuration
by following these steps:
1.
Press SCROLL/MICRO or SCROLL/MICRO until the printer displays:
OPERATOR PRINT TESTS
Print Custom Sets
2.
Press ENTER or START to print this test. See “Print Custom Sets” on page 141
for more information about this printout.
3.
To exit Print Test, press RETURN to make the printer not ready or CANCEL
PRINT
to make the printer ready.
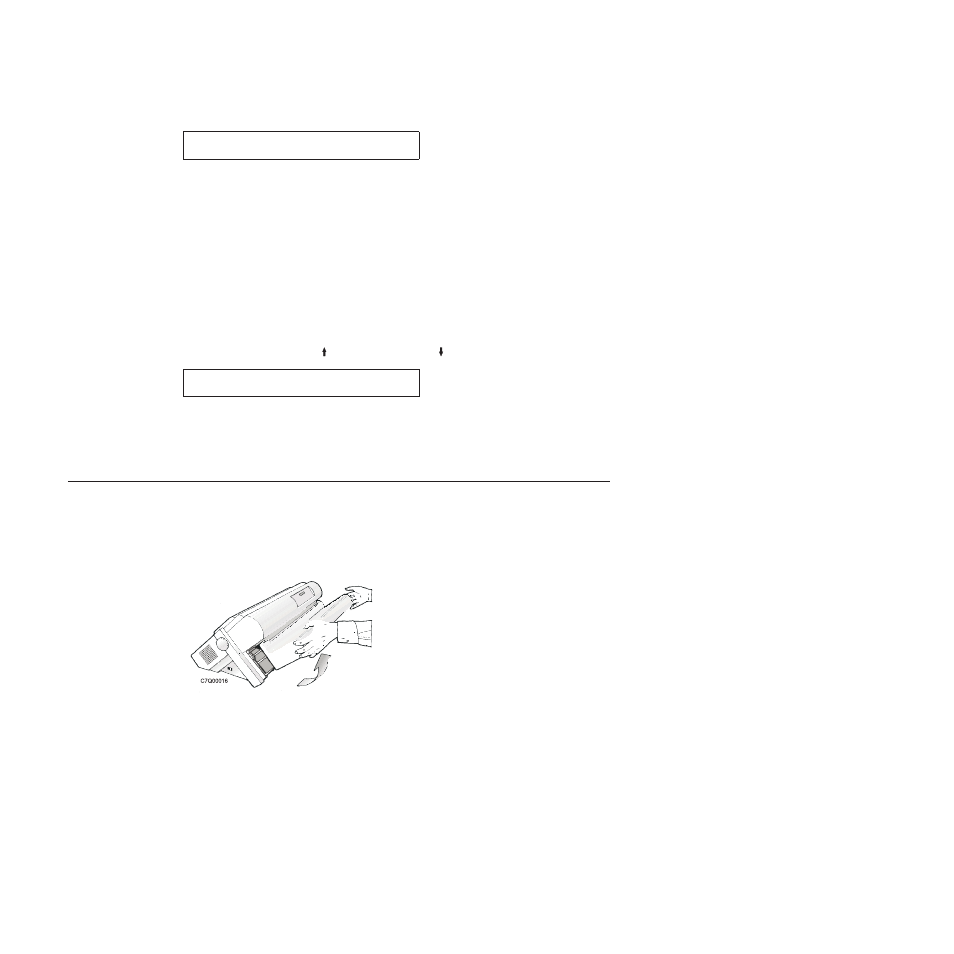
Installing the optional second tractor
A second optional tractor is available for your printer. This tractor may be installed
on the first (standard) front tractor.
1.
Open the tractor area cover.
Figure 25. Opening the tractor area cover.
20
User’s Guide