Essage, Eature – Yaesu FTM-10R User Manual
Page 53
51
FTM-10R O
PERATING
M
ANUAL
M
ESSAGE
F
EATURE
Cloning
1. Bring the Source Transceiver and the Destination Transceiver as close to each other as
possible. .
2. Press the top panel’s PTT key on the Destination Transceiver.
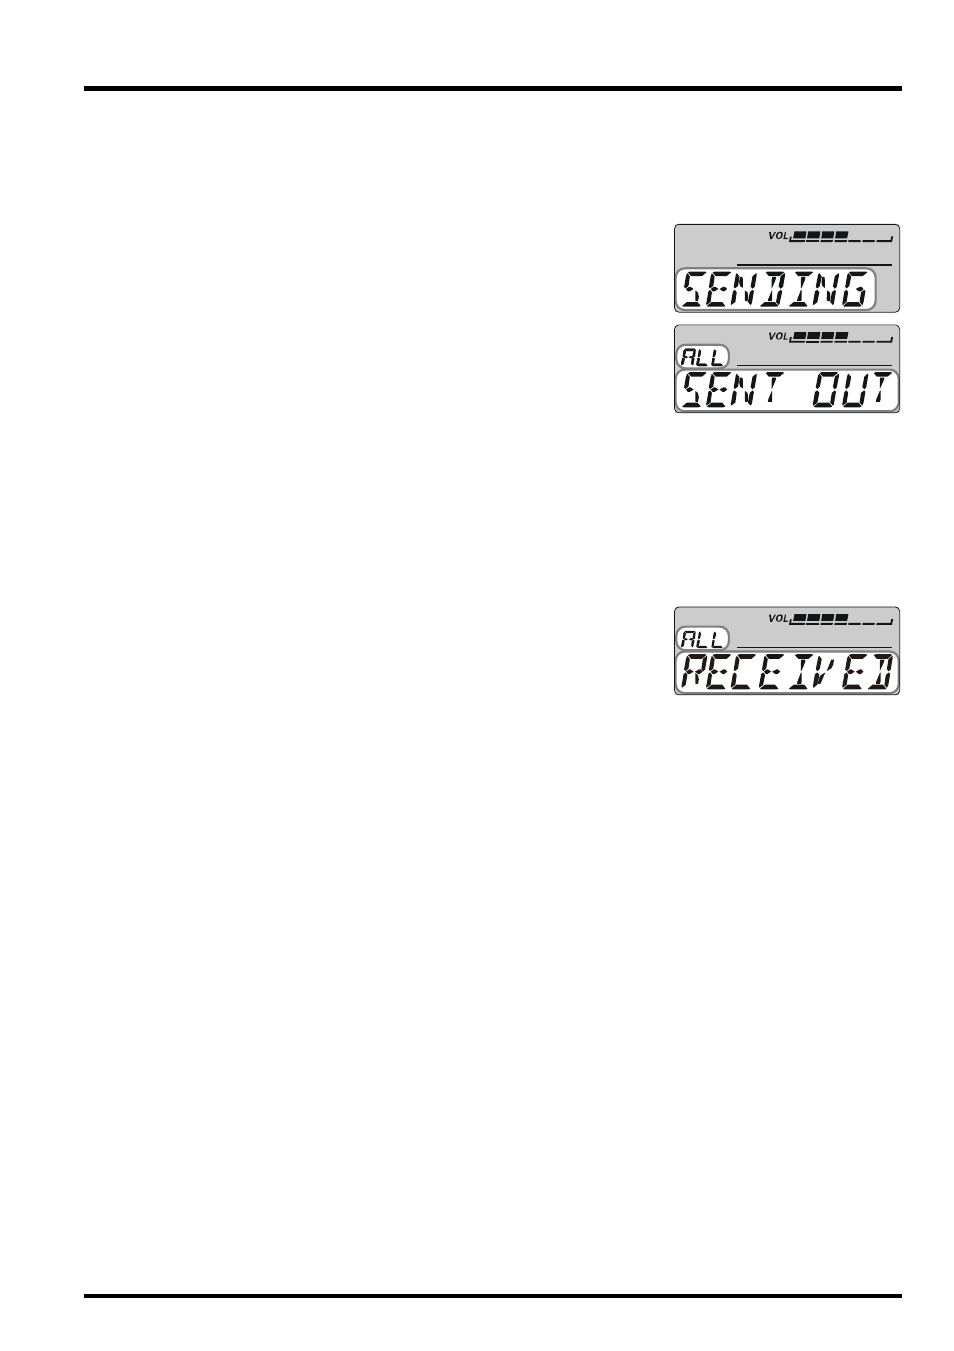
While transmitting the clone data, the Source Transceiver’s
LED blinks red and blinks the “SENDING” notation on the
LCD.
When clone data has finished transmitting, the Source
Transceiver’s LED blinks white for around 3 seconds and
then displays “ALL” and “SENT OUT” on the LCD. Then,
the “TX CLONE” notation and the Club Channel frequency
appears on the display alternately again.
To finish the Cloning, turn the radio off by pressing and holding the [POWER] key for
two seconds.
3. The Destination Transceiver does not require any set -up operation.
4. When receiving cloning data from the “Source Transceiver”, the “Destination Trans-
ceiver” automatically stores all the data, and the LED blinks white for 3 seconds, then
displays “ALL” and “RECEIVED” on the LCD. Then, the
“Destination Transceiver” turns off automatically, and turns
on again. The radio returns to normal operation in the VFO
or memory mode, as before the Clone operation began. The
copy/clone procedure is completed.
If “ERROR” is displayed on the LCD screen while doing the Clone procedure, the clon-
ing process was not successful. In this case, turn the radio off and retry the cloning
procedure. In the case of repeated cloning failures, see the following information.
The distance of the transceivers (source transceiver and Destination Transceiver) has to
be close.
Check any equipment in the area that may be generating electrical noise. This may
interrupt data transfer.