Pilz PSSnet SHL 8T MRP User Manual
Page 135
Advertising
Network load control
136
8.6 VLANs
PSSnet SHL - Basic Configuration
Pilz GmbH & Co. KG, Felix- Wankel Str. 2, 73760 Ostfildern
Proceed as follows to perform the example configuration:
Configure VLAN
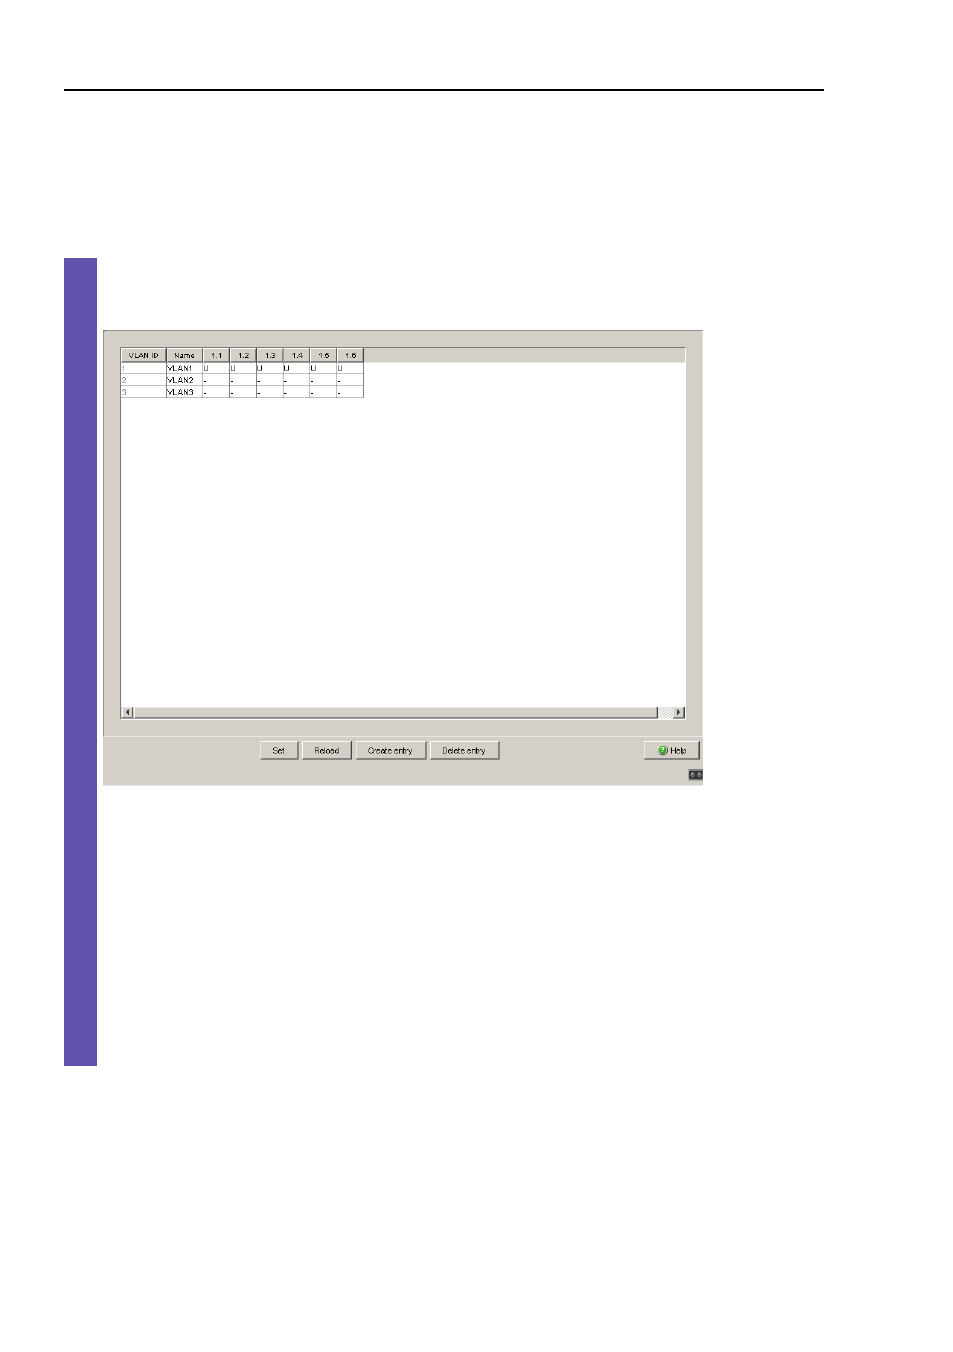
Select the Switching:VLAN:Static
dialog.
Figure 37: Creating and naming new VLANs
Click on “Create Entry” to open a window for entering the VLAN ID.
Assign VLAN ID 2 to the VLAN.
Click on “OK”.
You give this VLAN the name VLAN2 by clicking on the mask and
entering the name. Also change the name for VLAN
1
from
“Default”
to “VLAN1”.
Repeat the previous steps and create another VLAN with the VLAN
ID 3 and the name VLAN3.
Advertising
This manual is related to the following products: