Canon EOS R5 C VR Creator Kit with RF 5.2mm f/2.8 Dual Fisheye Lens User Manual
Page 87
87
Focu
s
Pea
k
ing
The camera offers two peaking levels.
1 Set an assignable button to [Peaking] (
A
2 Press the button assigned to [Peaking].
• The peaking icon (
J
or
K
) appears on the left of the screen and outlines (contour lines) in the image
that are in focus will be shown highlighted.
• Press the button again to turn off peaking.
• You can use direct touch control (
A
56) to turn the
[Peaking 1]/[Peaking 2] setting on/off.
• Alternatively, you can use one of the
> [
A
Assistance Functions] > [Peaking:] settings to turn the
peaking function on/off separately on the respective terminal/output destination.
3 Select
>
[
A
Assistance Functions] > [Peaking] > [Peaking 1] or [Peaking 2].
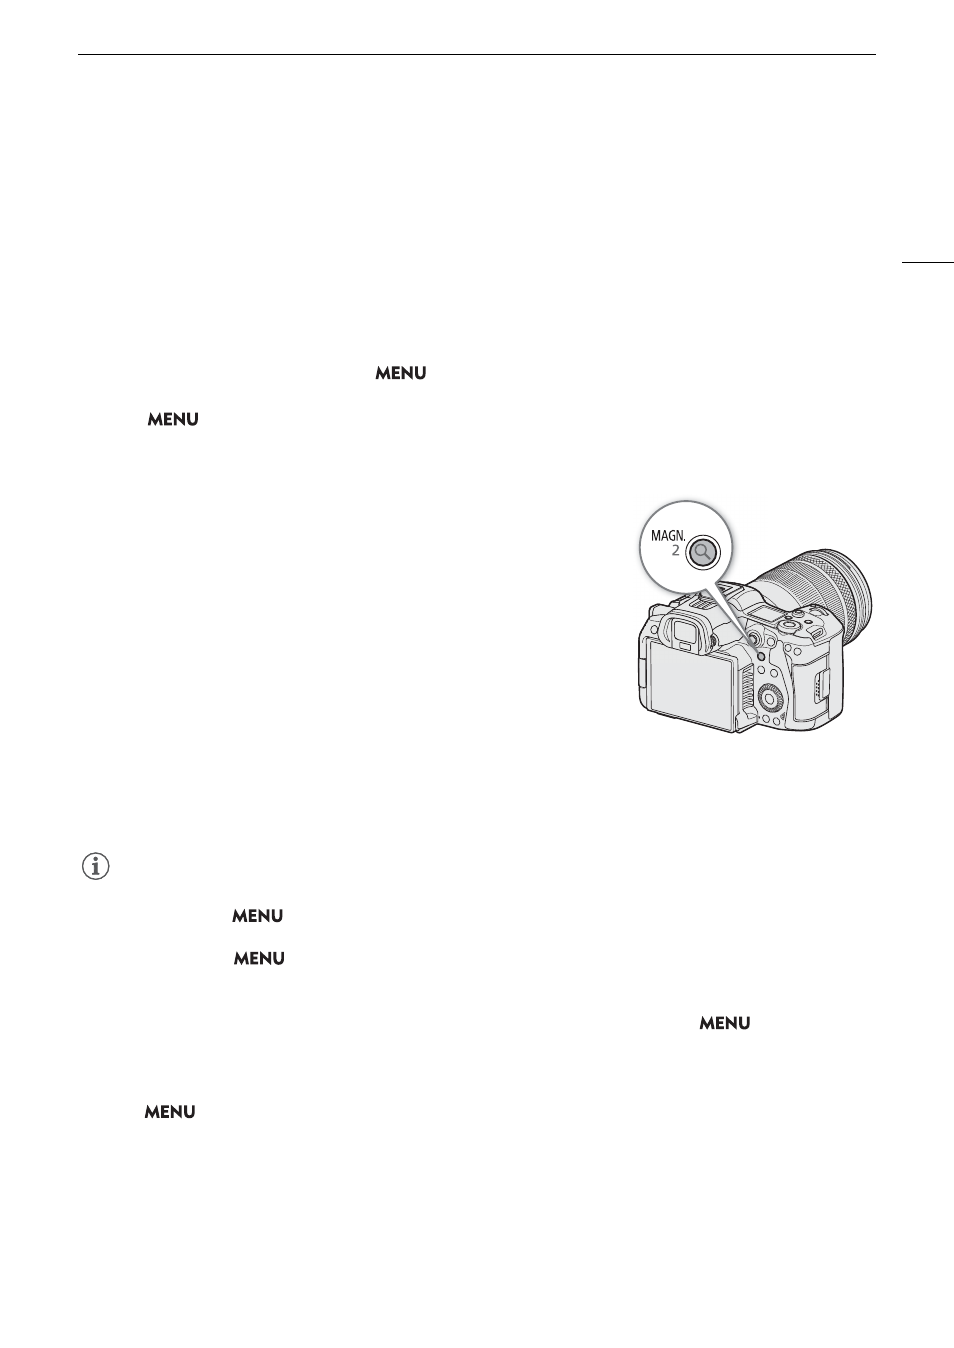
Magnification
1 Press the MAGN. button.
•
^
appears on the left of the screen and the center of the screen*
is magnified 2 times.
• The orange frame displayed on the top right of the screen
(magnification frame) shows the approximate part of the image shown
magnified.
• Press SET to change the magnification setting in the following order:
2x
5x
10x.
2 If necessary, use the joystick to move around the magnification frame
and check other parts of the image.
• You can also drag your finger across the LCD screen to move the
frame.
• Press the CANCEL button to return the magnification frame to the center position.
• Press the MAGN. button again to cancel the magnification.
* If one of the AF frames or a face detection frame is displayed on the screen, the area around the active frame will be magnified
instead.
NOTES
NOTES
• About Peaking/Magnification:
- You can use the
> [
A
Assistance Functions] > [Peaking 1] and [Peaking 2] settings to set the color,
gain and frequency of the two peaking levels independently of each other.
- You can use the
> [
A
Assistance Functions] > [Magn. Output] setting to select where to show the
magnified image.
- The assistance functions will not affect your recordings.
- Magnification will be turned off if you change the video configuration (
A
59), turn
> [
v
Camera
Setup] > [Digital IS] on/off, or if you turn slow & fast motion recording on/off while the magnified image is
displayed.
• Peaking/magnification are not available while the color bars are displayed.
• When
> [
A
Assistance Functions] > [B&W during Magn.] is set to [On], the screen is set to black and
white during magnification. The assistance functions will not affect your recordings.
• When the recording format is MP4 and the resolution is 8192x4320/7680x4320, magnification cannot be
used.