3 turboip-g2 cabling and startup, 3 turbo ip-g2 cabling and startup – Comtech EF Data turboIP-G2 User Manual
Page 44
turboIP-G2 Performance Enhancement Proxy
Revision 2
Installation and Startup
CD-TURBOIP-G2
2–8
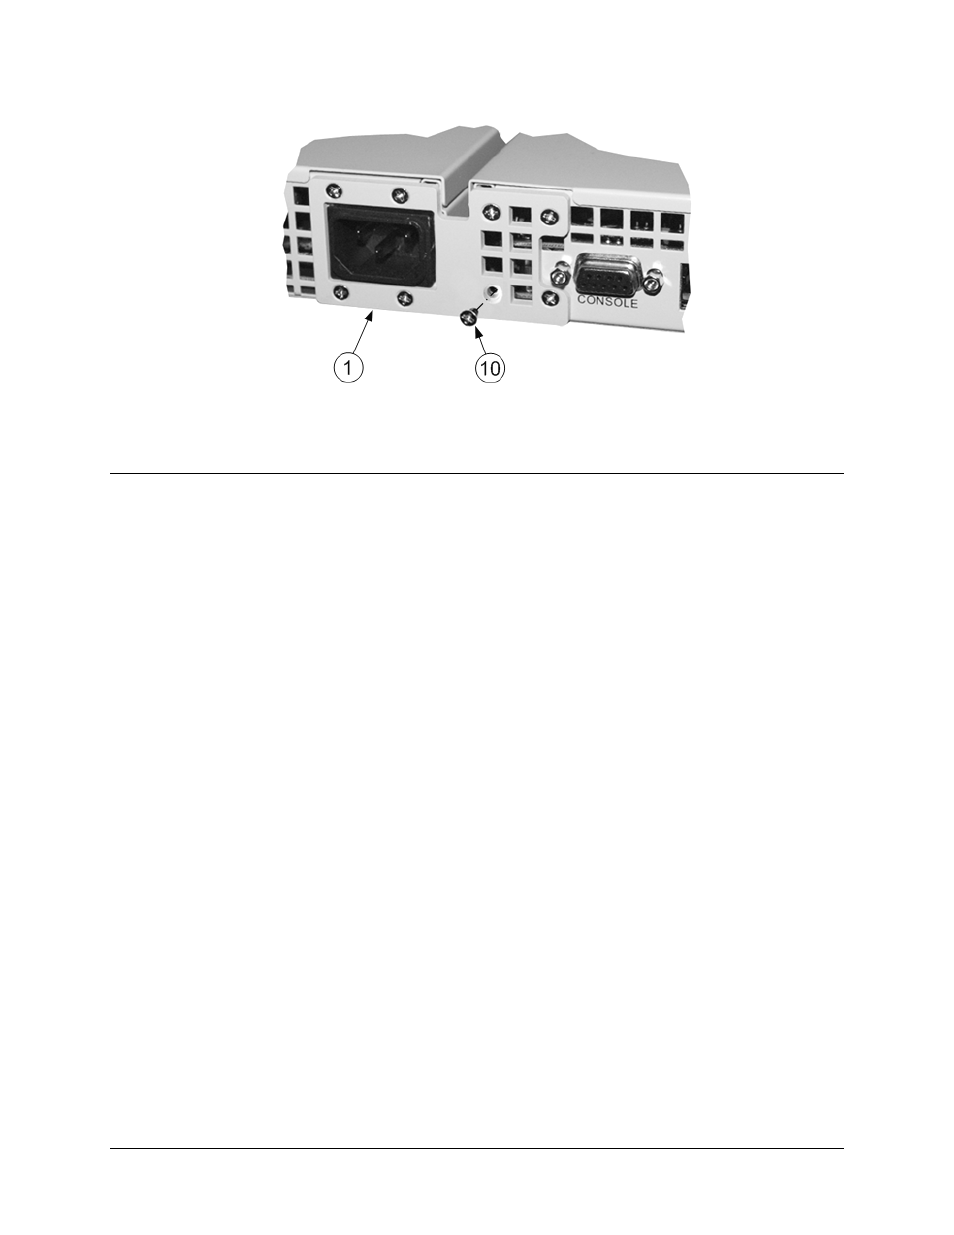
Figure 2-7. Installation of Rack Mount Kit’s Chassis Link Rear Bracket
2.3
turboIP-G2 Cabling and Startup
Once the turboIP-G2 installation has been properly rack-mounted, make all data, monitor and
control, and power connections that are required for operation. See Chapter 3. REAR PANEL
CONNECTORS for the technical information about each connection interface.
Once all the necessary cabling connections have been made, press the ON/OFF switch on the
turboIP-G2. The unit performs a memory and BIOS test at startup. During this time, an initial
click will be heard, followed by a second click 30 seconds later. At this point, all tests are
complete and the SkipWare software is operational.