Epson Stylus Scan 2500 User Manual
Page 45
4-10
Using the Printer Software for Windows
R4C427_V2
long.bk
Rev_C
A5 size
SOFTW.FM
2/1/00
Pass 2
L
Proof Sign-off:
K. Nishi, K. Gazan _______
N. Nomoto
_______
J. Hoadley
_______
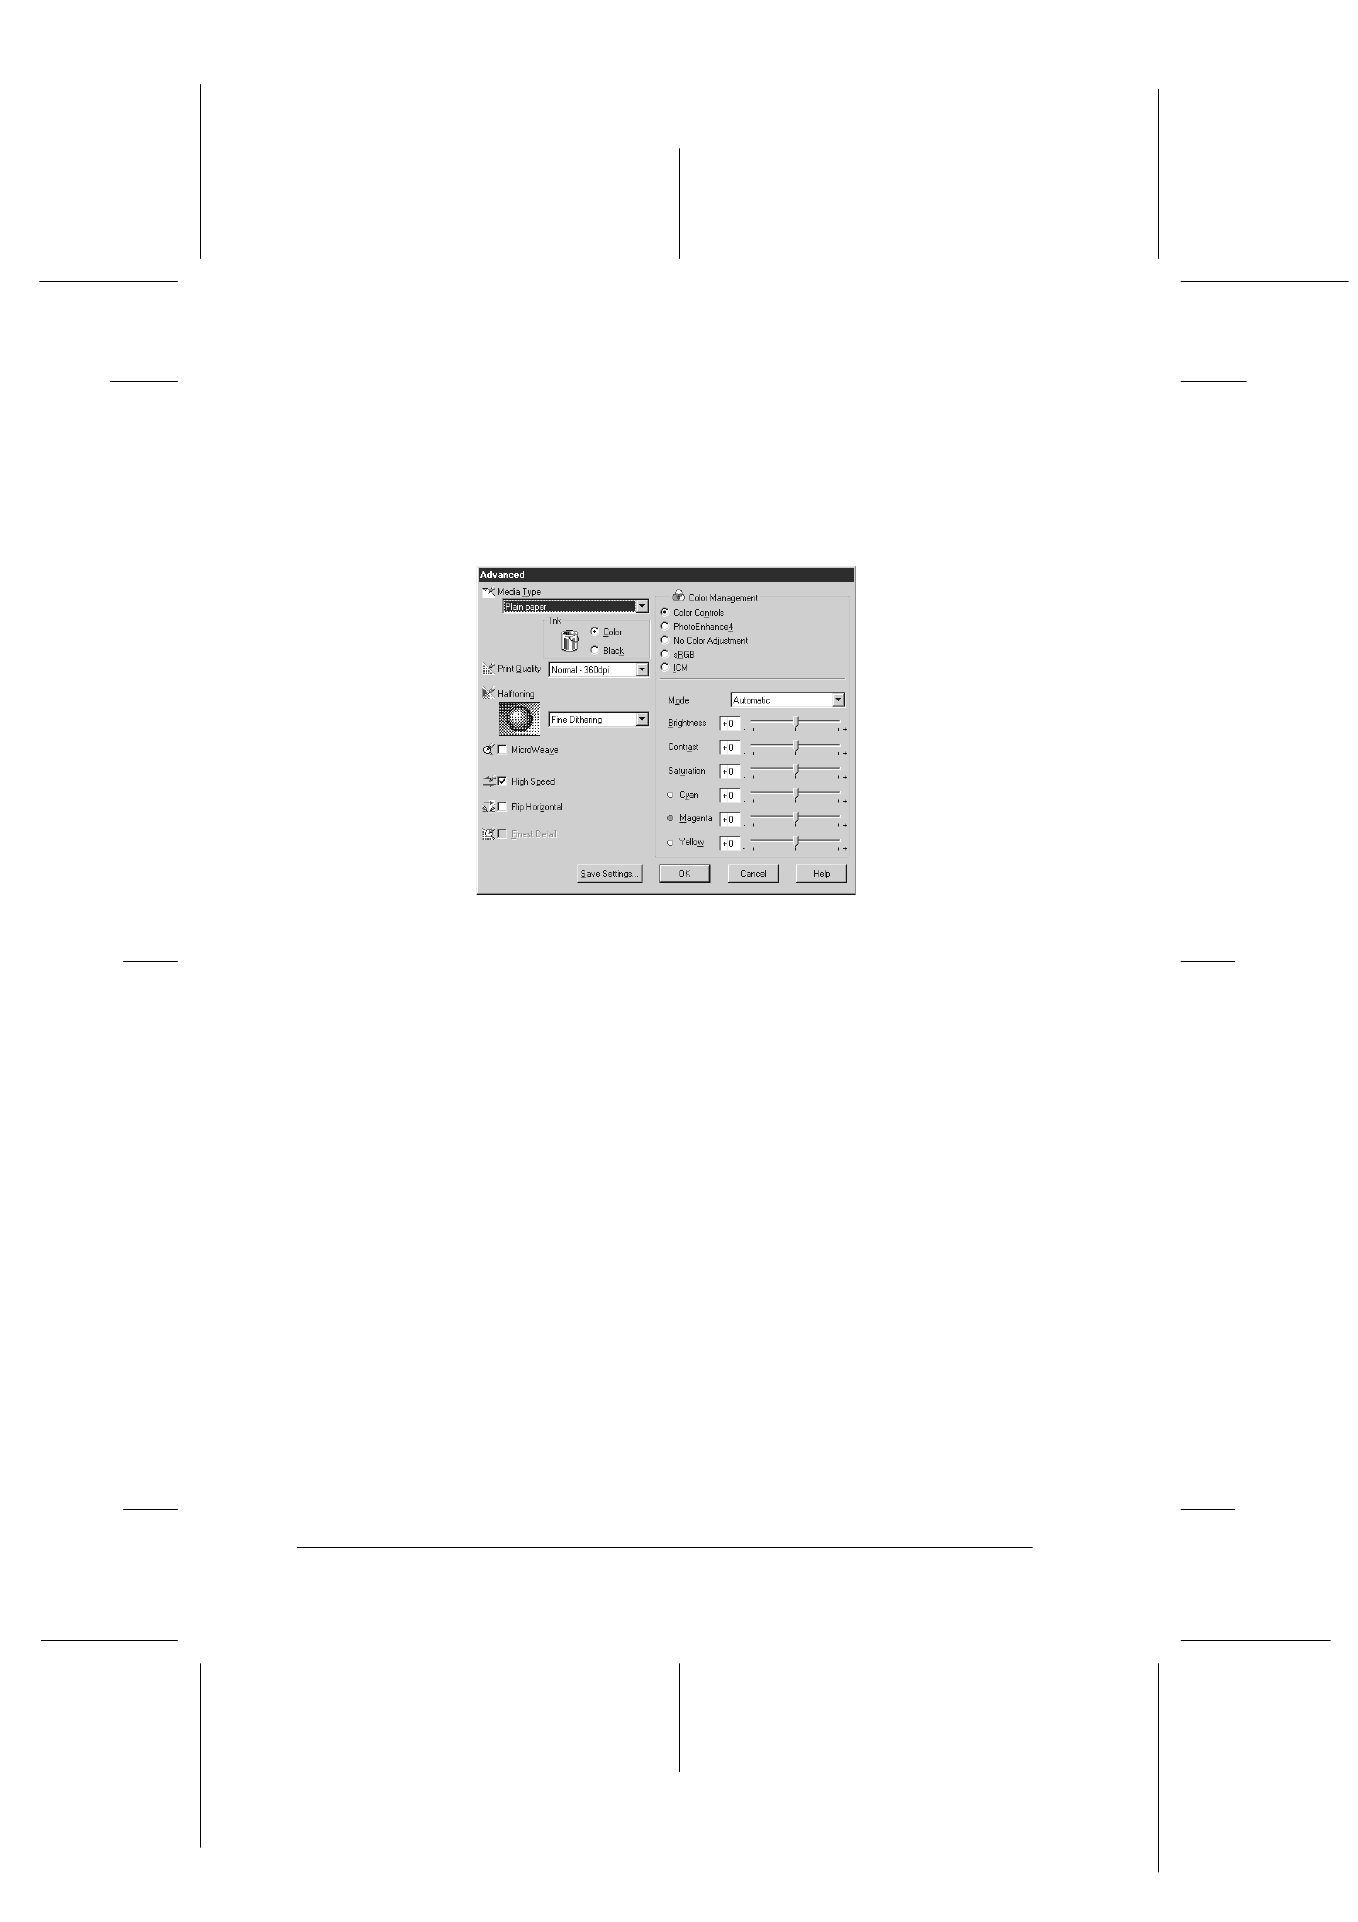
Follow the instructions below to make and save Advanced
settings.
1. Click the Custom button on the Main menu and then click
Advanced
. The following dialog box appears.
2. Select the Media Type you loaded in the Stylus Scan. For
details, see “Making the Media Type setting” on page 4-4.
3. Choose Color or Black for the Ink option.
4. Select the Print Quality setting.
5. Make other settings as needed. For details, see online help.
Note:
❏ The Photo Enhance 4 setting under the Color Management
option only affects images, not text or graphs. If Monochrome
is selected from the Tone list, for example, only the images in a
document will be printed in monochrome. Any colored text and
graphs in the same document will be printed in color.
❏ Some settings may be disabled depending on the Media Type,
Ink, and Print Quality settings you make.