8 click save to save your changes, Salvos – Grass Valley NV9000-SE v.3.0 User Manual
Page 457
NV9000-SE Utilities • User’s Guide
437
15. Salvos
Creating a Salvo
7 Organize the actions in the ‘Salvo Description’ section. The order in which the actions appear
are the order in which the actions are executed. Click a button to perform that task:
Remove
—
Select an action in the list and click to remove that action.
Insert
—
Click in the list to insert an action in that location in the list.
Move Up
—
Select an action and click to move up one place in the list.
Move Down
—
Select an action and click to move down one place in the list.
8 Click
Save
to save your changes.
9 Click
X
on the window title tab to close the page.
How to Add a Salvo Using the ‘Salvos’ Table as a “Save As” Function
The ‘Salvos’ table can be used as a “save as” function, creating a new salvo by selecting an existing
salvo and saving it with a new name. Once created, the new salvo can be updated as needed. This is
an easy and quick way to create several salvos that contain similar commands.
1 Launch NV9000-SE. (See
Launching and Exiting the Application
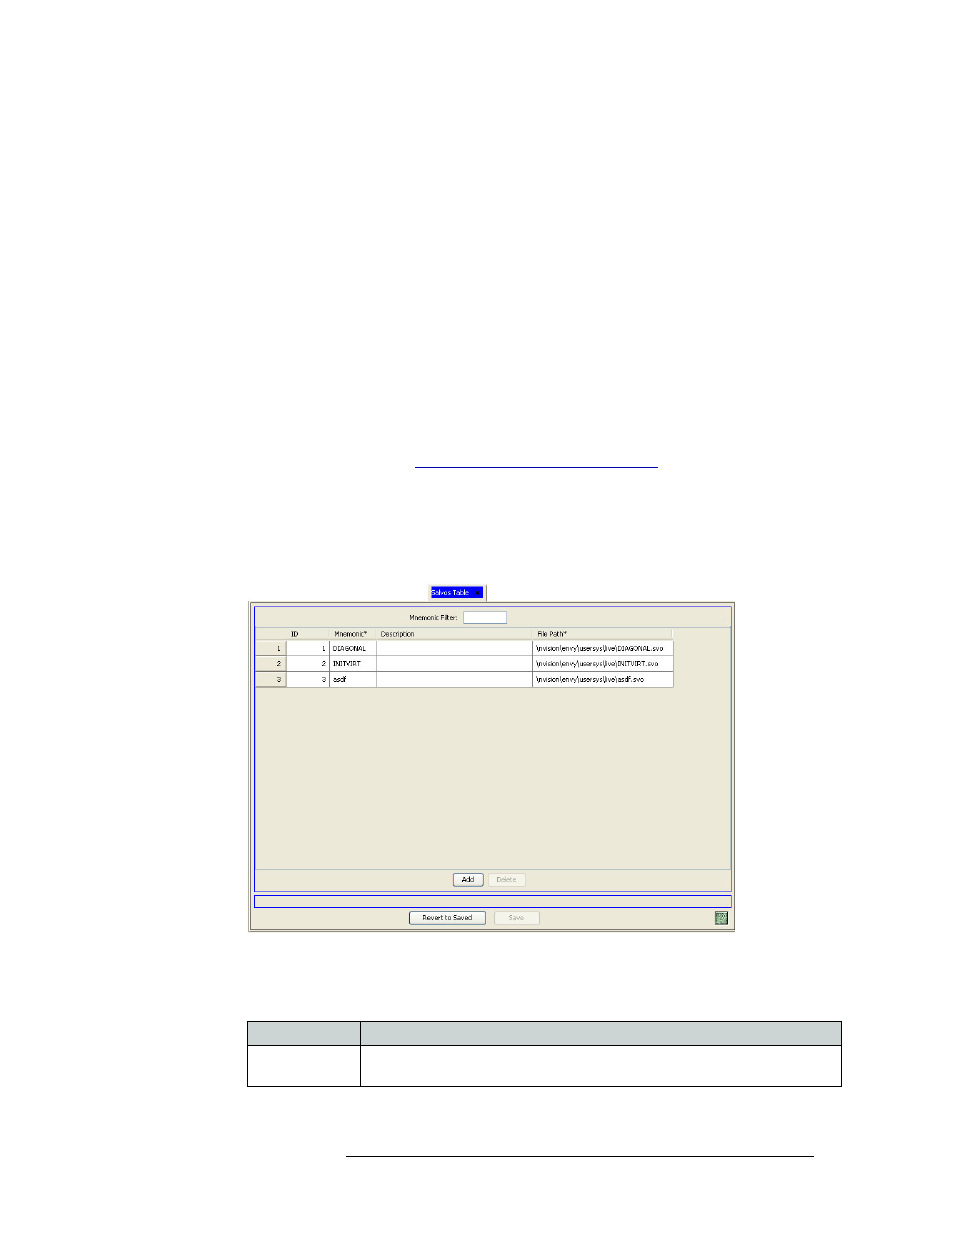
2 From the Navigation area, select the ‘Views’ pane and then ‘Salvos’. The ‘Salvos’ table
appears, as shown in Figure 15-4.
To narrow the list of salvos that display, enter the first characters of a salvo name in the ‘Mne-
monic Filter’ field. The list is automatically reduced to display only salvos matching that char-
acter string.
Figure 15-4. Salvos Table
3 Click
Add
. A blank row appears at the bottom of the list of salvos.
4 In the blank row, click on a cell in a column to activate it and enter information, as follows:
Section
Description
Mnemonic
Enter a unique name for the salvo up to 8 characters long. Do not use punctuation
marks or symbols.