16�2 ethernet – Solare Datensysteme Solar-Log User Manual
Page 76
76
Configuration Menu
16�2 Ethernet
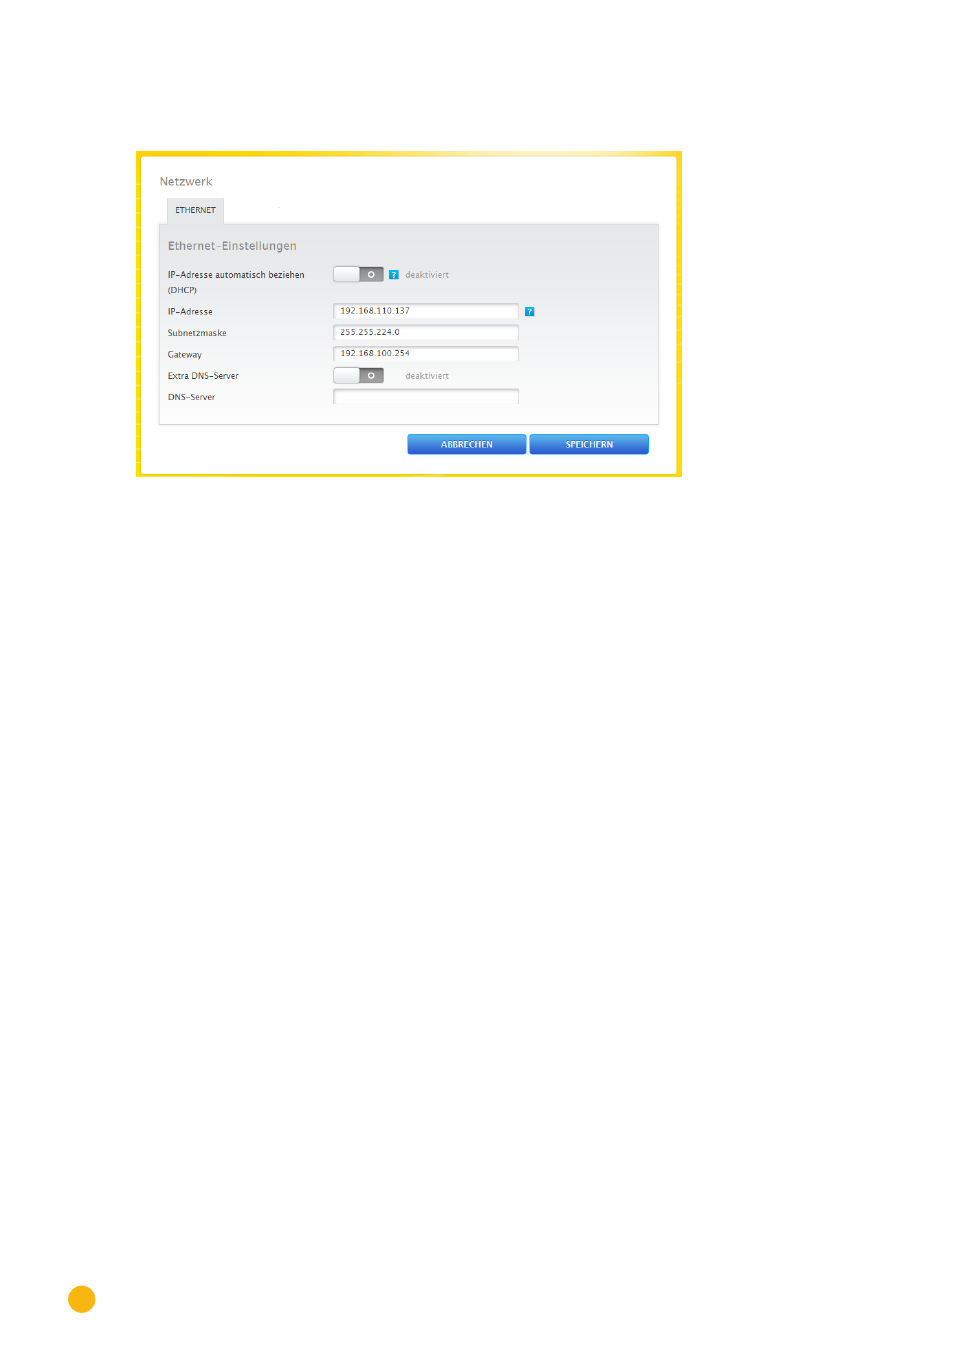
Fig.: Ethernet settings
The Ethernet settings for the Solar-Log™ are adjusted in this tab.
Obtain IP address automatically (DHCP)
Here the following options are available:
•
Activate Obtain IP address automatically
•
Deactivate Obtain IP address automatically.
.
With the default settings of the Solar-Log™, the Obtain IP address automatically option is deactivated.
If the Solar-Log™ should
Obtain its IP address automatically
(DHCP), this switch needs to be
activated
.
This is only possible if the Solar-Log™ is connected to an Internet router with DHCP enabled. When the
search is started, the Solar-Log™ attempts to obtain an IP address through an Internet router. This can take
up to 60 seconds.
If the DHCP server is disabled in the router, the network settings must be configured manually. If neces-
sary, please consult a network specialist who can assign a suitable network address in regard to IP address,
Subnet mask and Gateway, for example.
If the Solar-Log™ is to have a
fixed IP address
, the
Obtain IP address automatically
(DHCP) switch needs
to be
deactivated
. The following fields need to be adjusted according the network's configurations.
IP address
The address needs to be entered manually in order to allow remote PC access, when using a direct PC con-
nection or a router without DHCP service.
Subnet mask
The Subnet mask is 255.255.255.0 by default and must be the same for every device in the subnet.
Gateway
The gateway is typically the IP address of the router to which Solar-Log™ is connected. That IP address is
to be entered here.
Alternate DNS server
In some networks, the DNS server is a separate address for resolving Internet addresses (unlike a gate-