MacroSystem Bogart SE Ver.2 User manual User Manual
Page 16
14 Chapter 3
If you click on the "Save Image” button, the “Product” selec-
tion will change to “Custom Images” and the “Type” selection
will change to “Images” . The system will also ask you to select
an entry . Confirm this notification with “Ok” and select a free
(black) image from the list . Then click on “Save Image” again
to open the scene bin so you can select the starting frame of a
scene that you want from the bin . After you confirm with “Ok”
it appears in the image collection and in a large preview (right) .
You can store a total of 18 of your own images here, which you
can later use anywhere in your video editing work .
Tip: You can‘t delete your own pictures, but you can replace
them anytime with new ones!
You can of course also readjust the “Product” selection and
“Type” selection manually before saving a picture .
All patterns can also be used as texture for fonts in the
Titling menu .
In the list to the left you can select the desired mask, which is
then displayed to the right in large format . In the top left corner
of this preview window, you can see if the footage is actually
available in HDV quality . You can also see the names of the
selected mask above and to the right .
Below this window you find several buttons:
The “Colorize“ button allows you to colorize all patterns - even
colored ones .
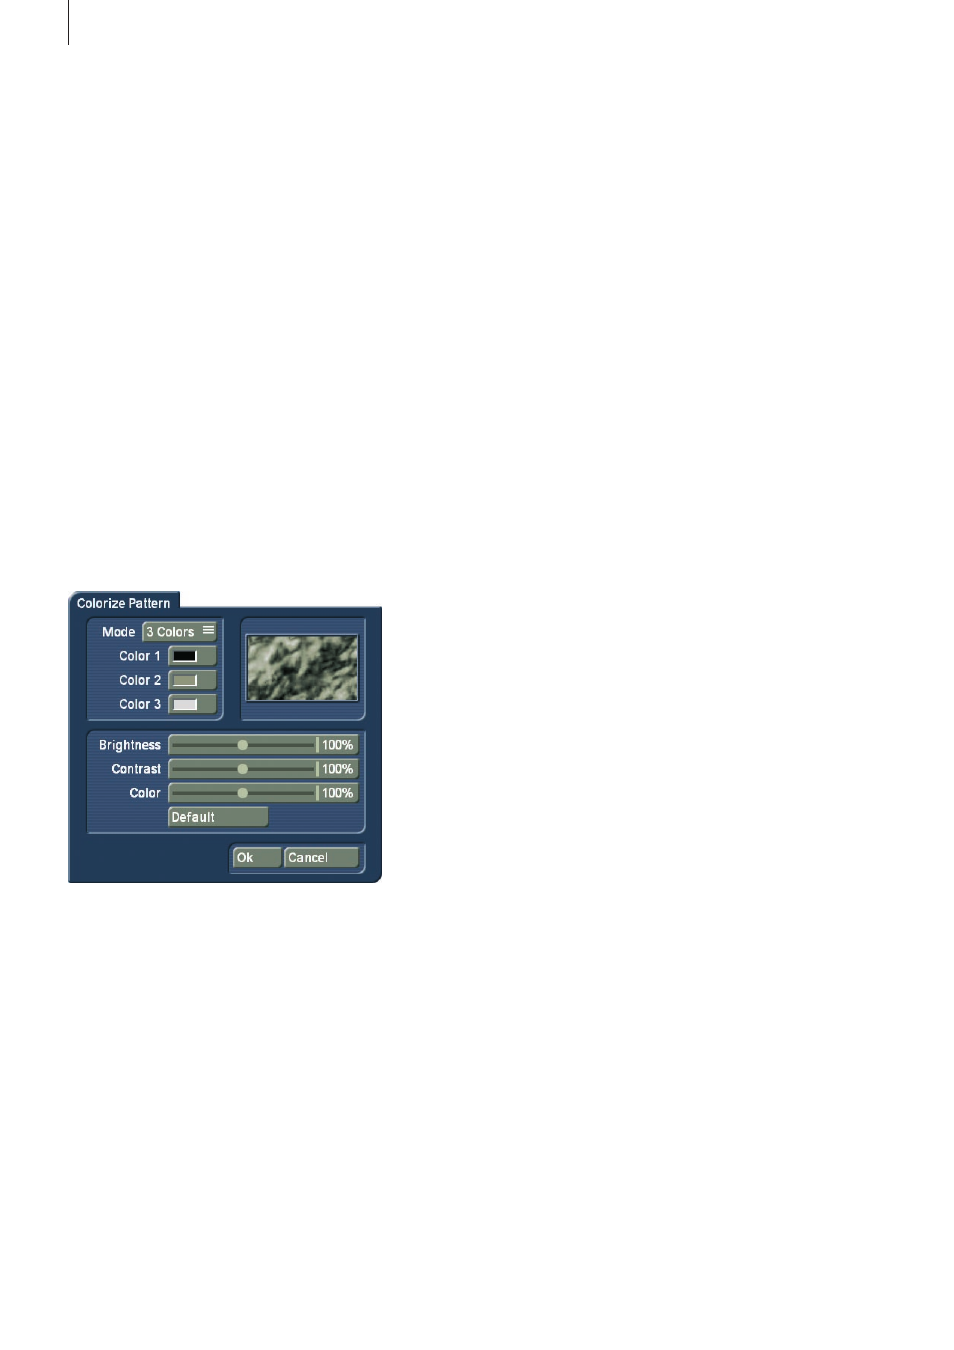
If you click onto the “Colorize” button, a menu with several
buttons will appear . Use “Mode” to select how many colors
are to be used . This will then lead to the respective amount of
palette buttons appearing .
Your coloring will be displayed in the preview window .
Original: There is no coloring and the pattern remains in its
original color or monochrome . Additionally, you can use this
function to return to the original color of the pattern .
1 Color: The pattern brightness remains; yet one color is
added according to the color you choose in “Color 1” . The
brightness chosen in the color box is ignored as this is con-
trolled by the monochrome part of the pattern .
2 Colors: You can create a shift from one color to another .
"Color 1" is added in the parts used by the monochrome
image . "Color 3" replaces white . Depending on the pattern,
instead of the black and white parts, the most bright and dark
parts of the pattern are used . Between the two colors, all
previously monochrome tones are replaced by the respective
color tones and a soft color shift is created .
3 Colors: In comparison with the shift between two colors, a
third color is added: “Color 2” . This color replaces the gray tone
found in the middle of the original monochrome shift . The result
is a shift from Color 1 to Color 2 and from there, to Color 3 .
Tint: This mode is only provided for color masks . If you select
this function, the "Color 1” button is activated, which you
should then click . Specify a color and confirm with “Ok” . All
the colors of the mask are then replaced by the one you se-
lected . The entire picture is then filled with one shade of color,
though the saturation and brightness are retained .
Hue: This option is likewise only provided for color masks .
If you click on this button, the system first of all determines
which is the dominant color in the mask and then displays it as
“Color 1” . You cannot select this button . Now click on “Color
2” and use the upper palette arrow to select any color shade
that you want to replace the dominant color with . All the colors
in this mask are thus replaced with a new one, whereby the
distance in the color palette between the original and replace-
ment color is equal to the distance between the dominant
color and Color 2 .
Hue 2: This option functions in a similar way to “Hue”, and
is therefore only displayed for colored masks . Though in this
case you can freely select the color that is to be replaced by
capturing it from the image (see Color box) .
You can customize the settings for your mask still further by
using the “Brightness”, “Contrast” and “Color” buttons that are
located in the bottom area of the window .
For simple, soft shifts, it is recommended that you use the
“Linear H” (horizontal shift), “Linear V” (vertical shift) and “Li-
near D” (diagonal shift) . The direction of the color shift can be
altered using the “Mode” button .
The little box next to the "Colorize” button can be used to
activate or deactivate the colorization of the pattern displayed
in the upper preview window . If a dash appears in the little
box, you can see the original color . If a check mark is shown,
you can see the pattern with the colorization that you set . You
do not have to activate the check mark in order to colorize a
pattern – all you need do is click on the “Colorize” button!
With "Mode" you can choose from eight different positive and
negative inverses .