MacroSystem Bogart SE Ver.2 User manual User Manual
Page 91
89
Bogart SE 2 user manual
the top right . if you want to rotate this preview image, go to the
help menu and press `1´ to rotate right and `2´ to rotate left .
Tip: If you want to see one of the images in full size, press the
`Full image´ button . To exit, go to the help menu and press
the Stop button . The image is scaled to fit the entire screen .
Due to the different aspect ratio of photo and TV signal, it may
be necessary to show the photo with black bars either on the
sides or top/bottom . Some examples: 10x15 photo = aspect
1:1,50, TV resolution PAL 720x576 = aspect 1,25:1 / FullHD
1920x1080 = aspect 1,77:1 (with photos the ratio is given
height x width, TV has width x height) .
The functions for control and operation are mostly the same as
in the film archive . Make sure to read that part of the manual
before you continue to go through the special features of the
photo archive .
2.4.3 Displaying photos / slideshow
General information
You can display photos (the slide show) directly from the
medium, even prior to importing them . Depending on the menu
you are working with, the playback will ensue directly from CD/
DVD, or from the USB device, from the list of the photo archive
list, a sub-folder or the playlist . The photos are displayed in
a resolution matching the TV set or monitor . The DVI/HDMI
connection in particular allows for the highest resolution at
1920x1080 pixels, which is roughly 2 million pixels .
Note: If the image you want to display is larger than the TV
resolution (e .g . 8 Mega pixel), the image is scaled down to
the TV‘s resolution . The archive however always contains the
original file . The larger the resolution is, the longer the system
will require for the scaling . Also note that exporting the images
to Bogart SE also requires scaling to the project resolution . For
a DV project, an 8 Mega pixel image will have to be reduced
to 0,4 Mega pixel as the image is almost 20 times as large as
the PAL TV resolution . Even in HD projects, the 8 Mega pixel
image must be reduced to 2 Mega pixels .
Display options
Press the Play button to play/display the images of the se-
lected album from the start . If you start the slideshow from
within an open folder, the playback will begin from the current
image . You can use Options to show pictures in loop, random
and how long each image is to be shown for . You can enter
the help menu to access all available controls .
edit them, making it compatible with most digital photo came-
ras . Pictures in RAW format or those already edited on the PC
with a progressive JPEG storage (optimized for Internet use)
may not be loaded properly .
2.4.1 Photo import options
Press the Options button for these options:
• Remove all entries
• Sort content of medium. There are the following options:
Recording time, alphabetically, album alphabetically, motive
alphabetically
• You can create folders with the following possibilities:
- `Do not create album´ imports the single photos without an
album structure . All images are imported into one long list .
- `Create album name from date´ creates a new folder for every
day (date) you have created photos .
- `1 album is upper directory name´, `2 album is lower directory
name´ and `3 album is full path´ are only useful if you are im-
porting images that have been edited on a PC and will then sa-
ved on a medium (USB, CD/DVD) . As an example: The medium
will then have the following folders: `Images´, inside will be the
folders `2005´ and `2006´ . The option `1 album is upper direc-
tory name ´ would not create any sub-folders, in this case only
the folder `Images´ would be created . `2 album is lower directo-
ry name ´ would only create the folders `2005´ and `2006´ . The
option `3 album is full path ´ will create all many folders: `2005´,
but also folders like `2005_beach´ and `2005_holiday´, etc .
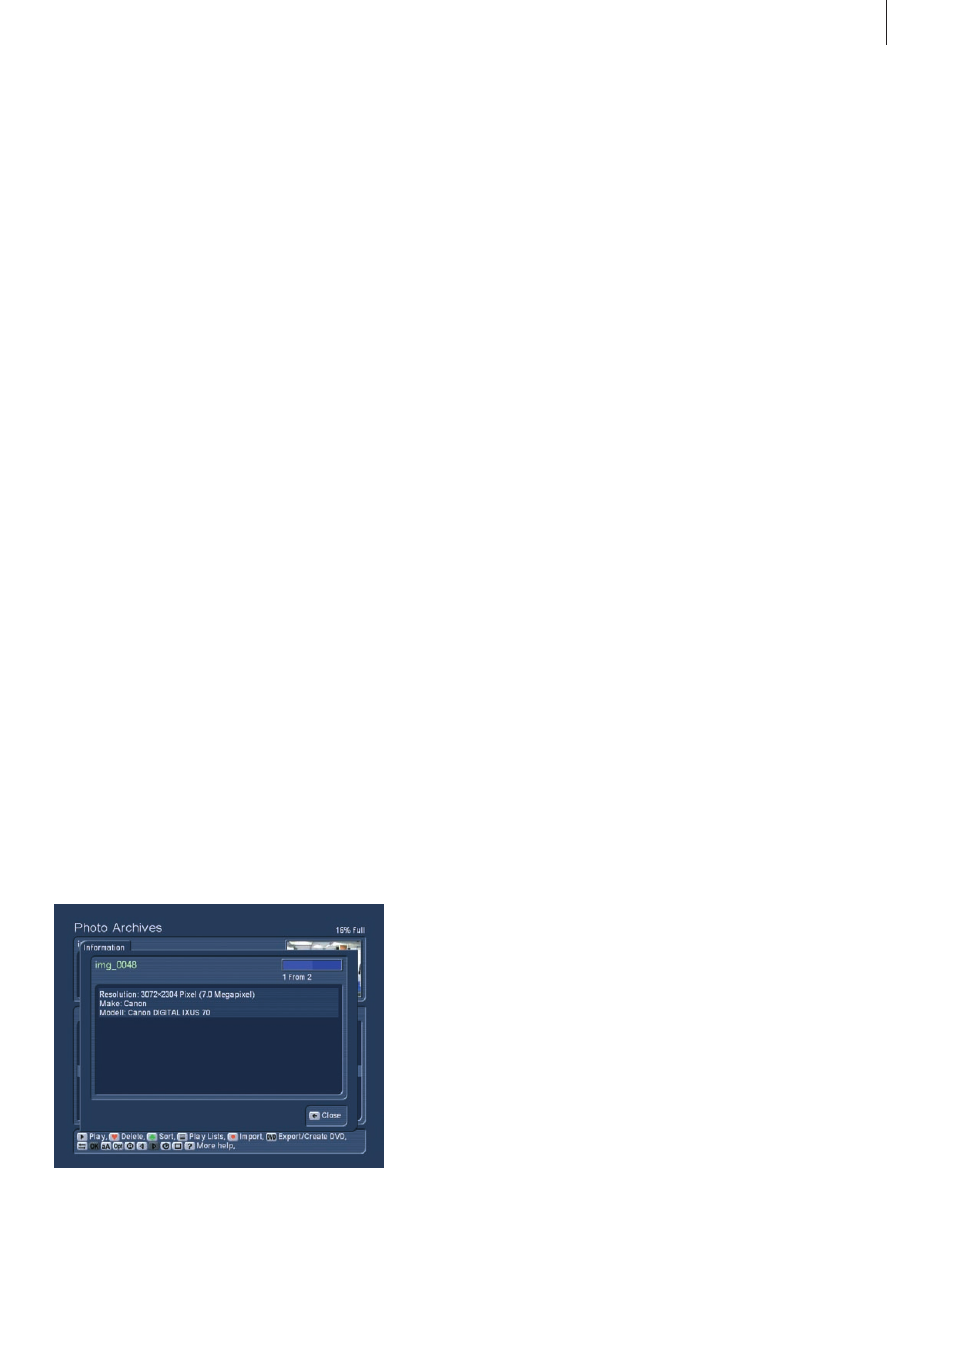
2.4.2 Photo archive main menu
Once you have imported your photos, press the `Return´
button to go back to the main menu of the photo archive . You
should now see the information panel at the top (date, pixel
resolution) and the images themselves below . The currently
selected item is shown in a highlighted blue colour .
Just like in the other two archives, you can switch between
the different display types by pressing the left/right directions:
`All photos´, `All albums´ and the contents of the album . If you
select a single photo, you will see a small preview image at in