5 importing your favourite music, 6 creating a play list – MacroSystem Bogart SE Ver.2 User manual User Manual
Page 77
75
Bogart SE 2 user manual
deleting something by mistake, deleted files are moved to the
trashcan first . To see the trashcan by selecting it and the pres-
sing left/right to choose `All series´ and then go all way up the
list . You can restore single files from the trashcan using the OK
button or delete them permanently . The trashcan is emptied
by the system itself as soon as new space is required . Close
the film archive again by pressing the Return button . You can
get a more detailed overview of all film archive features in the
Reference part of this manual in chapter 2 .2 .
1.5 Importing your favourite music
Now that you have experimented with the film archive a little,
let‘s move on to the music . You‘ll be putting together your own
archive of music from your favourite CDs . if you have music
files on a USB stick, you can also connect it to the USB ports
of your Casablanca system and import them like that . In that
case, read more about it in chapter 2 .3 .1 .
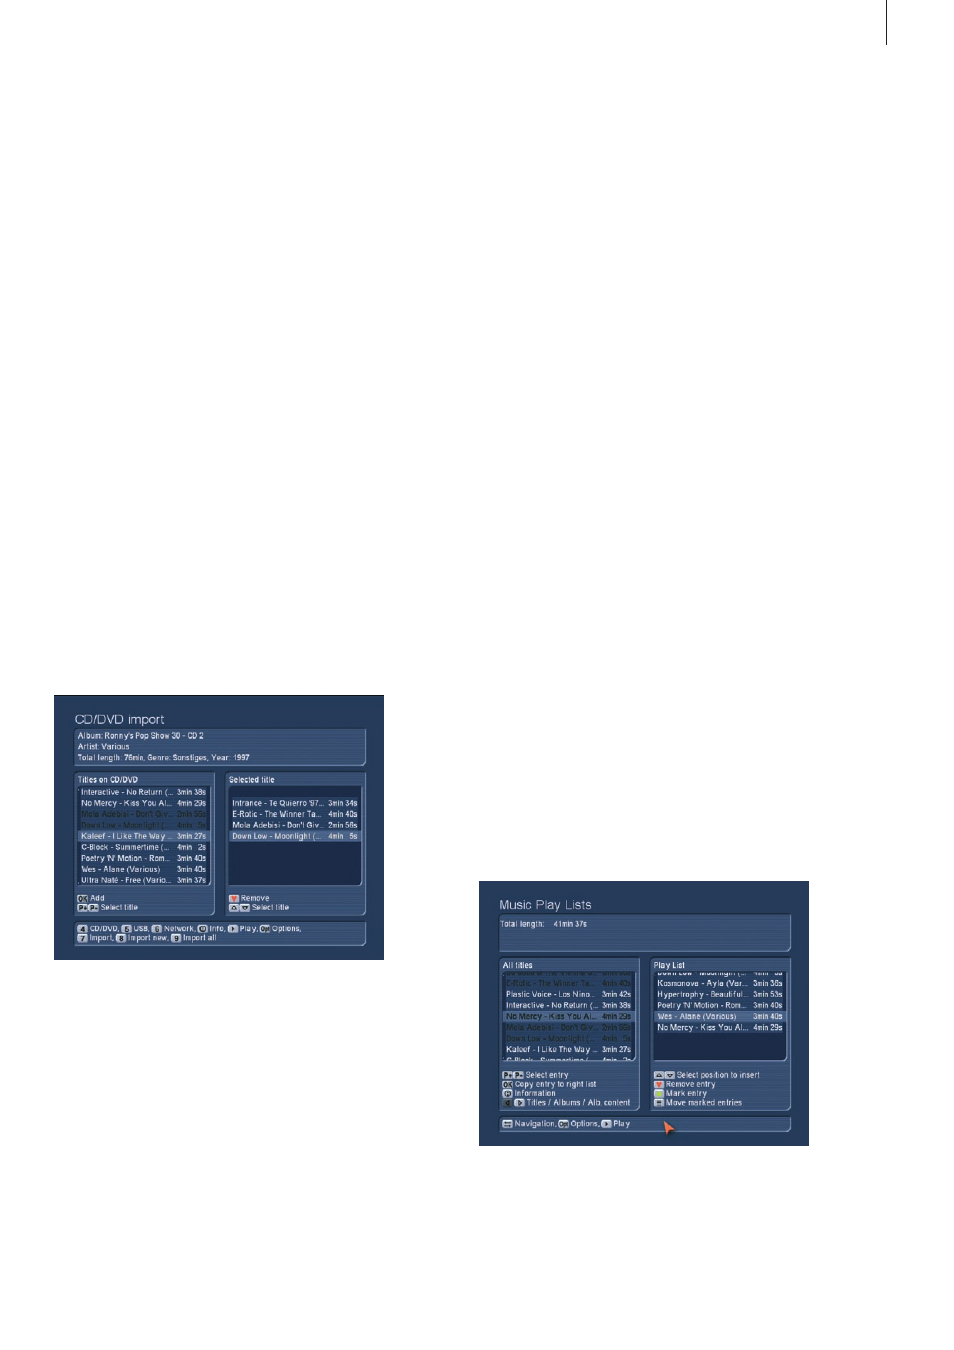
Once you are in the main menu, press button 5 to enter the
Music Archive . Here, press the Record button to enter the `Im-
port CD/DVD´ . Open the disc tray by pressing the eject button
and insert a music CD or an MP3 data disc . Close the tray and
wait until the music titles contained on the disc appears in the
list to the left .
Note: The tray closes automatically after a minute even if you
do not insert a CD.
The `Media Manager´ supports a system which recognizes the
titles on the CD automatically, called CD-Text . In some cases
a CD may not be recognized . If the CD has been created with
title information, this will be shown on the screen in any case . If
you have burned the CD yourself, you may have activated the
function for keeping the title information . The Media Manager
will of course then display the titles . The top part of the screen
shows album title, the artist, length, genre and the year of
release . If you insert an audio CD, you can press the `Options´
button to address the storage format . The available formats
are three quality settings (high, medium and low) . Press the
Return button to go back to the archive . For the sake of this
explanation, choose 5 titles and press OK to copy them to the
list on the right, indicating these titles to have been selected .
The added titles are shown in black in the list on the left . When
you are done adding all 5 titles, press `7´ to import the music
to the hard-drive . During the import procedure, a progress bar
will be shown for both the entire import and each title itself .
To check if the music has been imported correctly, press the
Return button on the remote or the right trackball button to go
back to the archive . You should now see the 5 titles in the list .
The top part of the screen will show you any names, albums,
artist, genre and the date .
If you can‘t see the 5 files, chances are you are seeing the
album (folder) instead . Press left/right to enter the album and
see the single tracks . If everything has worked out fine, you
can repeat the process for another 2-3 CDs to have enough
variety for the next few examples .
Note: During import, the system automatically checks if the file
already exists on the hard-drive . Is this the case, you‘ll find any
existing items colour-coded in the list . If the title is the same,
but all other information not, the item will be shown in yellow . If
the title, album and length are the same, it will be shown in red .
If you want to organize your music in the music archive, for
example in order of importing, length or alphabetically, simply
press the green clover button and choose the method that
suits your needs .
1.6 Creating a play list
To turn the imported music files into a play list, press the
`Playlist´ button (on the remote, this is the List button) and
enter the `Music Playlists´ screen . The left list shows all titles
available . The right list is the actual play list . You can now add
titles from the left list to the playlist . To do this, select the files
one after another and add them to the playlist by pressing OK
each time .
That‘s it . Your first personalized play list . You can now use the
list for playback . The top part of the screen shows the informa-
tion panel with total length .