Media manager reference – MacroSystem Bogart SE Ver.2 User manual User Manual
Page 78
76 Appendix
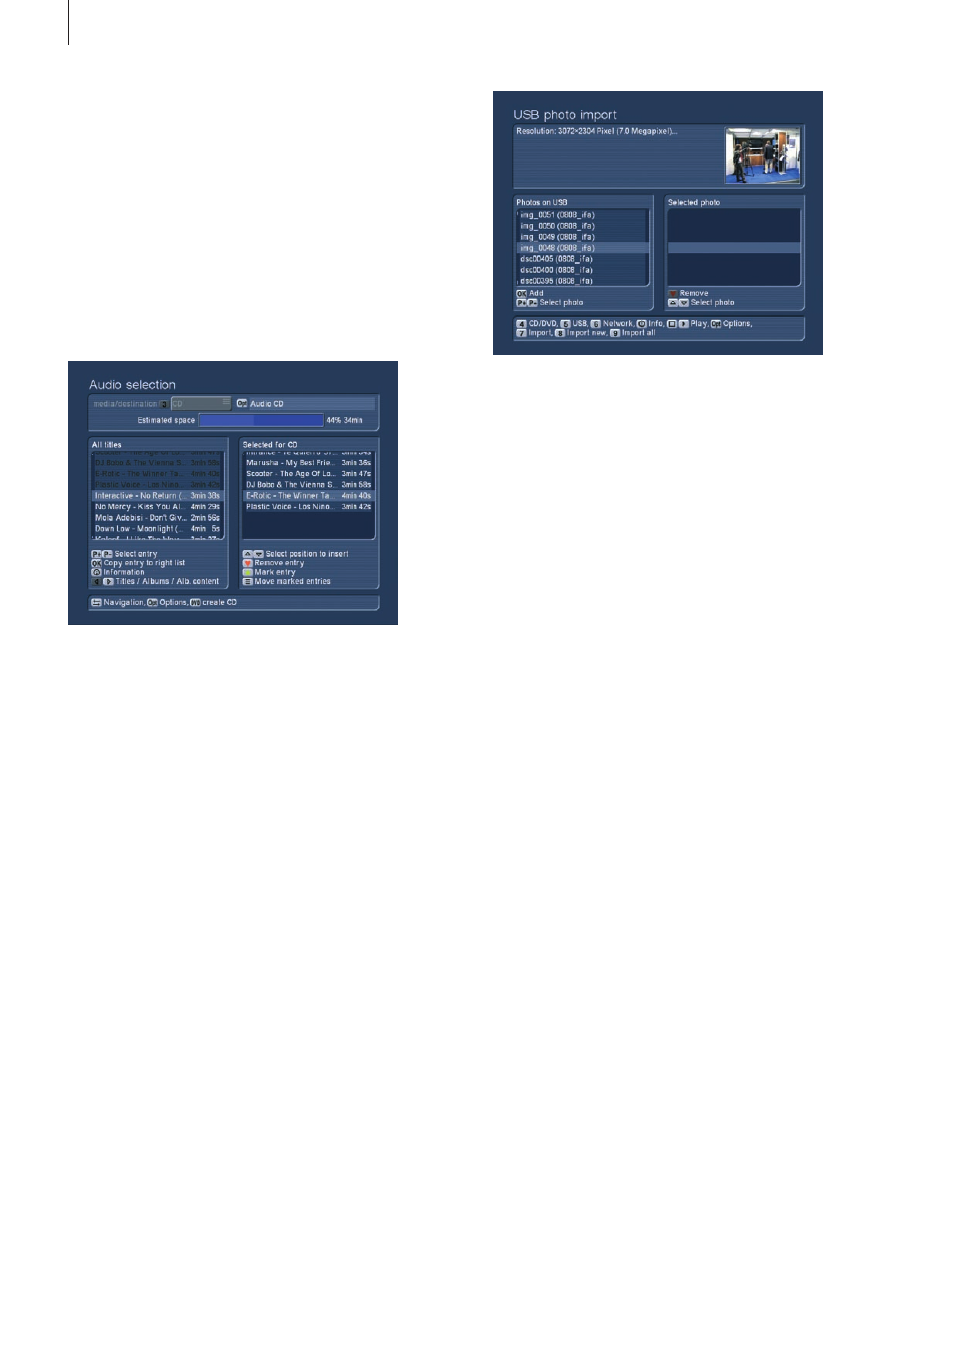
1.7 Creating a music CD
Enter the music archive and press the DVD button (export/burn
DVD) to start putting together content for your CD . The left list
will show your imported music . Make sure to adapt the view if
you can only see the album names by pressing left/right and
selecting the title display . Press the P+ and P- buttons on the
remote or use the select button on the trackball to mark an
item and then OK to add it to the list on the right (selected for
CD/DVD burning) . The title you have added will be displayed in
black in the list on the left, to show you that it has already been
used .
Repeat this for all other music tracks that you wish to burn
onto CD . You can add them in any order you like . The top part
of the screen will show you the expected space required on
the disc . This figure depends on the medium you are using . If
you want to change the medium to a CD, DVD, dual layer DVD
or even Blu-ray disc, use button 3 to change the medium type .
It is also possible to select USB as the storage medium . You
can read more about this in chapter 2 .3 .8 . Next to the time,
you can see the exporting `Options´ . Especially when exporting
audio, you may have particular needs for the compression
type . Your choice will be shown here as a text . Once you are
happy with the medium type and titles chosen, press the DVD
button to begin exporting, i .e . burning the disc . A progress bar
will show you how long it will take .
1.8 Creating a slide show from the
photo archive
Enter the photo archive and press the `Record´ button to reach
the photo-import section . Next, choose the medium that you
wish to export the photos from: `4 . CD/DVD´, `5 . USB device´
or `6 . network´ . Having done that, it will take a few moments for
the list of photos that are stored on the medium will appear .
The top right corner shows a preview of the currently selected
photo .
Use the remote control buttons P+ and P- (or the left trackball
button) to navigate the left list and add the photos for the slide
show to the list on the right using the OK button . Make sure
to add the photos in the right order for your slide show . When
done, press button 7 to begin importing the photos shown in
the list on the right . As an alternative, you can press `8 . Import
all new files´ or `9 . Import all files´ . As soon as all photos have
been imported, the system will return to the photo archives
menu . The photos will be listed in the lower part of the screen .
Tip: If the slide show is to play the photos in the right order,
make sure that the random image function is deactivated in the
Options panel . Remove the ticked box if necessary . You can
also use the Options to set up the pause time; for example,
you can set it to 7 seconds .
Lastly, press the Play button to watch the slide show . You can
find more playback options and settings explained in chapter 2 .4 .
2. Media Manager reference
2.1 Optical media
In this menu, you can play audio CDs, MP3 discs or video
DVDs . You can also use the Universal Player to play many
kinds of video and audio file formats .
Note: Due to the large number of format types, it is impossible
to guarantee full playback compatibility with all types of files .
There may be unusual format variants that are not suitable for
playback with the Universal Player .
2.1.1 Entering the menu
If you activate the automatic playback for a CD/DVD/Blu-ray
disc in the general settings (chapter 3 .2 .3), the medium will be
analyzed and played right away . This will happen no matter
which menu you are currently using . To play a disc manually,
press `3 . CD/DVD/Blu-ray´ point from the Media Manager main
menu . Open the tray using the eject button, insert a disc and
close the tray again . After a few seconds, the system will have