MacroSystem Bogart SE Ver.2 User manual User Manual
Page 92
90 Appendix
bums´ view and restore the photos back to the list from there .
Make sure to do this soon, as the trashcan items are deleted
when the system requires more space .
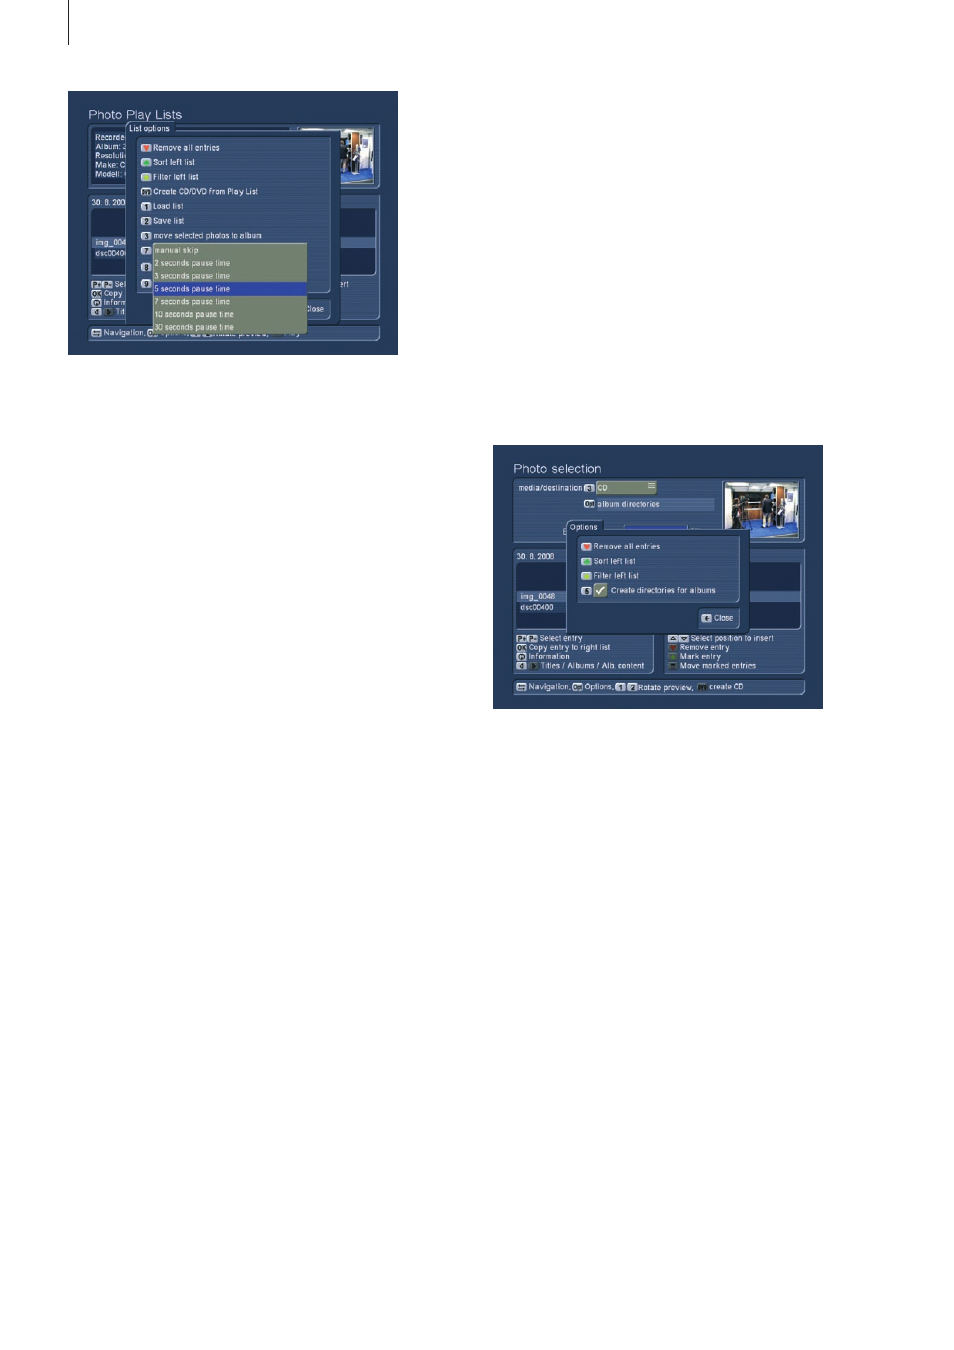
2.4.4 Creating CD/DVDs with photos
Press the DVD button to enter the menu for creating CD/DVDs
with photos . Here, you can assemble a list of images to export
to a CD/DVD or a USB device . With this function, you can
store your photos, give them to family or friends or hand them
to a print service . Operation is basically just like the film archi-
ve, so make sure to read chapter 2 .2 .7 . first . One particular
difference here is the Options menu that allows you to create
folders for albums . In this way, each exported album is stored
in a separate folder .
Once you have created a list of your photos that fit onto the
selected export medium, press the DVD button to create the
CD/DVD . The progress of the export is shown in a bar . An CD-
RW or DVD-RW is automatically deleted (after a safety check) .
A successful burning process ejects the disc tray and you can
remove the finished disc .
Note: Note that the tray is closed automatically after a minute if
you do not close it manually .
• Change still time for photos:
You can press the Play button multiple times to change the still
time during playback .
• Jump to the next photo:
If you wish to jump to the next photo, press the P+ button . To
jump back to the previous image, press P- . The Chapter+ and
Chapter- buttons allow you to jump 10 images back and forth .
• Rotate photos
If you wish to rotate a photo during playback, use the help
menu to press `1´ (image is rotated counter clockwise) or `2´ (to
rotate the image clockwise) . Each press rotates the image by
90 degrees .
• Zoom with pause
Press the help menu button and then the yellow star button to
centre and zoom the image . The centre of the photo is shown
in full quality . During zooming, the slideshow is paused . If you
want to show a different part of the photo, enter the help menu
and use the direction buttons to move in the desired direction .
To re-centre the image again, press OK . To exit the zoom
mode and return to the full image, press the yellow star symbol
once more . This then continues with the slideshow . Alterna-
tively, you can also use the P+ and P- buttons to exit the zoom
and return to the slideshow .
• Pause photo
Press the pause button to hold the slideshow .
• Stop slideshow
Press the stop button to end the slideshow and return to the
menu you started playback from .
• Remove photos
If, during the slideshow, you decide to remove certain photos,
enter the help menu and press the red heart button to tag the
unwanted photo for removing . In this fashion, you can conti-
nue through all your photos tagging all unwanted images . You
can press the red heart button once more to untag the photo
again . When the slideshow ends, all tagged images will be
moved to the trashcan . You can see the trashcan in the `All al-