MacroSystem Bogart SE Ver.2 User manual User Manual
Page 26
24 Chapter 4
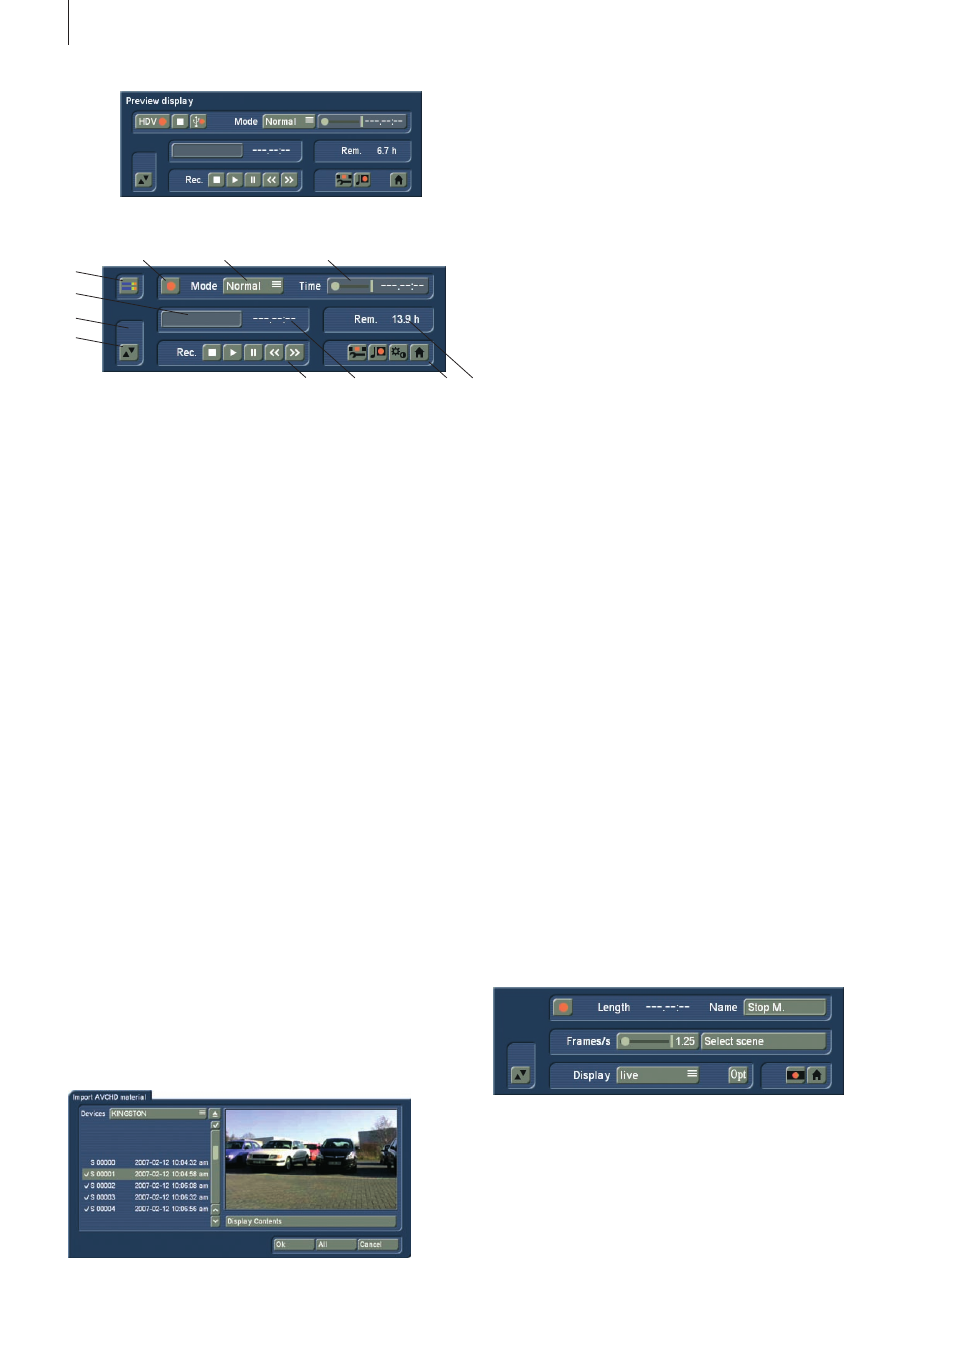
The recording menu for HDV and AVCHD projects
1
2
3
4
5
6
7
11
8
9
10
The recording menu for DV projects
(1) By clicking on the volume display button you can call up
a volume display on the opposite screen edge which serves
to adjust the decibel (dB) level before or during recording
(not available in HDV projects) . Try to set the level as high as
possible in order to achieve the best audio quality, but do not
overdrive it (stay out of the red area!) . You can change the
level by clicking on the dB slider below it . The sound becomes
quieter (up to –30 dB) or louder (up to 20 dB), depending on
whether you move the slider toward the left or right .
Flashing blue or yellow means there are no problems and
flashing red represents overmodulation . Clicking on the volume
display button again closes the volume display .
(2) Start the recording once a video signal is available .
Please
note that during the recording of HDV footage, you can only
see a preview which is not in full frame rate and size . Record-
ing non-HDV footage however, is shown in a full size/framerate
preview .
During recording a click on the trackball right button has the
same effect as pressing the stop button in the small display
You can start and stop recording to not waste drive space with
unwanted video . If you want to divide up your recorded video
material, after recording proceed to the Edit screen . You can
find more information in section "4 .5 Editing" under splitting .
In the menu for HD recording, you'll find two record buttons .
One is used for HDV recordings, the other for AVCHD import .
If you connect an HDV camera and wish to record an HDV
tape, play the HDV tape and press the HDV record button .
To record AVCHD files, connect the AVCHD camera with the
USB cable to the editor and press the AVCHD record button .
You will be prompted to select the camera connected . If you
connect multiple USB devices, you will have a list of devices to
choose from . Additionally, there is a list of found scenes .
The list may differ, depending on the type of camera or
source . Select the desired scenes . Use the multiple selection
to choose all or some scenes . Selected scenes will then be
marked with a tick .
Once confirmed, you can load the chosen scenes and will find
them in the scene bin . You can now split the scene – either
manually or automatically .
(3) The selection button "Mode" offers several possibilities . In
HDV projects, they may partially not be available .
"Normal": means a normal recording .
The setting "Time" activates the "Time" slider (see item (4)),
with which you can set the recording duration exactly . After
this time, recording is automatically stopped .
The setting "Photo" is appropriate for single flicker-free pic-
tures . Casablanca records about a half second of material that
is then extended as a single image to the duration you have
set (see (4) "Time") .
The video recording mode “Fast M .” allows you to create ex-
treme fast motion recordings using Bogart SE . To use it, con-
nect your camera and switch it to record mode . Make sure that
there is no tape in the camcorder . Focus and light should be
manually set to an optimal value . The camera should be stand-
ing firmly or be mounted on a tripod . The “live” image from
the camera shall now be transferred to the video record menu
using the “gerafft” mode at the set intervals . These single
images are then used by Bogart SE toconstruct a continuous
sequence . The slider “Time” is used to set the interval at which
single images are “shot” . For example, if you set theslider to
“00:00:10:00”, Bogart SE will record an image every 10 sec-
onds . The slider allows for values ranging between 1 second
and 24 hours, making even extreme fast motion recordings
possible . If you exit the menu after afast motion recording, the
recorded sequence will be placed as one scene in the edit bin
of the Edit screen . Make sure to use the correct video input in
the video settings .
Note: Fast motion does not record sound.
The “Stop M .” mode allows you to create animations, much
like the famous claymation films . Using this feature, the system
merely records images to create an animation using the stills .
This animation recording (unlike the “Photo” mode) creates
scenes in the scene bin and automatically connects them .
So, to create an animation, connect the camera pointing
towards the object you wish to animate . You can decide if the