7 editing – MacroSystem Bogart SE Ver.2 User manual User Manual
Page 27
25
Bogart SE 2 user manual
scene is to be added to a previous animation (using the scene
bin selection “Choose scene”), or if you want to create a totally
new scene . Define the number of frames per second to be
recorded . As a rule of thumb, animations usually use 3 to 10
frames per second . Fluid animations can be achieved using
about 8 to 10 recordings per second .
The “Display” button changes the live image: “Live” shows you
the currently filmed picture from the camera, whereas “Loop”
plays the last few single frames and the new camera image .
This is useful for checking if the new image suits the animation
so far .
(4) The "Time" slider is activated by the modes Time and
Photo . The Time mode allows setting the duration for the still
scene up to 100 minutes .
In Photo mode you can set the duration of the still scene up to
one minute . You can always stop recording with the stop but-
ton, regardless of the time that has been set .
(5) When a new scene is recorded, the system will automatical-
ly name it (S1, S2 etc .) . Its name is displayed under the record
button . Clicking on the name brings up the keyboard which
allows you to give scenes the name you choose .
(6) This fields shows you how long the recorded scene is .
(7) The field Rem . shows you how much time remains, mean-
ing how much video can still be recorded . This is not displayed
during recording; it is switched to a smaller display . This
amount is an estimate . The system calculates the remaining
time on the basis of the level of detail of the material already
recorded . The value is not recalculated until the current record-
ing is finished . If the quality settings change, the actual space
may be slightly more or less than this estimate .
(8) Just like the video settings, this menu is superimposed over
the video . You can see the video during recording and thus
always decide whether you want to digitize a sequence or not .
The symbol at the lower left with the two triangles moves the
panel to the upper edge . This is useful if the panel happens to
be covering important parts of your material .
(9) If you don't need this menu during recording (e .g . DV
control) then you can minimize it with this button to a much
smaller panel . Then the only buttons available are the buttons
described under (8) and the button to return the normal size
record menu .
(10) "DV control" is done with these five buttons . You can
directly control the connected DV device through the i-Link
interface . Please note, however, that not every DV device is
compatible, but you will find that most of them are .
Seen from left to right, the buttons are used to: stop the re-
corder, play, pause, rewind, and fast forward .
Rewind and fast forward have three different effects . Fast
rewind or fast forward results if the button is pressed while the
recorder is in stop mode . Slow rewind or slow forward results
if the button is pressed while the recorder is playing . Clicking
the button while the recorder is in pause mode causes move-
ment of a single frame backward or forward .
(11) The four menu symbols bring you directly to the Edit,
Record/Edit, Video settings, and to the Main menu screens .
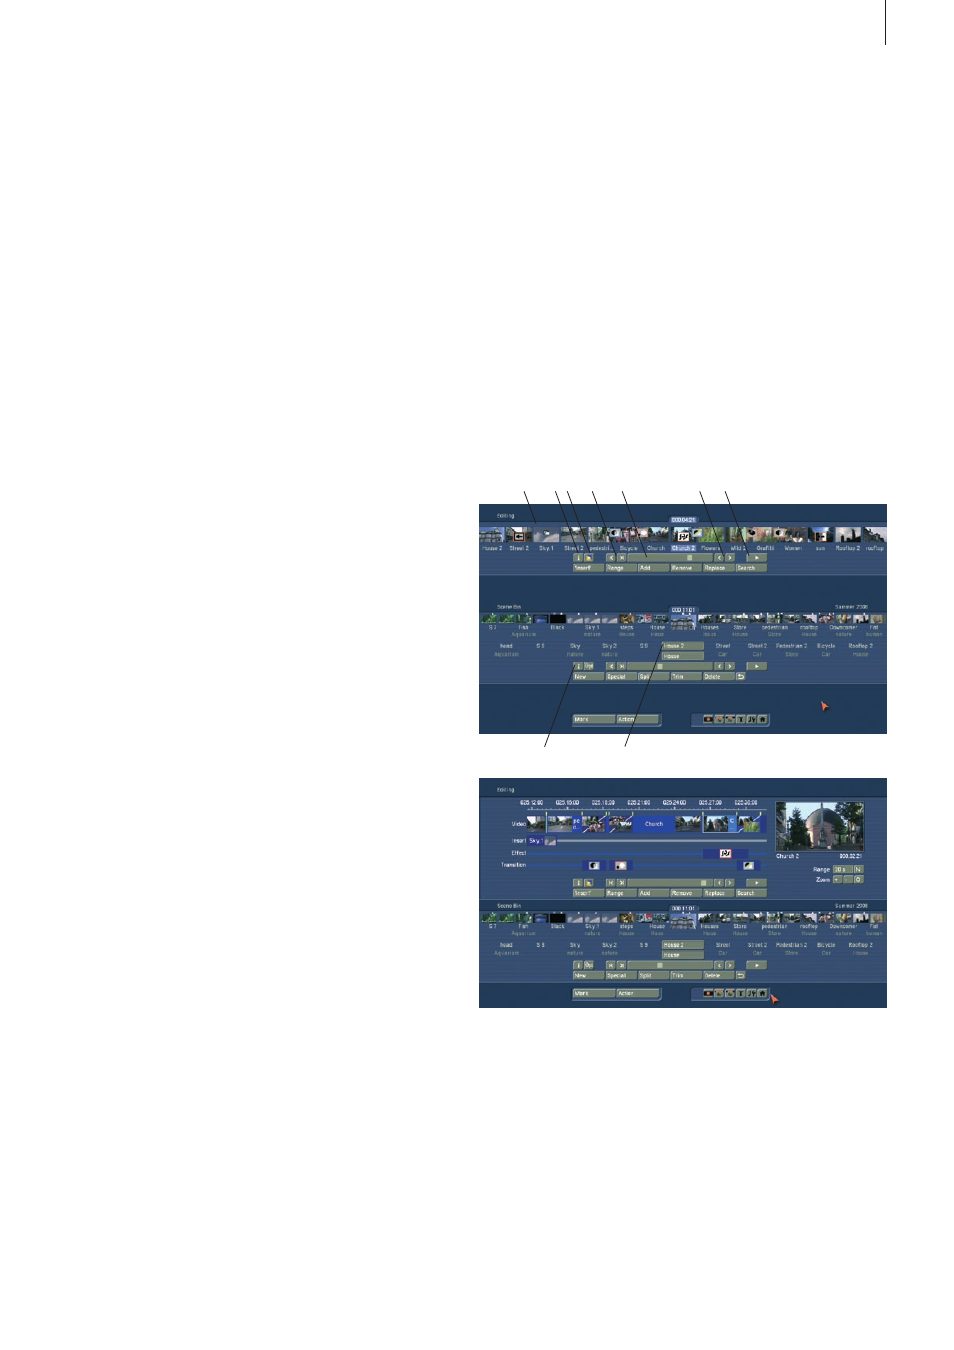
4.7 Editing
This screen is used for most of your editing work, and for se-
quencing of trimmed scenes . This is the most important menu .
The menu can be split in two different proportions which will
depend on the selected screen resolution . Resolutions higher
than 1024x768 pixels will result in a slightly different edit bin
screen section . All the buttons described here are of course to
be found in both view types .
1
2
3
5
4
6 7
11
12
(1) Here you see the storyboard . This is a tool that has been
used since movies were invented . The idea is to clearly lay out
all the scenes of a production in order to more easily imple-
ment editing principles . A single frame, (the first pictures of a
scene), are used as symbols ("thumbnails") to represent the
scene .
A glimpse at the storyboard allows you to grasp the whole
story without having to review all of the material . Traditionally,
the storyboard was a large board composed of hand-drawn
pictures .