MacroSystem Bogart SE Ver.2 User manual User Manual
Page 52
50 Chapter 4
• To the above left you at first see the label “Box 1/1”. You see
the display “Box 1/2” after you have added a text box . After
adding still another text box “Box 1/3” is displayed, and so on .
With the help of the right arrow key you can move forward
through the boxes . The left arrow key is used to display the
previous box .
Note: You can toggle between the text boxes by clicking
directly on the corresponding spot in the preview screen. The
box is then marked with a broken line.
• Use the button “Add” to put an additional text box onto the
video image . When you click the button a dashed box ap-
pears in the upper left corner of the video image . You now use
the trackball to position the box . After the upper left corner of
the box has reached the desired position, confirm by clicking
the left trackball button . Rolling the trackball now determines
the size of the box . Clicking on the left trackball button again
confirms the setting .
You can define any number of text boxes . The last text box to
be added is indicated with a dashed frame . When a text panel
is hidden by others you can make it visible either by resizing or
moving the overlying panel, or by clicking repeatedly the TAB
key on the keyboard (to the left of the letter q) until the text
panel you want appears .
Note: Please note that after calculation the text boxes are
ordered in the same sequence as they were created. The se-
quence that you used to place the boxes on top of each other
is irrelevant for the calculation!
• Clicking on "Delete" causes the active (outlined) panel to be de-
leted . The previously inserted panel now becomes the active panel .
• Both the coordinates and the size of the currently active text
box are displayed at the lower left edge of the task bar .
• With "Move" you can change the position of the active
text box . You drag it with the trackball and confirm the new
position with the left trackball button . Alternatively, you can
position the trackball cursor on the upper left corner of the text
box so that a symbol (four spearheads) appears . Then click
on the left trackball key so that the task bar is hidden and you
can move the selected text box . After you have reached the
desired position, click again on the left trackball key .
• After clicking "Size" you use the trackball to resize the panel
at the upper and right edges and fix the new size by clicking
on the left trackball button . Alternatively, you can change the
box size by clicking directly . Point the screen cursor to the
upper or lower edge so that an arrow symbol appears, click on
the left trackball key and drag the edge up or down by roll-
ing the trackball . Moving the left or right edge functions in the
same way .
If you point the cursor to the lower right edge, a diagonal arrow
symbol appears . Click on the left trackball key and then roll the
trackball to change box height and width simultaneously .
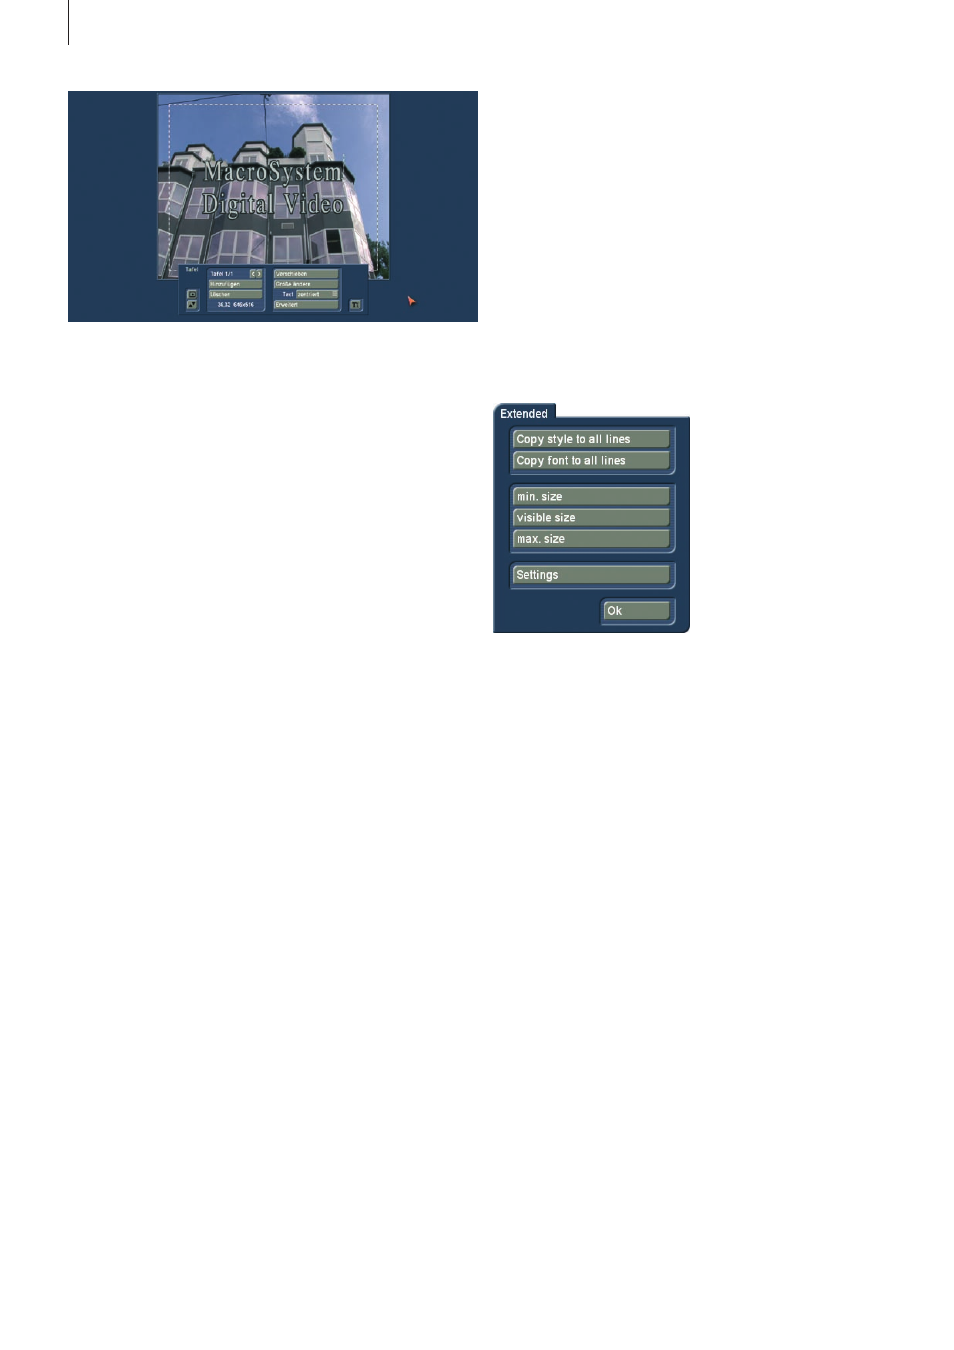
• Clicking on the button “Extended” calls up a display in which
you have several options:
- The function "Copy style to all lines" offers the possibility to
copy the settings made in the window "Style" from one single
line to all other lines on this page . Before you call up the win-
dow "Extended" again, mark the line (place the cursor in this
line) which contains the style you want to copy . After selecting
"Style for all lines", the settings will be copied .
Similarly to the function mentioned above, you can copy the
font of one line to the other lines by clicking on "Copy font to
all lines" . Mark the line which contains the desired font and
choose the function "Copy font to all lines" .
Selecting the “min . Size” button reduces the text panel to a min-
imum, meaning that a narrow border encloses the text inside .
Clicking onto “Visible Size” sets the text panel to a size visible
on a television set .
If you click on the button "max . size" the active box enlarges
beyond the screen edge . This function is helpful, for example,
if you would like to fill the box background with a transparent
color or pattern .
Clicking on the button "Settings" causes a display to appear in
which you can set "Grid" and "Border" .
The "Grid" slider allows you to set the size of the invisible grid .
The box edges are aligned with this grid so that positioning is
easier . With the "Border" slider you set the distance of the text
box to the screen edge .