MacroSystem Bogart SE Ver.2 User manual User Manual
Page 50
48 Chapter 4
line you enter and then specify the desired format . Separate
formatting for individual words or letters in the same line is not
possible .
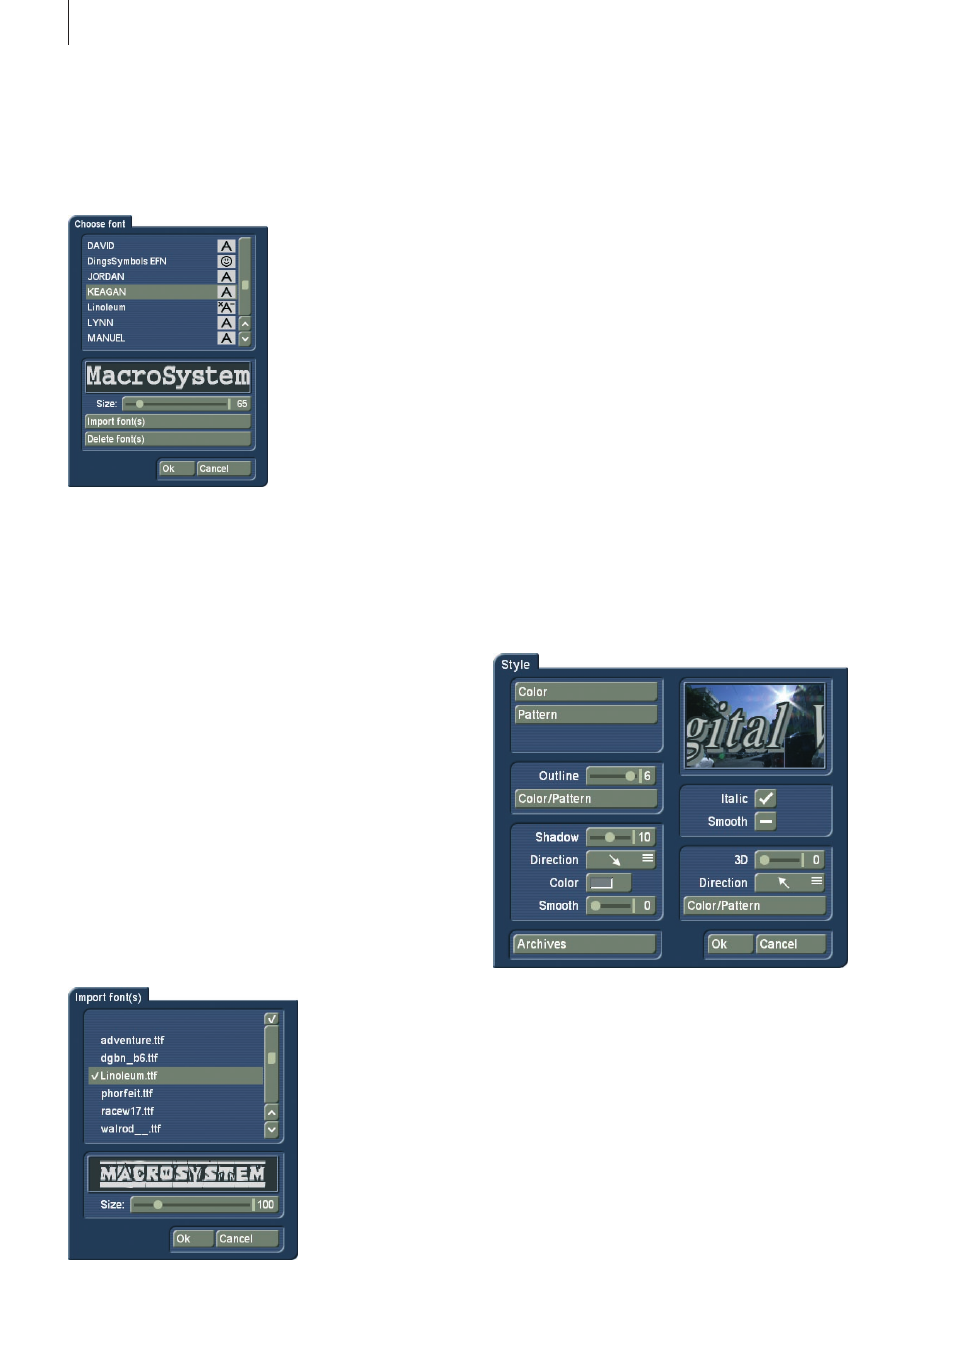
• A click on the button "Font" opens a window in which you
have a choice of fonts and many type sizes (10-500 points) .
The font can be selected by clicking on its name or with the
slider, as you already know from the effect list .
In the list you may also see various symbols next to the fonts .
Most of the supplied fonts are marked with an "A" (this font
contains all the usual Western European characters) .
A font marked with a happy face (there is one supplied in the
standard package) contains pictures and/or symbols instead
of letters and punctuation . Fonts marked with an "A+" also
contain Eastern European characters . These fonts can be
purchased separately .
Fonts marked with an "A-" are not always complete or deviate
from the norm . These fonts are not sold, but can be obtained
free of charge in appropriate instances .
Note: The Carolann font supplied with the standard package
has two different forms for "s", in addition to "ß". The "s" key
on the keyboard is the more frequently used long "s", that is
something like an "f" without the horizontal stroke. The small,
round "s" is mapped to the "#" key. Font size is specified with
the slider. The font and size are displayed with the text
"MacroSystem".
You can also use your own fonts, in addition to the installed
font packages . Bogart SE supports TrueType fonts only .
Press the `Import font(s)´ button . The menu scans any con-
nected or inserted media that may contain font data . When
finished, you will see a list of available fonts . Select a font to
see a preview . The Multi Select function allows you to choose
multiple fonts to import . The number of fonts that can be im-
ported is limited to 100 . Once you have tagged all the desired
fonts, press OK . Once imported, the fonts are added to your
font list . The font appears in the list with the font name and an
`xA´ symbol .
If you have installed too many fonts, you can delete unwanted
fonts . Press `Delete font(s)´, tag any unwanted fonts and press
OK to delete .
• A click onto the “Style” button opens another screen. Here,
you can see a preview to the right displaying a smaller version
of your video . The text part and background are related to the
position of the text cursor . If you have not yet entered text, the
system displays some other letters .
In the top left corner, decide which pattern is to be used for the
text . Press “Color” for the color box or “Pattern” to open the
“Select pattern” screen . In this screen you can select a pattern
of your choice, just as described in section 3 .2 under "Image
pool" . The mode (positive/negative) and alpha value can also
be specified . Clicking on "OK" in "Select pattern" confirms
your settings and you are returned to the "Style" menu .
Now you can see the “Outline” button . With the aid of the
slider next to it, define the strength of the outline with values
between 0 (not active) and 6 (strong) . The “Color/Pattern” but-
ton leads you to the image pool, in which you can decide if the
outline is to consist of a pattern or color .
In the box beneath, you should see the “Shadow” button . Use
it to determine a width between even values of 0 to 20 .
The “Direction” and “Color” of the shadow can now also be
determined .
The slider for “Blur” allows you to change the outline of the
shadow to a blur type effects and thus make it look more
realistic .