Set up a scan to sharepoint profile – Brother ADS-2400N User Manual
Page 212
Scan Using the Control Panel
196
7
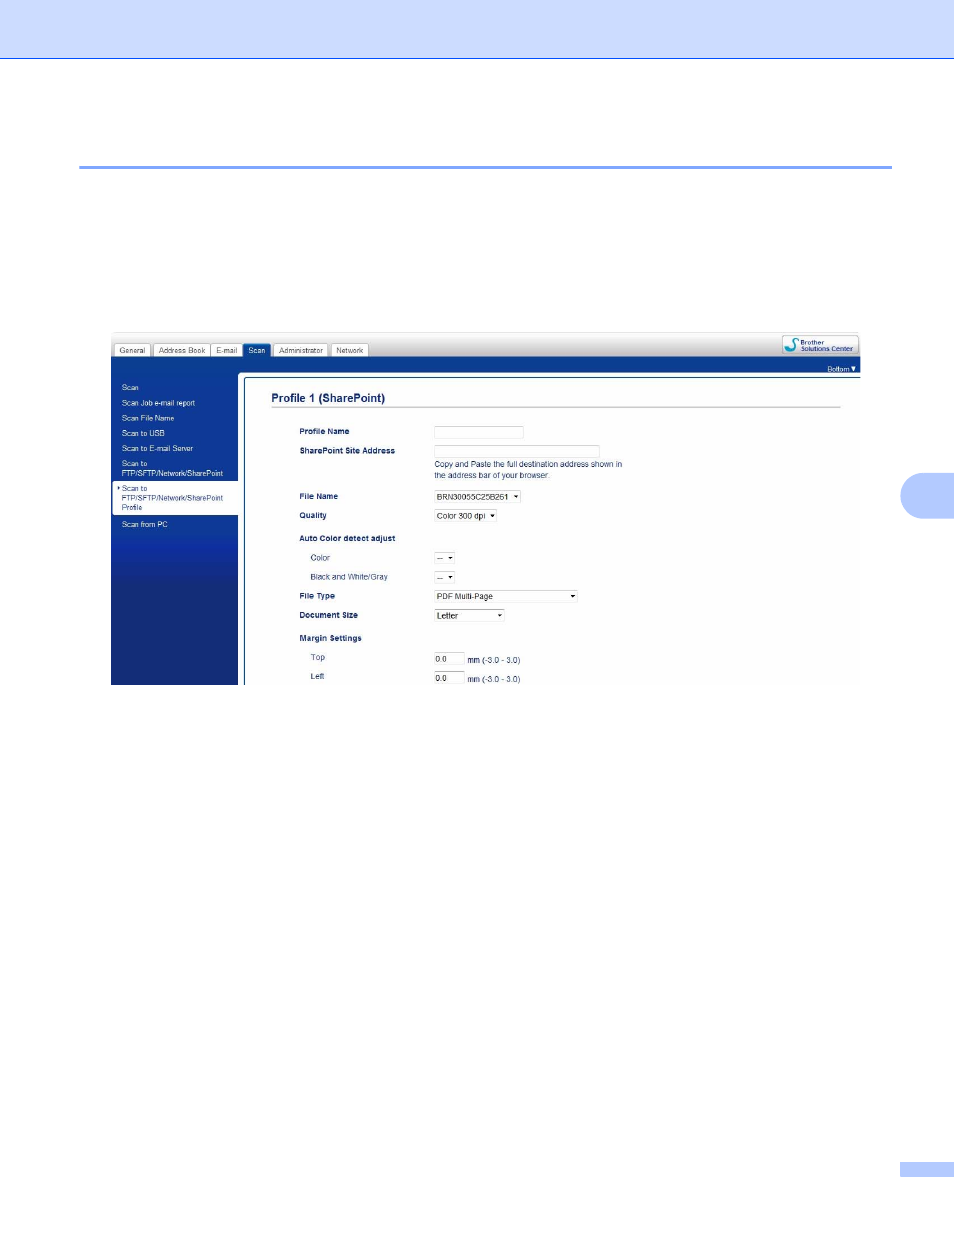
Set Up a Scan to SharePoint Profile
7
1
Click the Scan tab.
2
Click the Scan to FTP/SFTP/Network/SharePoint menu in the left navigation bar.
3
Select the SharePoint option, and then click Submit.
4
Click the Scan to FTP/SFTP/Network/SharePoint Profile menu in the left navigation bar.
5
Select the profile you want to set up or change.
6
In the Profile Name field, type a name for this server profile (up to 15 alphanumeric characters).
This name will be displayed in Destination in Scan to Network Device from the Scan tab
(ADS-2400N / ADS-3000N) or on the Touchscreen of the machine (ADS-2800W / ADS-3600W).
7
In the SharePoint Site Address field, copy and paste the full destination address. (for example:
ftp.example.com; up to 64 characters) or the IP address (for example: 192.23.56.189).
8
Click the File Name drop-down list, and then select a file name prefix from the three preset names
provided, or from fourteen user-defined names. The file name used for the scanned document will be the
file name prefix you select, followed by the last six digits of the ADF scanner counter and the file
extension (for example: “Estimate_098765.pdf”).
9
Set the Color or Black and White/Gray to adjust the detection level.