Run the stratix gx sfp xcvr loopback test – Altera High-Speed Development Kit, Stratix GX Edition User Manual
Page 41
Altera Corporation
Quartus II Version 3.0
4–13
Run the Preloaded Diagnostic Tests
Stratix GX SFP XCVR Loopback
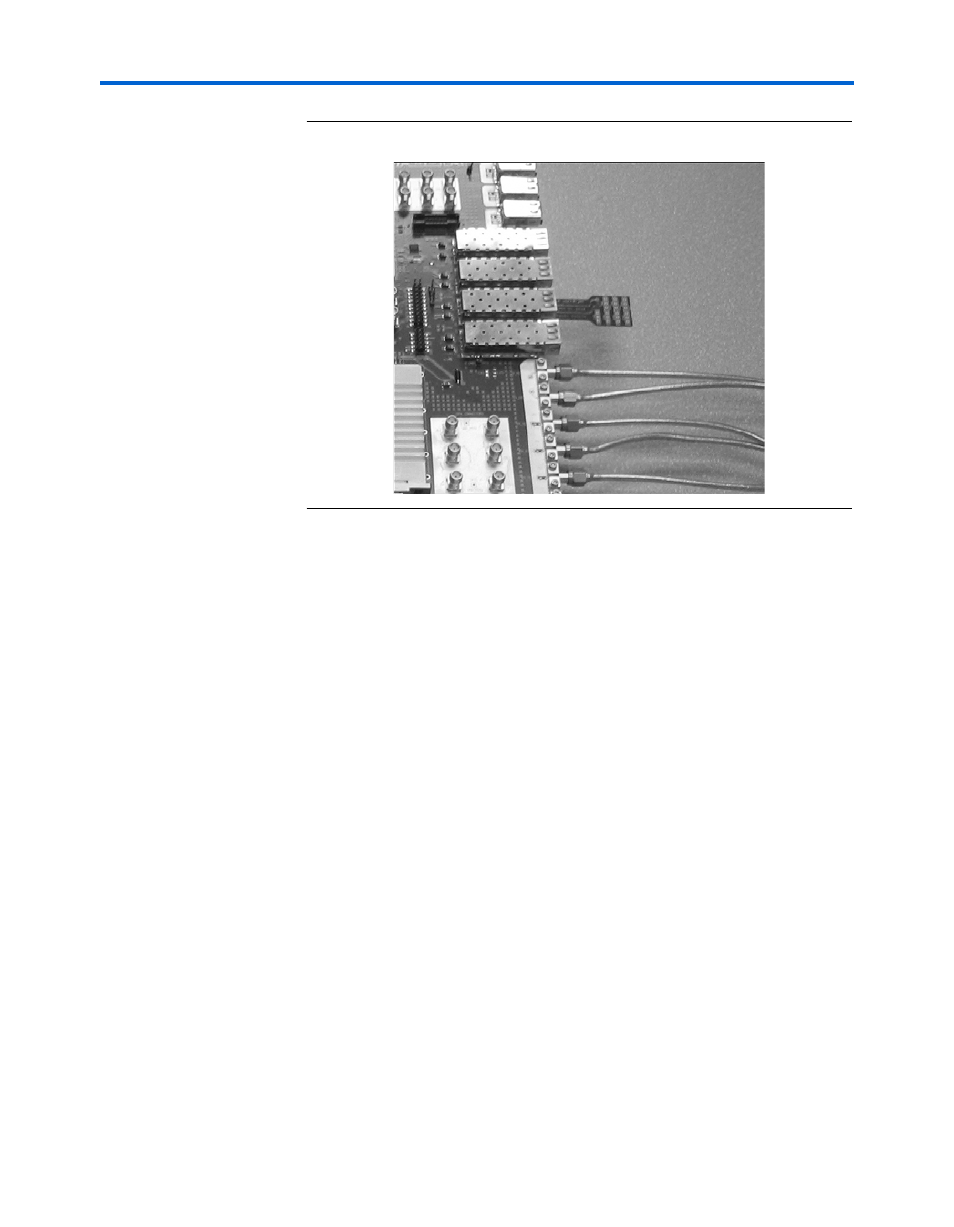
Figure 4–7. Attach the XCVR SFP Loopback Cards
4.
Set the board’s switches as shown in Table 4–1 for this test.
5.
Supply power to the board.
6.
Confirm that the Stratix GX device has finished configuration (the
GX_CONF_DONE (D7) LED illuminates).
Run the Stratix GX SFP XCVR Loopback Test
Perform the following steps to run the test.
1.
Set Stratix GX user dipswitches 5 and 6 to the down position to set
the XCVR setting to SFP.
2.
Press the reset pushbutton switch (GX_DEV CLR) to initialize the
design. The GX_DEV_CLR LED illuminates.
3.
Press the start pushbutton switch (GX PB0). Several LEDs
illuminate.
●
LED0, LED1, LED2, and LED3 are the match lights on a per
channel basis. They illuminate if the test is successful.
●
LED4 indicates that the test is running.
●
LED5 is the error signal.
4.
Press the stop pushbutton switch (GX PB1) to stop the device from
transmitting.