Change the spine of a blended object, Reverse the stacking order in a blended object – Adobe Illustrator CS3 User Manual
Page 248
ILLUSTRATOR CS3
User Guide
242
Align to Path option applied to a blend
Change the spine of a blended object
The spine is the path along which the steps in a blended object are aligned. By default, the spine forms a straight line.
•
To adjust the shape of the spine, drag the anchor points and path segments on the spine with the Direct Selection
tool.
•
To replace the spine with a different path, draw an object to use as the new spine. Select the spine object and the
blended object, and choose Object > Blend
> Replace Spine.
•
To reverse the order of a blend on its spine, select the blended object and choose Object > Blend
>
Reverse
Spine.
See also
“Reshaping objects” on page 220
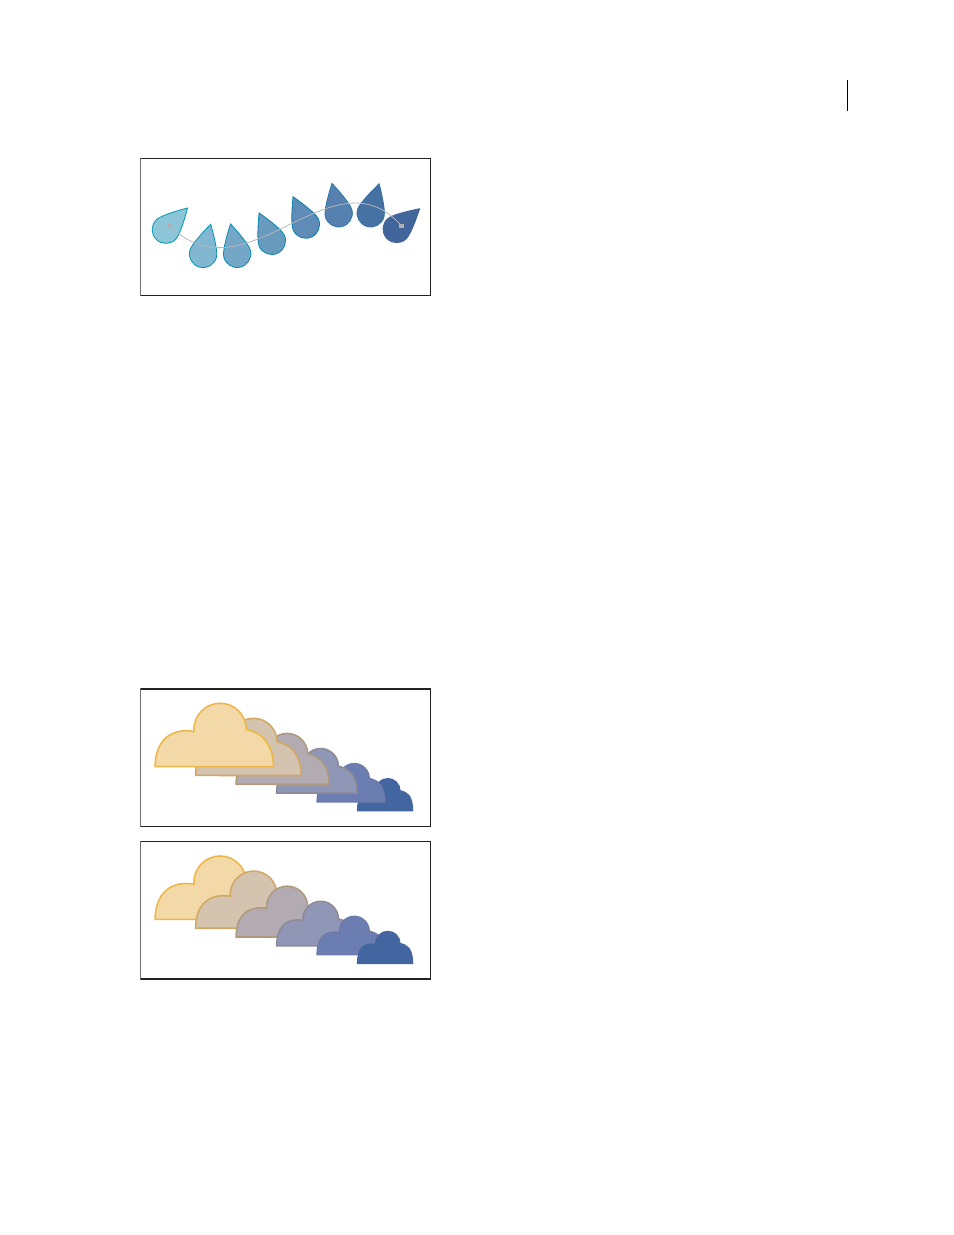
Reverse the stacking order in a blended object
1
Select the blended object.
2
Choose Object > Blend
> Reverse Front To Back.
Original stacking order (top) compared to applying Reverse Front To Back command (bottom)
See also