Adjusting the timeline view – Daktronics Show Control System User Manual
Page 49
42
Daktronics Show Control System
Presentations 201
Match Layout: Adjust the element’s duration to match the layout’s duration.
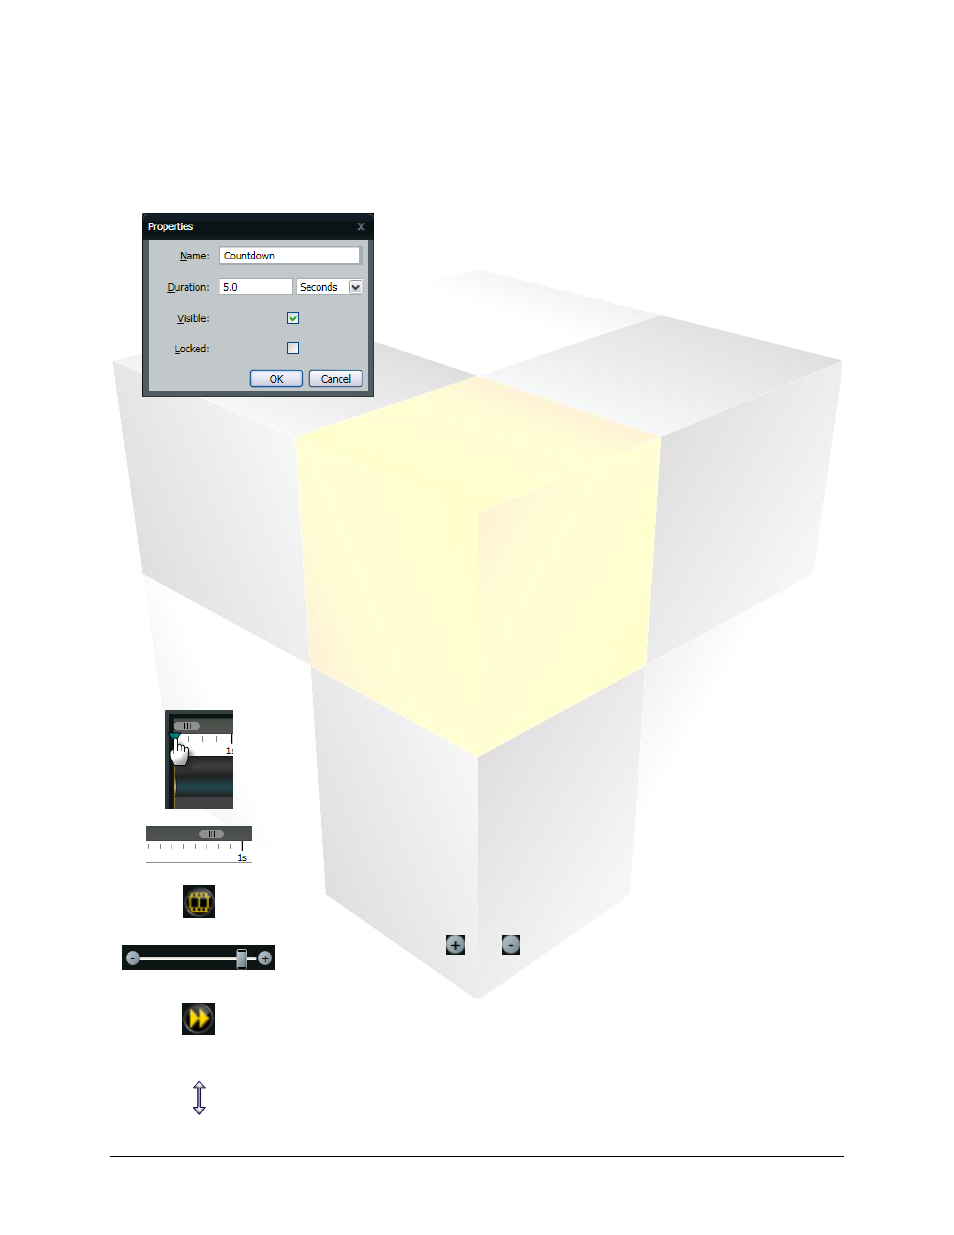
3. Select Properties to view additional options.
4. Edit the layout’s or element’s options as desired.
Name: Edit the name of the layout or element, as it appears in the Timeline.
Duration: Adjust the duration of the layout or element.
Visible: Designate whether or not an element should be visible when the presentation is played.
Locked: Place a checkmark in the Locked checkbox to prevent an element’s start time, end time,
duration, size or position from being modified.
5. When finished, click OK to save changes or Cancel to discard any changes.
Adjusting the Timeline View
Content Studio also provides options for customizing the Timeline to best meet your needs. Use the
following Timeline Options:
Work Area View: Click and drag the arrow to view elements active at a certain
point in time in the Work Area.
Scroll bar: Click and drag the Scroll bar to view earlier or later in the Timeline.
Presentation/Layout View: Click to toggle viewing the entire presentation or
only the current layout on the Timeline.
Zoom level: Click the
and
buttons to adjust the time increment in which
you want to view the Timeline.
Scroll to Current: Click to scroll the Timeline to the currently selected layout.
Resizing Cursor: The Timeline may be resized vertically to reveal more of or
conceal the line items on it. Move your mouse to the top border of the Timeline
until it changes into a resizing cursor, and then click and drag the Timeline to
the desired height.