Grass Valley DMC 1000 v.12.4 User Manual
Page 98
98
DMC 1000 Digital Media Camcorder User’s Guide (v4.0)
Chapter 7 - Recording setup
REV PRO disks
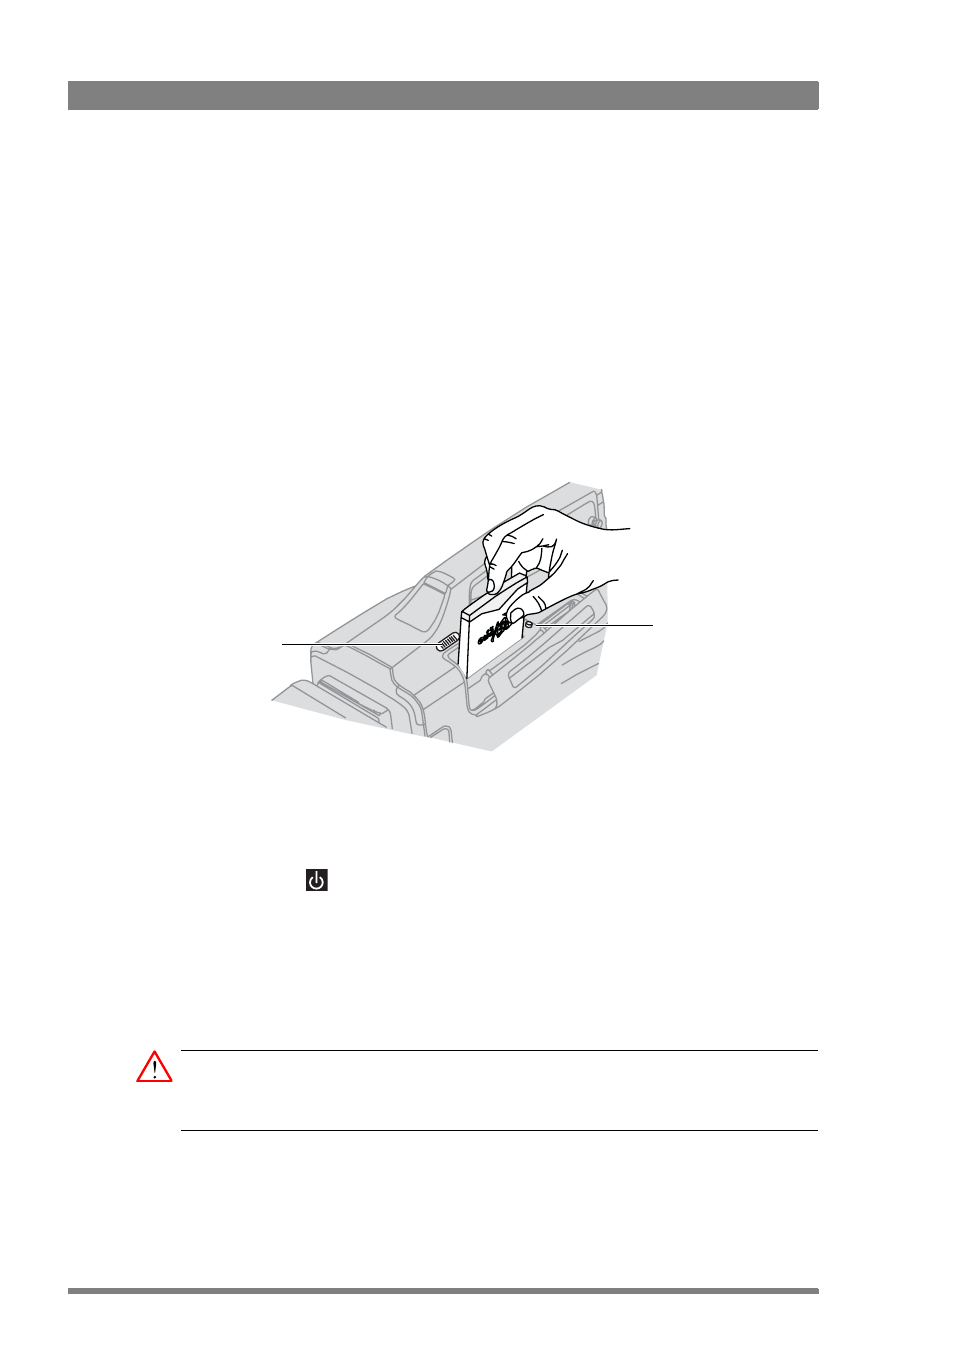
To insert a REV PRO disk into the REV drive:
1.
Ensure that the REV PRO logo on the disk is facing away from the camcorder.
2.
Insert the disk in the direction indicated by the arrow on the front of the disk and push
firmly until it clicks into place.
–
Wait a few seconds for the disk to be mounted. During mounting, the indicator flashes.
–
When the disk is ready for use, the indicator is blue. It lights purple when the disk is full.
–
Close the media bay cover.
3.
In the SETUP
>
FORMATS
>
MEDIA
SELECTION
menu, select REV.
To eject the disk, push the REV eject button and wait for the system to eject the disk (do not
interrupt the power supply).
Emergency disk eject procedure
1.
Disconnect power (battery, external supply) from the camcorder and set the power
switch to the
position.
2.
Insert a long (at least 40 mm / 1½”) metal pin (e.g. a paperclip) into the disk eject hole of
the REV drive. The hole is located next to the slot at the inner side of the media bay.
3.
Push the pin firmly down until the REV disk is tilted upwards.
4.
Pick up the disk a the top and gently pull it out of its slot.
5.
Reconnect power and switch on the camcorder.
Caution
Never use the emergency eject procedure while power is on. Never force a disk into or out of
the REV drive: this could damage both the drive and the disk.
Media bay
cover switch
REV eject button and
status indicator