Custom alphabets – Wavecom W74PC V8.7.0 User Manual
Page 73
WAVECOM Decoder W74PC, W-PCI/e, W-CODE, W-CLOUD Manual V8.7.0
First start
63
Custom Alphabets…
Custom defined alphabets are also available. This feature allows the user to add alphabets of his own cre-
ation that have not been defined by WAVECOM, and to add variants of existing alphabets.
Only 5-bit alphabets are accommodated, and the number of custom alphabets is limited to 16.
The Custom Alphabets… dialog box displays a number of input fields:
Clicking Save As… opens a dialog box, in which to enter a name for the newly created translation
table. Press OK to close the dialog box and save the new translation table. The translation table
contains the actual values set in the Alphabet Translation Table dialog. The name of the new
table appears in the Alphabet combo box and a new .xml file with the name of the table is creat-
ed containing the table data.
Pressing Save stores the current dialog settings to the translation table that is active as shown in
the Alphabet combo box. The data is stored in the related .xml file.
Clicking Delete deletes the active translation table.
Pressing Undo will replace the new, user selected values in the dialog box with the values stored
for the current alphabet.
The Update List is used to add the user created alphabets to the list of alphabets. By pressing the
Update List button, the Alphabet directory is searched for .xml files related to new alphabet. If a
new one is found the list and the Alphabet combo box are updated.
The Alphabet combo box shows the names of all translation tables. By selecting an entry the
stored data for the specific translation table are displayed. Note that the most recent changes to
the current alphabet are not saved until Save is pressed.
Select the font that is used to display the translation tables by pressing Font.
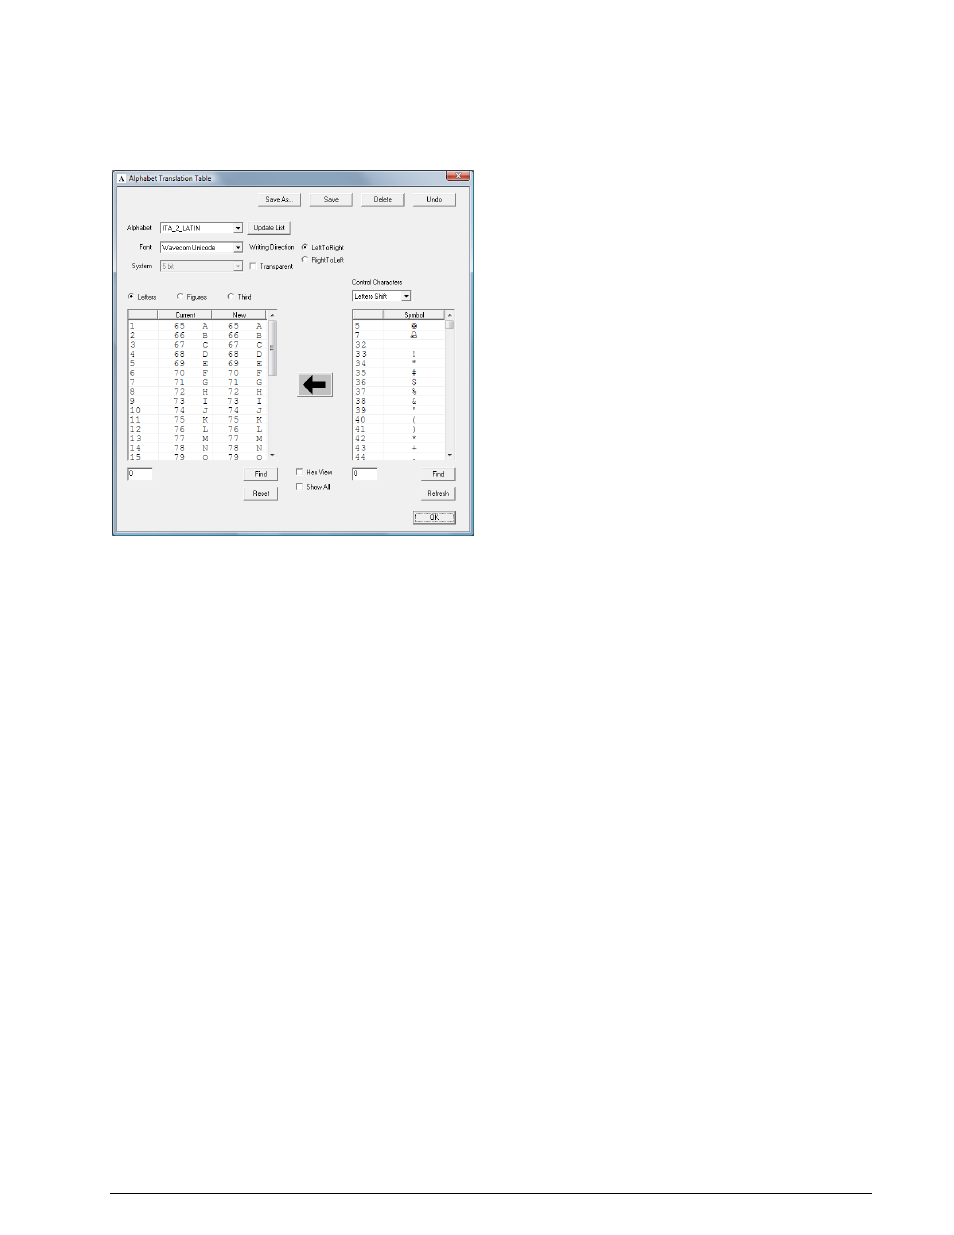
The Alphabet list control (left list) displays the characters defined for the current alphabet. The
first column shows the position index in the alphabet for the characters. The second column (Cur-
rent) shows the currently defined value of the character at the selected position. The third column
(New) shows the user defined character value. By pressing the Save button, the Current value
becomes the New value.
The Font list control (right list) displays all the characters defined in the selected font. The first
column shows the decimal or hex character value. The second column (Symbol) shows the char-
acter. Selected characters are copied to the selected rows in the Alphabet list by pressing the Ar-
row () button.
Using the Writing Direction radio buttons, a LeftToRight or RightToLeft output direction of the
decoded text may be selected