API Audio 1608 Automation User Manual
Page 102
13.3 Default Positions
A set of fader, mute, and insert positions can be stored in the console as the “Default Positions.”
This is a convenience feature that allows a commonly used set of positions to be stored and
reloaded as needed. This is very useful if the same starting place is used on multiple or repeated
projects and can be thought of as a “default snapshot.”
Default Positions are stored using the procedure outlined below in section 13.3.1 Saving Default
Positions.
Default Positions are reloaded whenever the automation package is powered-up or after the
RESET button has been pressed.
Default Positions are stored in the Automation Controller, independent of any project.
Accordingly, they can be created and saved without a project being open.
The Default Positions can also serve as the “initial positions” for an automated mix. If “With
Existing Mix” is not selected in the New Project dialog box when the project is created, the Default
Positions will be the “initial positions” in the default mix (Mix 1) for the new project.
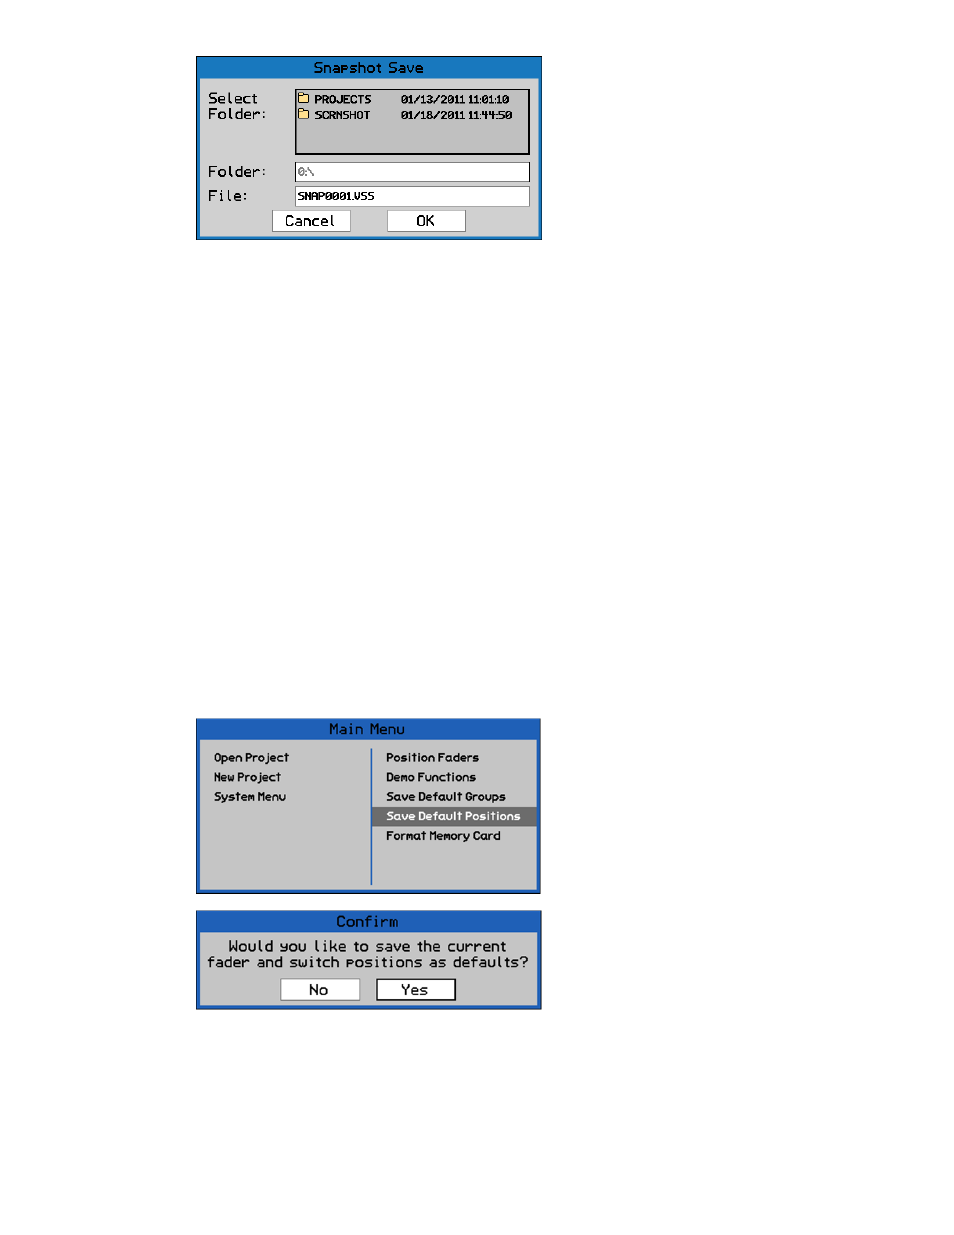
13.3.1 Saving Default Positions
To save the Default Positions, put all channels in MANUAL mode and set the faders, mutes,
and inserts to the needed positions. Once the controls have been positioned, open the Main
Menu from the Status Page.
13.3.2 Reloading Default Positions
To reload the Default Positions, carefully press the RESET button on the Automation
Controller. It is the recessed button next to the MEMORY-CARD slot. You’ll need a toothpick
or paperclip to access the button. Alternately, cycling the power for the automation package
will reload the Default Positions.
Highlight “Save Default Positions” and
press the SEL (Select) button.
A confirmation dialog box will open.
Highlight “Yes” button and press the SEL
(Select) button to save the current fader,
mute, and insert positions as the Default
Positions.
Highlight “No” and press SEL (Select) to
cancel.
After selecting “Ok”, the “Snapshot Save”
dialog will open. Choose a location and
file name as is described in section
13.2.4 “Project: Export Snapshot”