Zoning, Figure 26. zoning screen – MultiDyne ACI-2058 User Manual
Page 109
Chapter 6: Ports/Blades
A54-3000-100 A
70
A
PCON
, Inc.
6.4.5.
Zoning
Sets up zones and defines the properties of each zone.
To access zoning options, select:
Ports/Blades>Configuration>Zoning
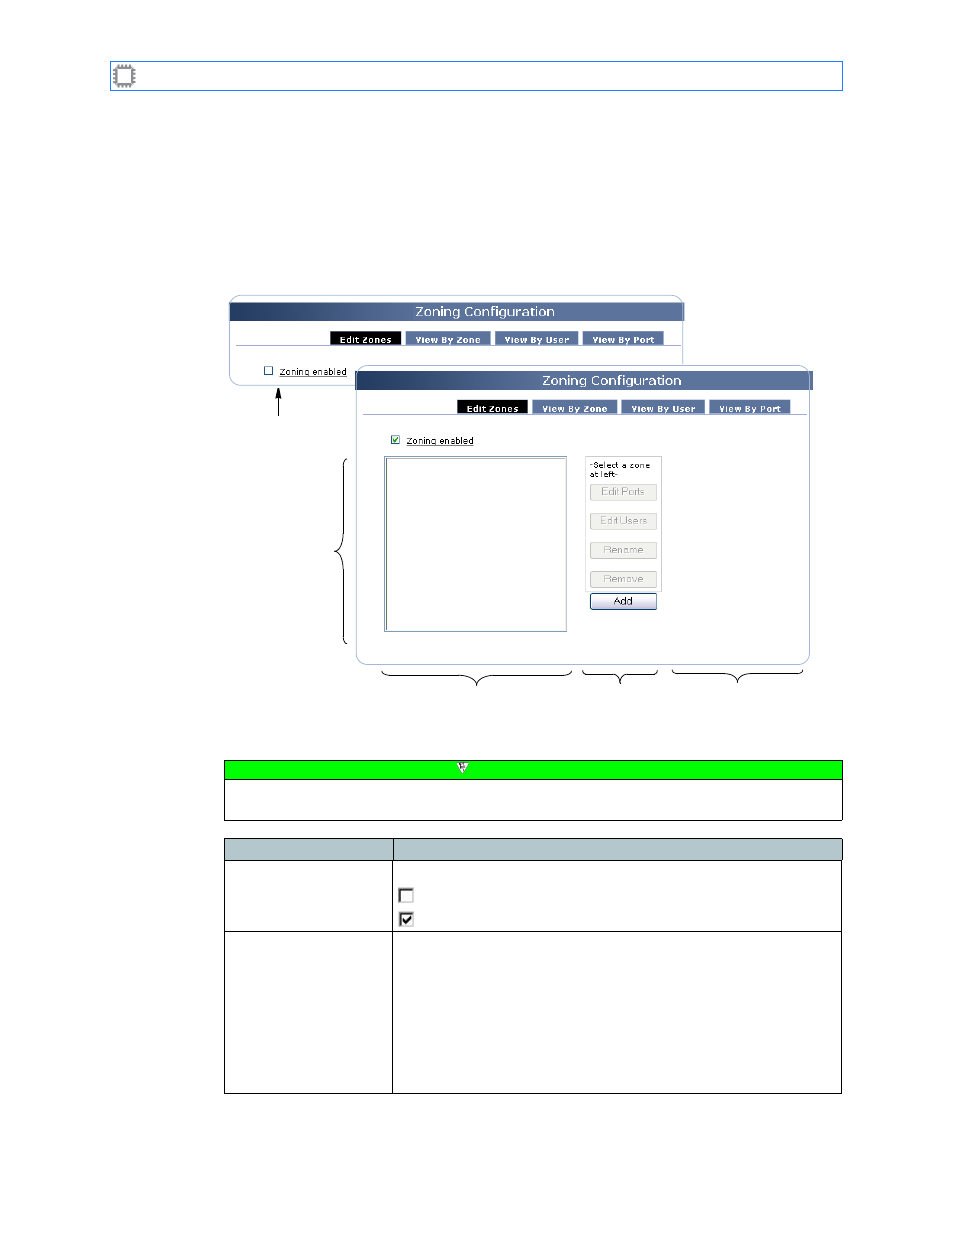
This screen displays on the Canvas:
The screen includes these options:
Figure 26. Zoning screen
Screen appearance
before checking the
checkbox
Details that display
after checking the
checkbox
Zones
Zone listing
Buttons
Note
To make changes on this screen, your account must have Administrator permission
privileges. For details about permissions, see
Field
Description
Zoning enabled
Determines how zones are used:
Unchecked (default): Disables zoning.
Checked: Enables zoning.
Zones
Displays zones available on this switch. To create a zone:
1. Click the Add button. The Explorer User Prompt dialog box
displays.
2. Type a zone name, then click the OK button. The
displays. For details about this screen, see
3. Select the ports you want to include in this zone, then click the
save button. The Zoning screen displays.