Chapter 3: install and set up the switch, Plan the installation, Figure 2. installing the switch – MultiDyne ACI-2058 User Manual
Page 14: Install and set up the switch, Chapter 3
A54-2058-000
10
A
PCON
, Inc.
Chapter
To install the ACI-2058, follow these steps:
The rest of this chapter details the above steps.
If you experience difficulty during installation, contact your sales office or A
PCON
Technical
Support. as described in
3.1.
Plan the Installation
Do this planning before you start installation:
•
If you plan to rack-mount the chassis, ensure you have the tools needed to mount the
chassis flanges to the rack.
•
Ensure there is enough power into the rack to support all units you plan to install. For
power requirements, see the Power section in
•
Plan how to route fiber-optic and Ethernet cables to the ACI-2058. Also acquire the
cables. The ACI-2058’s fiber-optic connectors are of the LC duplex type.
•
Plan how to meet the chassis’ requirement for air that enters via the left side (as you face
the unit) and exits at the right.
Chapter 3
Install and Set Up the Switch
Chapter 3
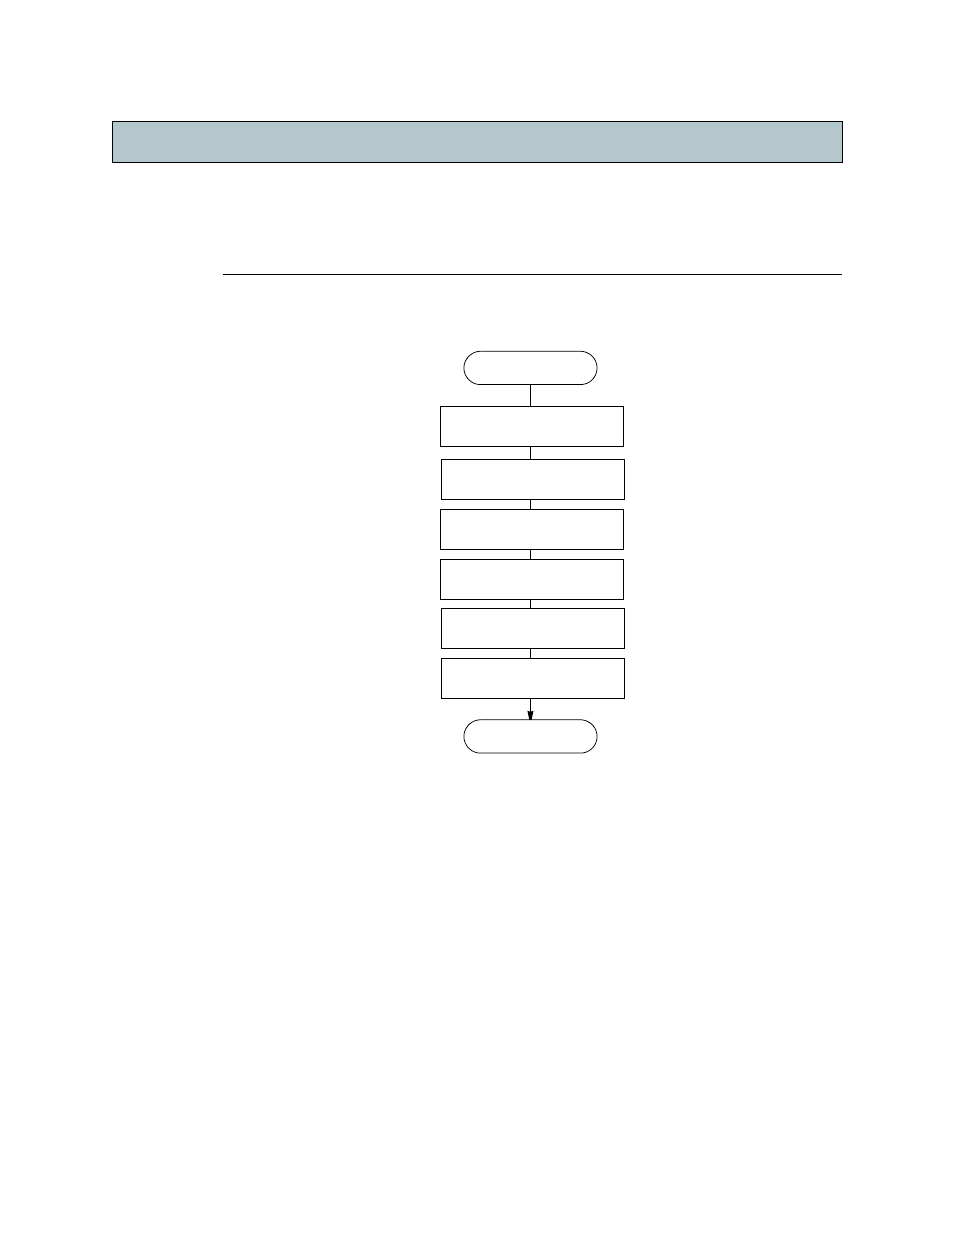
Figure 2. Installing the Switch
Power up
Plan the installation
Start
Done
Unpack the carton
Install the switch
Set IP Address
Access the Switch