Rack installation, Table top installation, Install blades and transceivers – MultiDyne ACI-2058 User Manual
Page 16: Power up, Table 2. led operation
I
NTELLA
P
ATCH
Switches: ACI-2058 User Manual
A54-2058-000
12
A
PCON
, Inc.
3.3.1.
Rack Installation
The ACI-2058 ships with rack mount flanges attached. To install the switch in a rack:
1. Set the unit into position on the rack, aligning the mounting bracket holes with the
rack holes.
2. Install the chassis in the rack, securing the chassis with the appropriate screws.
3.3.2.
Table Top Installation
The ACI-2058 ships with “feet” for installation on a flat surface, such as a workbench. To
attach the “feet” to the switch:
1. Remove the backing from a “foot”.
2. Attach the “foot” to a bottom corner of the switch.
Repeat these steps for each of the four “feet.”
3.3.3.
Install Blades and Transceivers
The ACI-2058 typically ships with all blades and transceivers installed. If they are not
installed or if you need to move them, see
on page 20 or
3.4.
Power Up
1. Turn on the ACI-2058’s three AC power switches, located on the rear panel.
2. Verify each power supply’s operation by checking the LEDs:
Threehot-swappable AC power supplies provide redundant power to the unit. If one power
supply fails, operation is not affected; however, an alarm sounds and that supply’s fault LED
lights. This alarm can be turned off using any of the software interfaces; for instructions, see
the specific software manual.
Note
If the switch is installed in a rack with other equipment, ensure that you don’t overload
the wiring circuits. In all cases, make sure power strips and wall sockets are grounded.
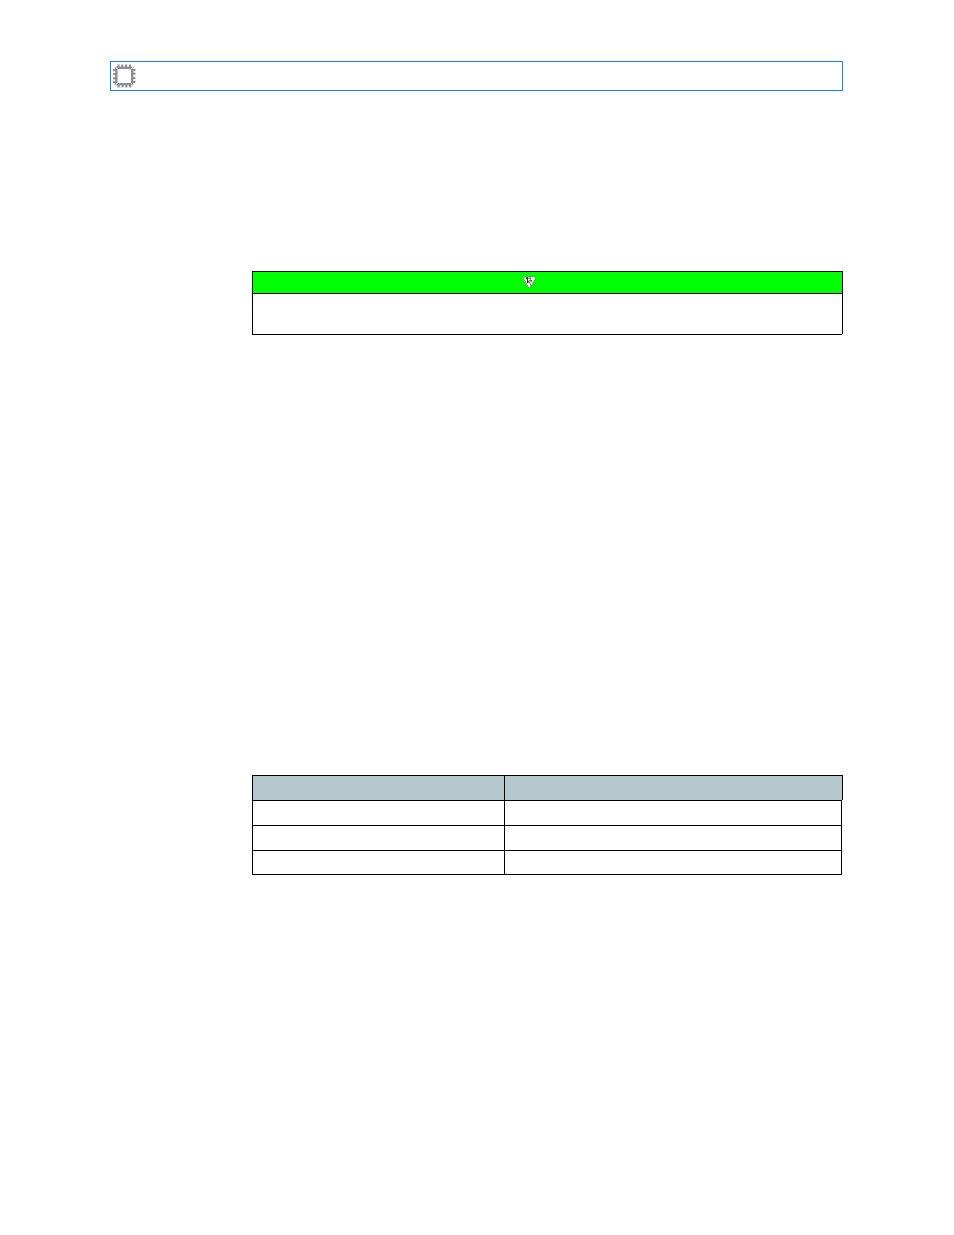
Table 2. LED Operation
LED state
Description
Power LED lit
The power supply is functioning normally.
Fault LED lit
The power supply is not functioning.
Power and Fault LEDs off
The power supply is not functioning.