Connecting multiple switches, Connecting multiple switches with serial ports – MultiDyne ACI-2058 User Manual
Page 21
I
NTELLA
P
ATCH
Switches: ACI-2058 User Manual
A54-2058-000
17
A
PCON
, Inc.
B. Click the Change button. The switch reroutes the browser to the new address.
C. Exit the browser.
6. Reconnect the host computer to your network.
A. Reset the host computer’s IP address, subnet mask, and gateway settings to their
original values.
B. Re-cable the host to the network.
C. Ensure that the switch is cabled to the network with a standard Ethernet patch cable.
You can now configure the ports as desired, using the software interface of your choice, and
begin using the switch.
4.3.
Connecting Multiple Switches
You can configure the serial ports to operate as daisy-chained ports. Daisy-chaining switches
allows one computer or terminal to communicate with up to 32 I
NTELLA
P
ATCH
switches.
You can use the LAN ports to connect any number of switches without using a hub or wall
jack.You cannot, however, mix serial and LAN port connections in a single chain.
4.3.1.
Connecting Multiple Switches with Serial Ports
C
ONTROL
X recognizes from 1 to 32 I
NTELLA
P
ATCH
switches when daisy-chained. If you plan to
use multiple switches daisy-chained together, you must first assign a unique device number
to each switch. To do so:
1. Connect the second switch to the host computer using the switch’s COM1 port and a
standard 9-pin straight-through serial cable. (The first switch already has its device
number set to 1 by default.)
2. On the host computer, start C
ONTROL
X.
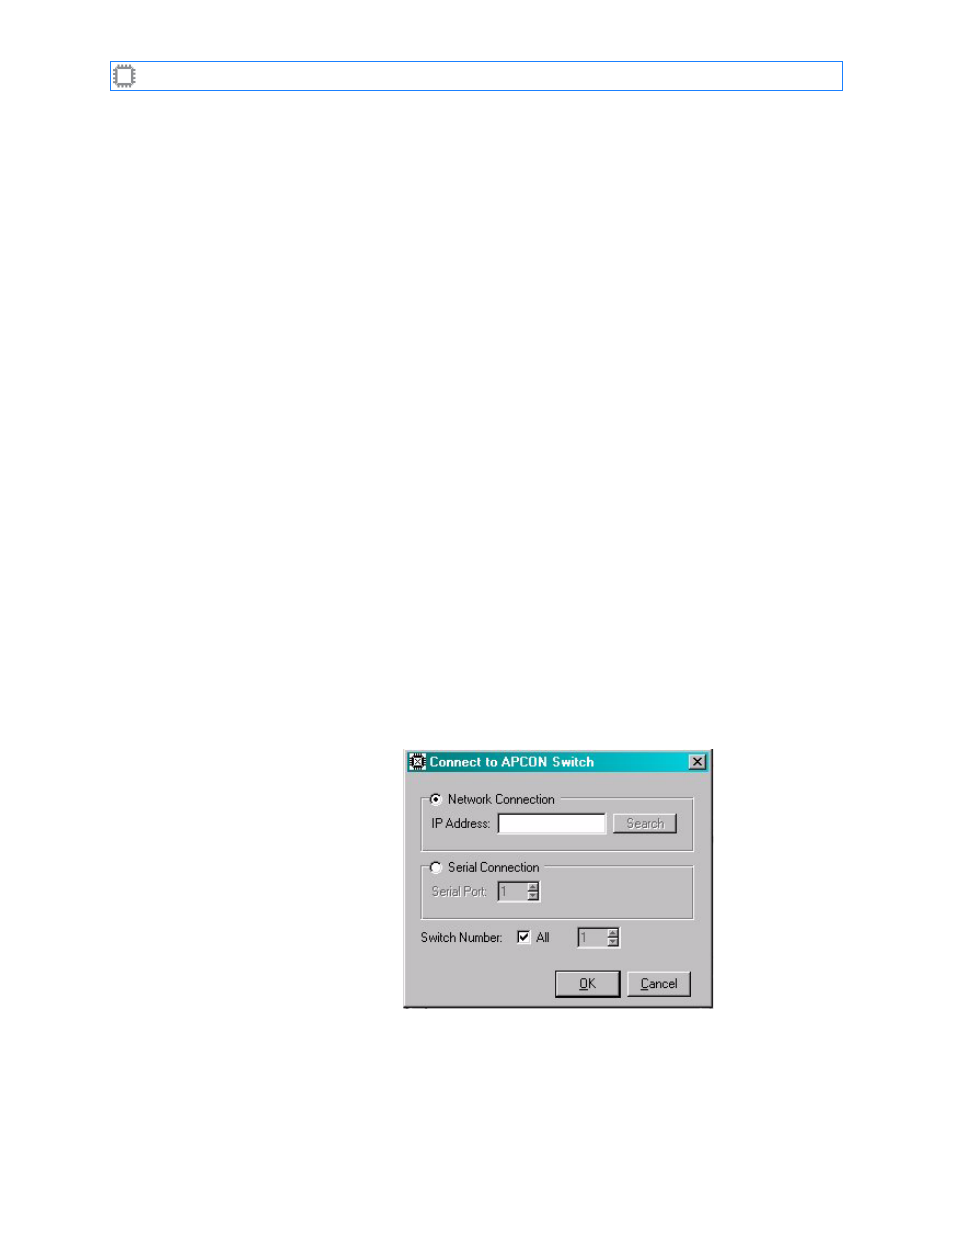
3. Select File>Connect. The Login dialog displays:
Figure 5. C
ONTROL
X Login Dialog
4. Click the Serial Connection radio button. Leave the field set to 1 for the COM1 port
(or change to the specific COM port number of your workstation).
5. Click the OK button.