Grass Valley K2 Storage System Instruction Manual v.3.2 Aug.01 2007 User Manual
Page 160
160
K2 Storage System Instruction Manual
July 3, 2007
Chapter 4 Installing the Level 3 Storage System
NOTE: Leave Full Bind selected. Do not uncheck it.
b. In the
LUN TYPE
drop down box, select
RAID 5
. If specified by your system
design, RAID 6 is also supported. Refer to the Nearline chapter for more
information on RAID 6.
c. In the Available Disks box, select five contiguous disks at the top of the list.
(TIP: Use ‘shift-click’ or ‘control-click’ to select disks.).
d. Click the add (arrow) button to add disks to the Selected Disks list.
NOTE: As an aid in identifying a disk module’s physical location, select it in the
Selected Disks list, then click
Identify Disks.
This causes the disk drive light to flash.
e. Click
OK
to close the Binding LUN dialog box and begin the binding process.
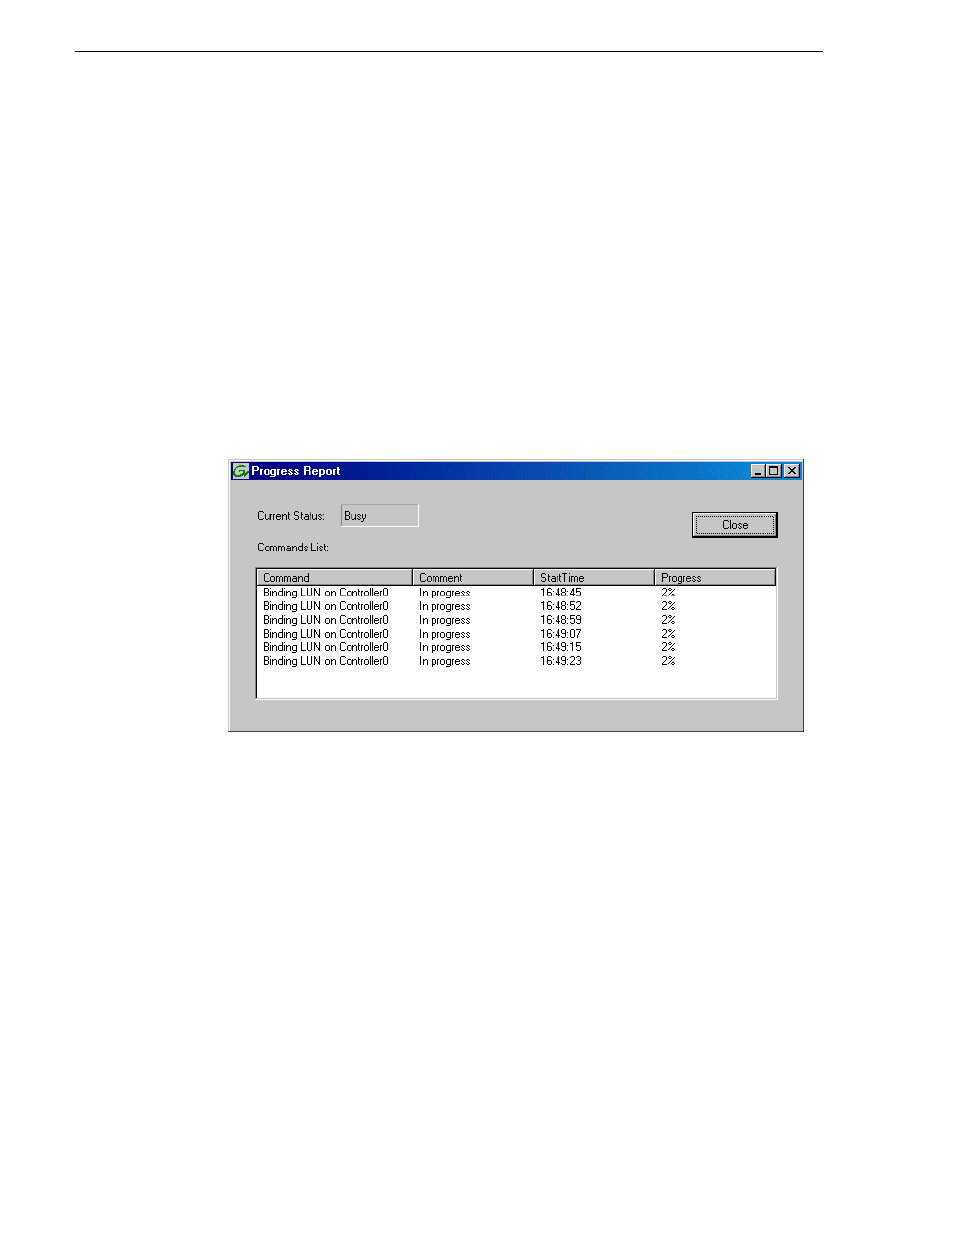
The Progress Report dialog box opens, showing the status of the binding
process.
f. Close the Progress Report and repeat these steps for other unbound disks. If
specified by your system design, you can bind some disks as Hot Spares, as
explained in
“Binding Hot Spare drives” on page 381
. When you are done, if
you did not bind any extra Hot Spares, you should have the following results:
For Level three storage you should have three RAID 5 LUNs of five disks each
on a RAID storage device. For each optional Expansion chassis, you would have
an additional three RAID 5 LUNs of five disks each. If using RAID 6, LUNs are
six disks each.
NOTE: Controllers can take several hours to bind a LUN. Make sure you initiate
multiple simultaneous binding processes to reduce the overall time.
g. Upon 100% completion, click
Close
in Progress Report window.
NOTE: Do not proceed until all LUNs are finished binding.
3. Restart the K2 Media Server.