Renaming physical routers, Configuring an external router – Grass Valley Kaleido-X v.7.80 User Manual
Page 374
366
Routers & Kaleido-X
Configuring an External Router
16 Click the Layouts tab.
17 Open the layout you wish to use, and then assign monitor wall destinations to monitors
in your layout, as required. See
Assigning Logical Sources or Monitor Wall Destinations
on page 250 for details.
You may also assign a logical source to each monitor, if you wish.
18 For every monitor to be used as a monitor wall destination, specify the appropriate text
level, based on the information you wish the UMDs to display. See
on page 291, for details.
19 On the File menu, click Save, and then click the LOAD button on the toolbar.
The layout appears on the monitor wall.
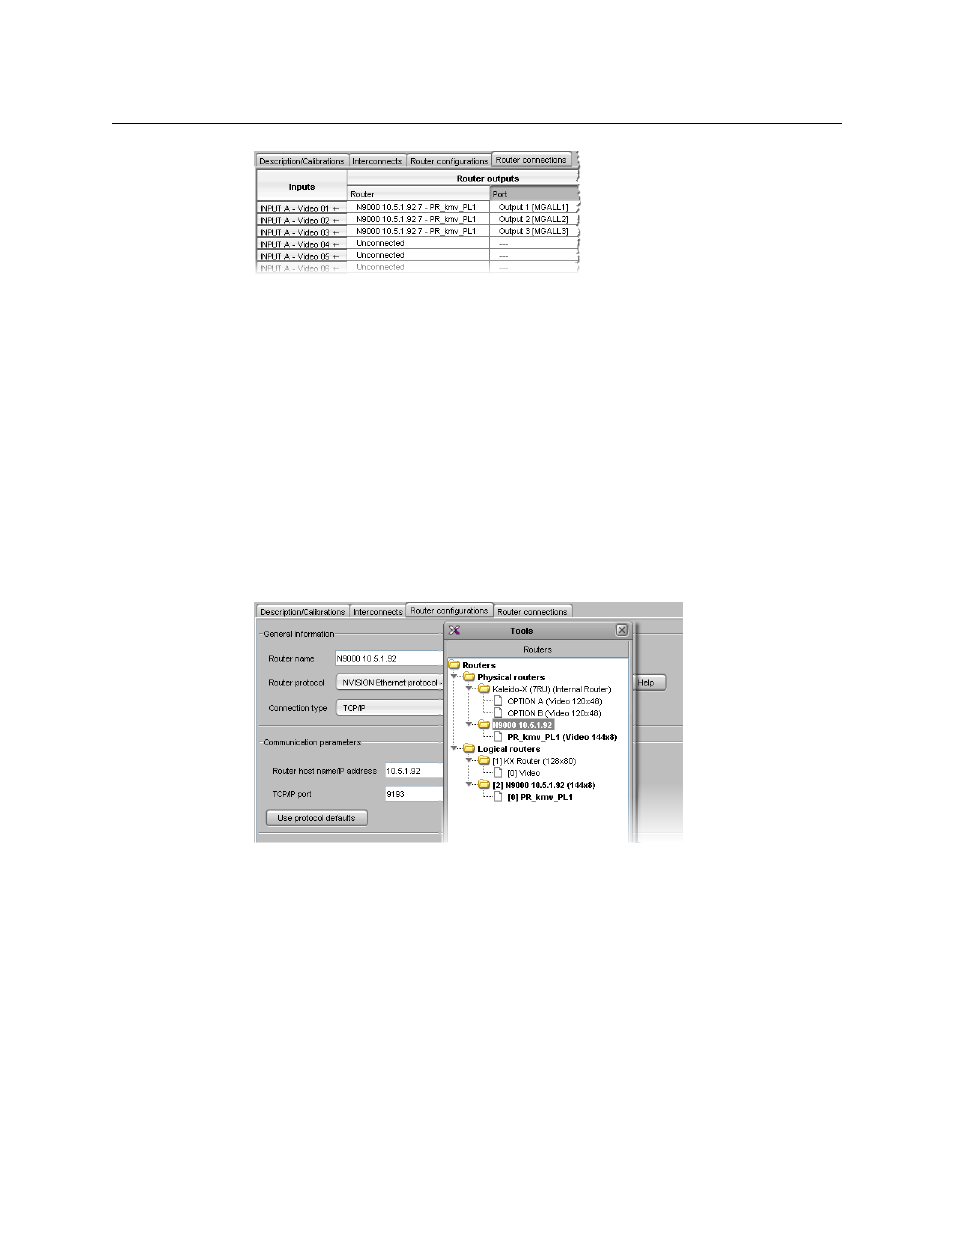
Renaming Physical Routers
To rename a physical router
1 In the Routers list, click the physical router you wish to rename.
2 In the Router configuration tab, type the new name in the Router name box, and then
press Enter.
You may rename the associated logical router, for consistency.
Configuring an External Router
The process of creating and configuring an external router (e.g., a third-party router or
router control panel) for use with your Kaleido-X system consists of 4 steps:
• defining the physical router
• adding one or more physical levels
• creating one or more logical routers
• adding one or more logical levels