I-fax transmission procedure, I-fax transmission procedure -10 – Kyocera FAX System 12 User Manual
Page 220

10-10
Internet Faxing (i-FAX) > i-FAX transmission procedure
i-FAX transmission procedure
The basic procedure for using the fax system is explained below.
1
Select [Send] key on the Home screen.
2
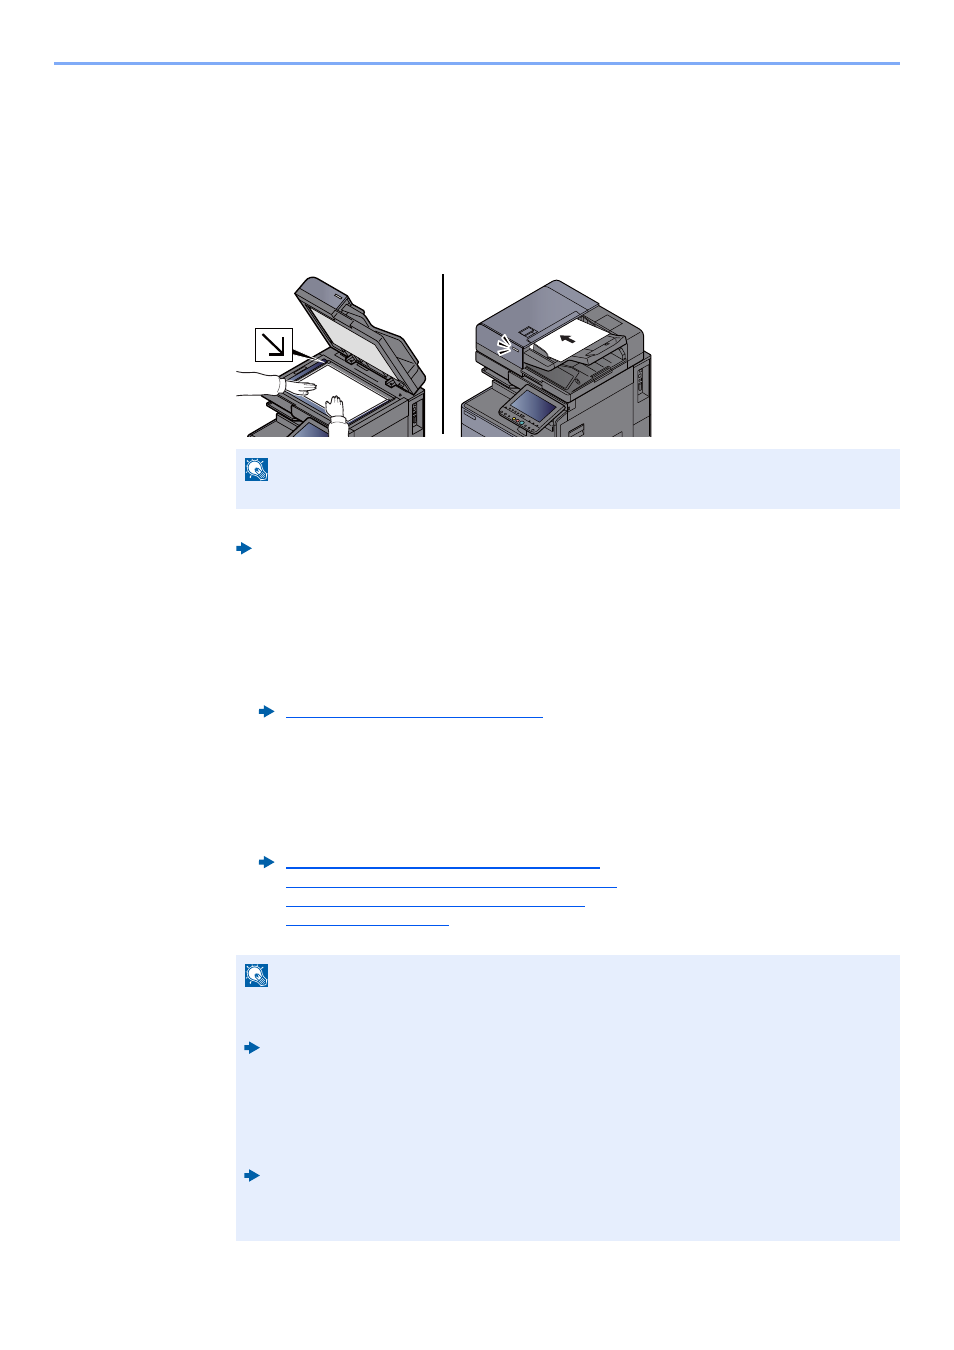
Place the originals.
For placing originals, refer to the following:
3
Specifying destination.
1
[i-FAX Addr Entry] > [i-FAX Address]
2
Enter the destination address > [OK]
You can enter up to 128 characters.
For a Direct SMTP address, which does not go through a server, specify only the IP
address of the other machine, or specify any name using half-width alphanumeric
characters in the format "name@[IP address of other machine]".
Example: [email protected]
Dialing methods without using the numeric keys
NOTE
The illustration varies between models.
Machine’s Operation Guide
Character Entry Method (page 12-2)
Choosing from the Address Book (page 3-9)
Choosing from the One Touch Key (page 3-11)
Choosing from the Speed Dial (page 3-11)
Using redial (page 3-3)
NOTE
When On is selected in Entry Check for New Dest., a confirmation screen is displayed for
the entered FAX number. Re-enter the same FAX number and select [OK].
Machine’s Operation Guide
When [Add to Addr Book] is displayed, you can register entered contents to the Address
Book.
In addition to an i-fax, you can include FAX transmission, e-mail transmission and folder
(SMB/FTP) transmission to send as one job.
Machine’s Operation Guide
When the destination includes FAX or i-FAX, the FAX or i-FAX jobs are sent in monochrome
and the other sending jobs are sent as the same color as the scanned originals.