Check the resolution settings – HP Color LaserJet Enterprise Flow M776z All-In-One Laser Printer User Manual
Page 297
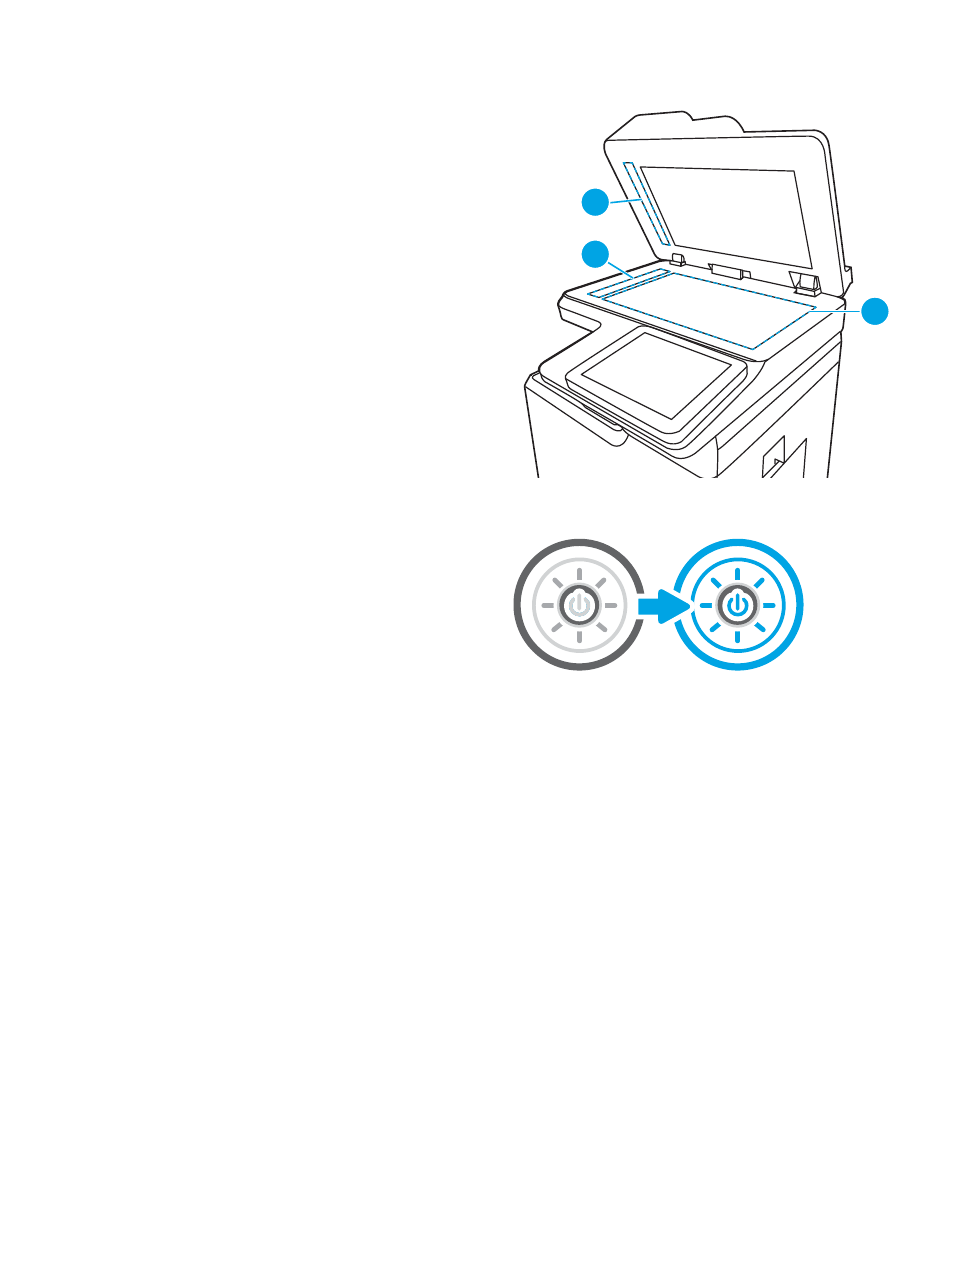
3.
Clean the scanner glass (callout 1) and the
document feeder strips (callout 2, callout 3) with a
soft cloth or sponge that has been moistened with
nonabrasive glass cleaner.
CAUTION:
Do not use abrasives, acetone,
benzene, ammonia, ethyl alcohol, or carbon
tetrachloride on any part of the printer; these can
damage the printer. Do not place liquids directly on
the glass or platen. They might seep and damage
the printer.
NOTE:
If you are having trouble with streaks on
copies when you are using the document feeder,
be sure to clean the small strips of glass on the left
side of the scanner (callout 2, callout 3).
3
2
1
4.
Dry the glass and white plastic parts with a
chamois or a cellulose sponge to prevent spotting.
5.
Connect the power cable to an outlet, and then
press the power button to turn the printer on.
Check the resolution settings
Follow these steps to adjust the resolution setting. Setting the resolution to a high value increases the file size
and the scan time.
1.
From the Home screen on the printer control panel, navigate to the
Scan
application, and then select the
Scan
icon.
2.
Select one of the following Scan features:
●
Scan to Email
●
Scan to Network Folder
●
Scan to USB Drive
●
Scan to SharePoint®
3.
Select
Options
, and then select
File Type and Resolution
.
4.
Select one of the predefined
Resolution
options, and then select
Done
.
5.
Select
Send
or
Save
to start the scan.
ENWW
Improve scan image quality 283