Figure 102: local area connection window – NavCom SF-3050 Rev.I User Manual
Page 107
SF-3050 GNSS Product User Guide
– Rev I
88
User Guide for detailed instructions on configuring and establishing
Ethernet communications.
Ethernet cables are not supplied with the SF-3050. These cables are available via a
NavCom authorized representative, or by contacting the
Positronic 9-Pin Male to Ethernet RJ45 Plug
(P/N 94-310265-3006LF). This cable is used in the setup described below.
Y-Cable, Positronic 9-Pin Male to Ethernet RJ45 Plug & DB9S (RS-232/1PPS) (P/N
94-310272-3006LF)
Refer to the sections above, Ethernet Cable (Option) and
Ethernet/RS-232/1PPS Y-Cable (Option), for detailed descriptions of the
cables.
Setup
This setup uses the factory default IP address of the SF-3050:
192.168.0.2,255.255.255.0,0.0.0.0
The PC IP address is set manually in Windows.
1. Connect the Positronic 9-Pin connector of the Ethernet cable (P/N 94-310265-
3006LF) to
COM1 - LAN of the SF-3050. Connect the RJ45 plug end to the computer.
2. In Windows, right-click My Network Places and select Properties from the pop-up
menu. The Network Connections window opens.
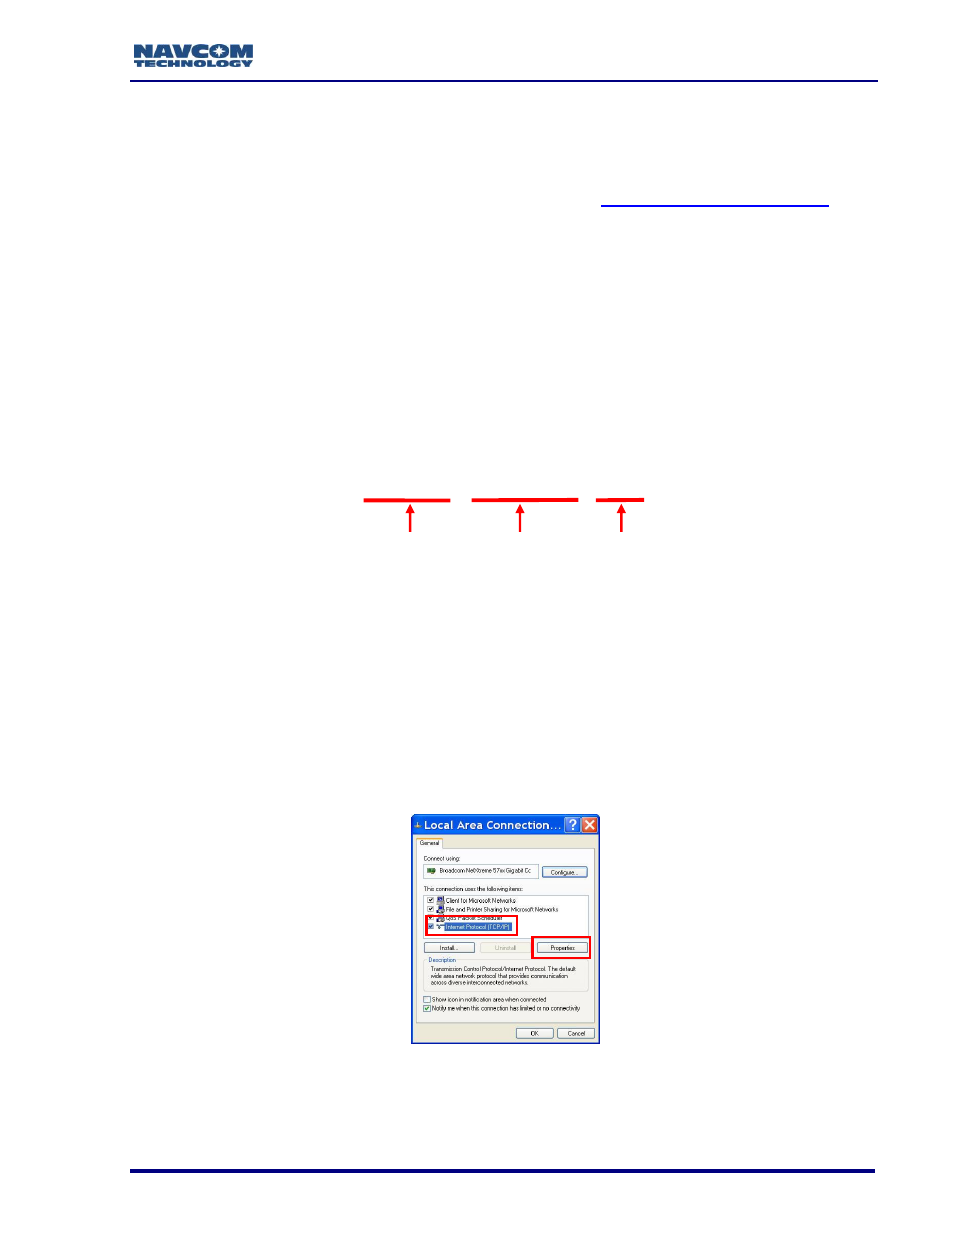
3. Right-click Local Area Connection (or the equivalent) and click Properties from the
pop-up menu. The Local Area Connection window opens.
4. Click on Internet Protocol (TCP/IP). See Figure 102.
Figure 102: Local Area Connection Window
5. Click the Properties button. The Internet Protocol window opens.
6. Select the option, Use the following IP address (see Figure 103).
IP Address Network Mask Gateway