Trimming a clip, Importing clips, Trimming a clip importing clips – Grass Valley GV STRATUS v.3.1 User Manual
Page 112
Trimming a clip
With the RMI tool, you can trim a clip prior to import. To use the Trim operation, you must be
logged on with a user account to which the Trim Rights role is assigned. If the role is not assigned,
the Trim operation is not available.
1. On the RMI list, select the clip that you want to trim.
2. Drag the clip from the RMI tool and drop it into the Inspector.
3. Navigate to the desired starting point using the scrub bar, and click the
Mark In
button.
(
I
)
4. Navigate to the desired end-point using the scrub bar, and click the
Mark Out
button.
(
O
)
Where timecode is displayed you can also right-click the timecode type label and select
Clear
Marks
to clear all current in/out marks.
5. Click the
Actions
drop-down arrow and select
Trim Asset
.
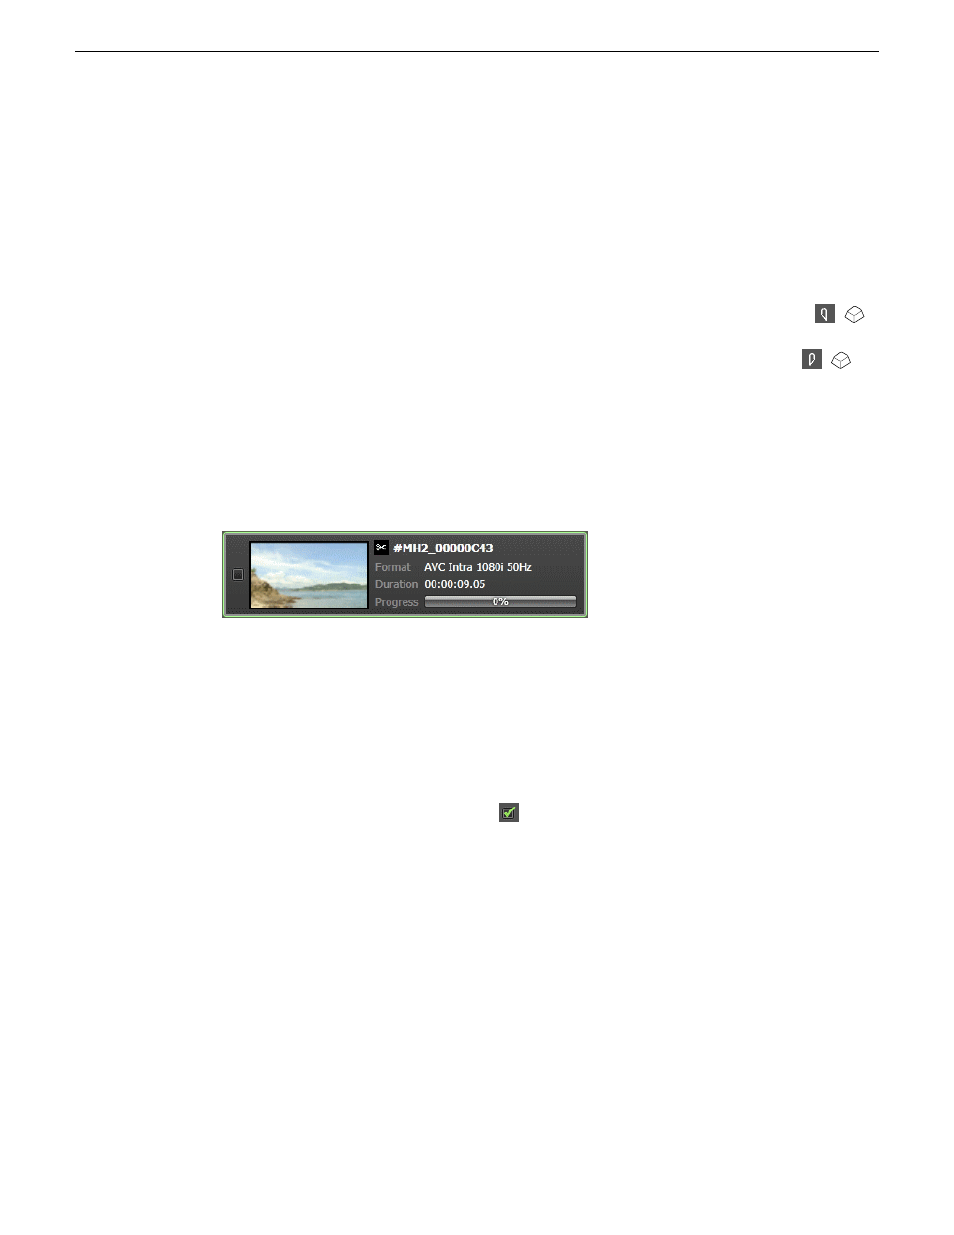
You can see the new duration and the scissor icon within the RMI list to signify that it is a trimmed
clip.
However, ejecting or reinserting the disk will erase those mark points.
NOTE: Trimming is only supported with individual clips.
Importing clips
1. Check the box next to each clip that you want to import.
You can also check the
Select All
button
on the RMI toolbar to select all clips in the list.
112
GV STRATUS User Manual
2014 02 21
Ingesting assets