Flash settings, Connect the unit to the camera, Press disp/back to put the changes into eff ect – FujiFilm GFX100 II Medium Format Mirrorless Camera User Manual
Page 429
401
P
eripherals and Optional A
c
c
essories
11
External Flash Units
Flash Settings
1
Connect the unit to the camera.
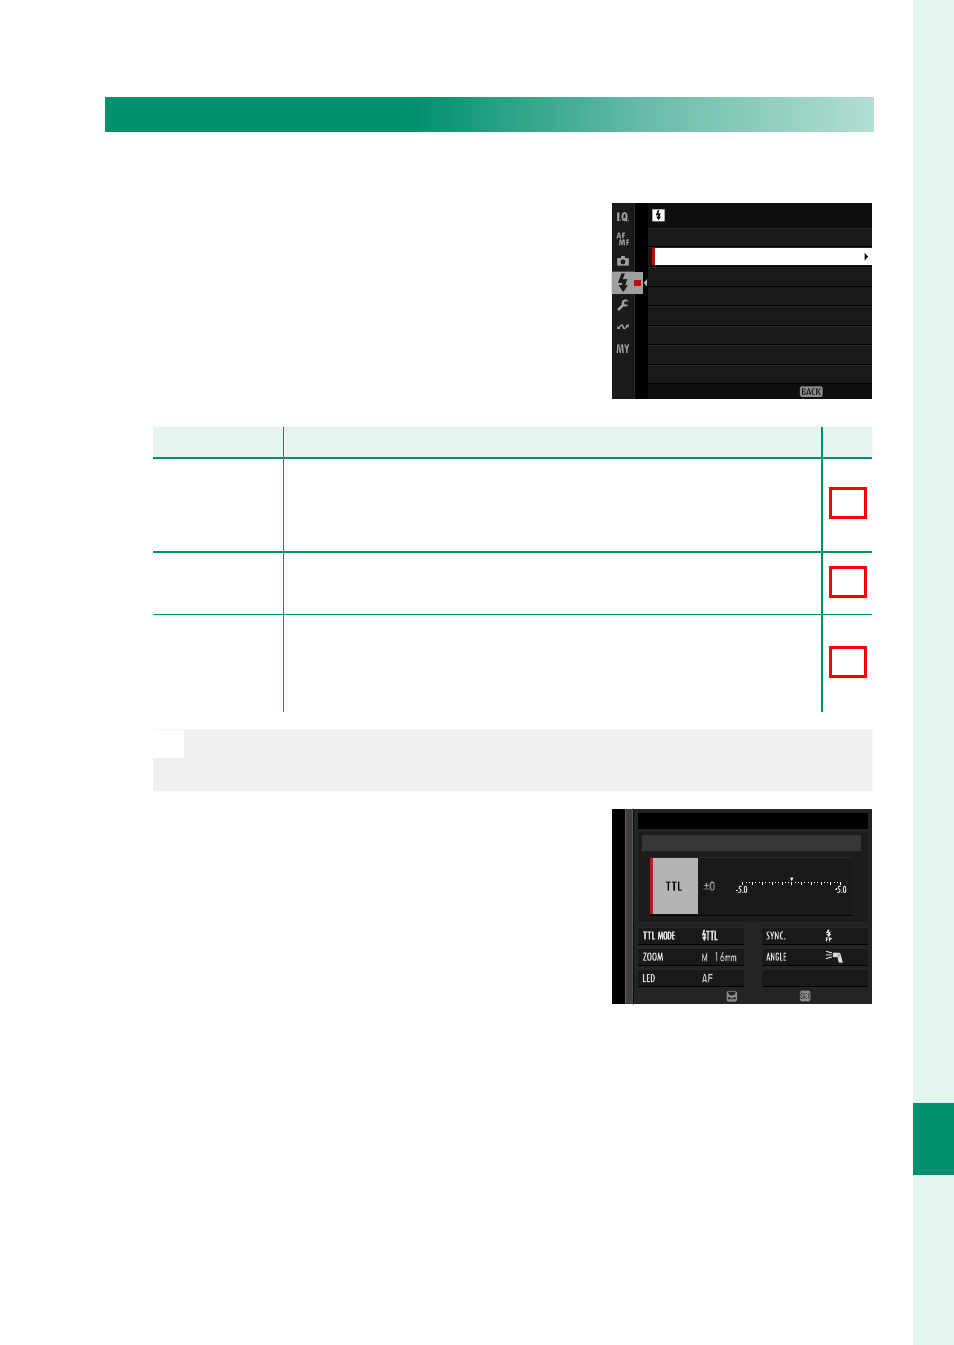
2
In shooting mode, select
FLASH
FUNCTION SETTING
in the
F
(
FLASH
SETTING
) menu tab. The options
available vary with the fl ash unit.
EXIT
COMMANDER SETTING
CH SETTING
LED LIGHT SETTING
TTL-LOCK MODE
RED EYE REMOVAL
FLASH FUNCTION SETTING
FLASH SETTING
Menu
Menu
Description
Description
P
P
SYNC
TERMINAL
Displayed when no compatible fl ash unit is connected or
if a unit is connected via the sync terminal or uses only
the X-contact on the hot shoe.
SHOE MOUNT
FLASH
Displayed when an optional fl ash unit is mounted on the
hot shoe and turned on.
COMMANDER
(OPTICAL)
Displayed if an optional fl ash unit functioning as a com-
mander for Fujifi lm optical wireless remote fl ash control is
connected and turned on.
N
SYNC TERMINAL
will be also displayed if an incompatible fl ash
unit or no fl ash unit is connected.
3
Highlight items using the focus stick
(focus lever) and rotate the rear com-
mand dial to change the highlighted
setting.
ADJUST
END
MODE
SHOE MOUNT FLASH
4
Press
DISP/BACK
to put the changes into eff ect.