Saving received data -71, Saving received data, Set the file information, and tap the [save] key – Sharp MX-6070N User Manual
Page 474: Facsimile► fax reception
4-71
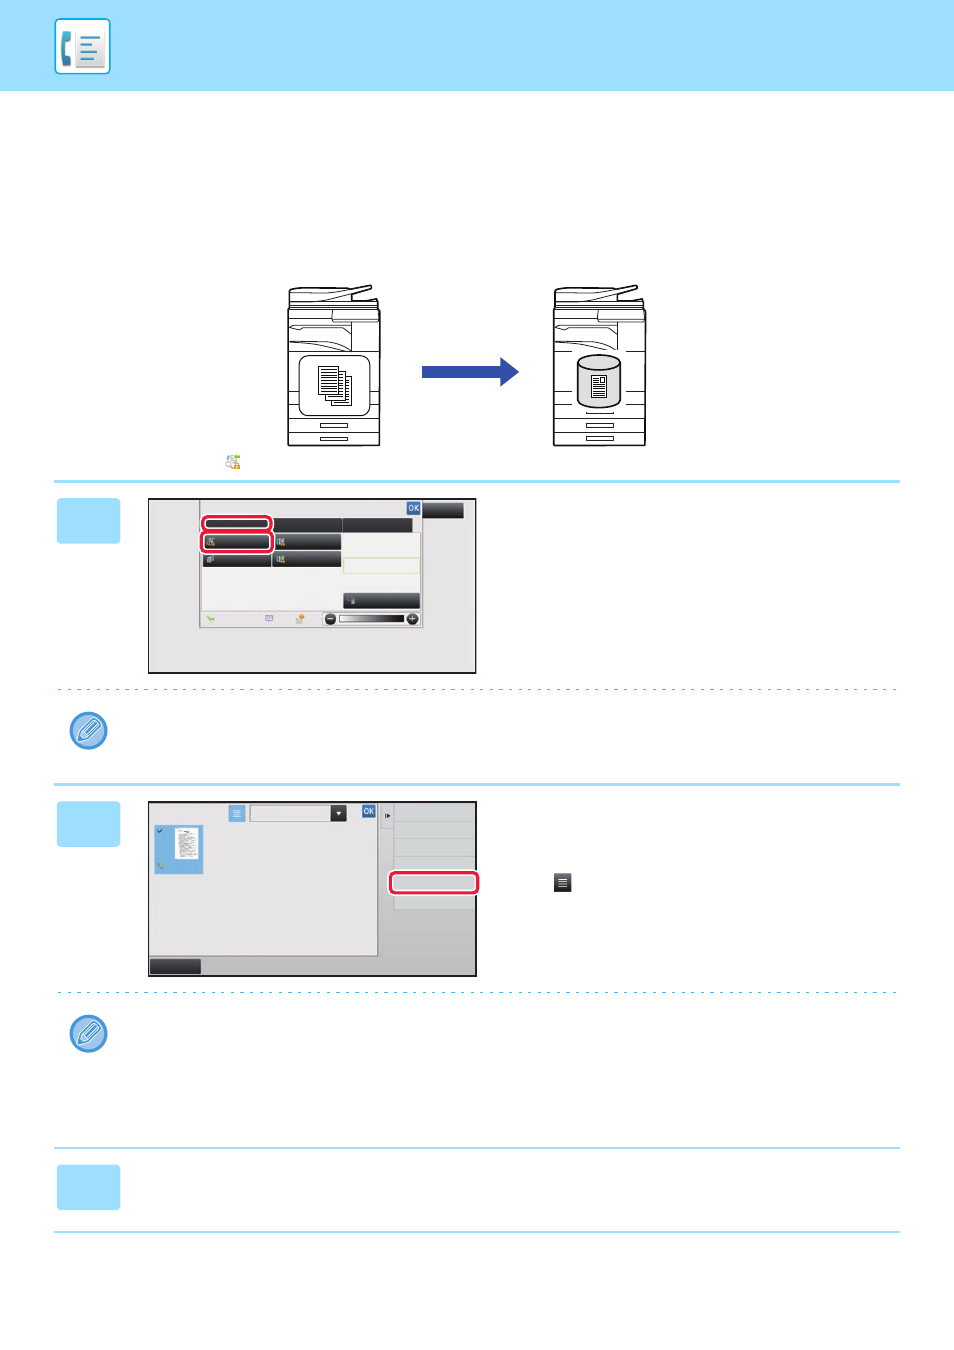
SAVING RECEIVED DATA
You can save received faxes in the document filing folder.
This function is available when [System Settings] → [Image Send Settings] → [Common Settings] → [Condition Settings]
→ [Preview Setting] → [Received Data Image Check Setting] is enabled* in "Settings (administrator)".
* The factory default setting is disabled.
When data is received,
is shown at the top of the screen.
1
In the System Information, tap the
[Event Information] tab and tap the
[Check Fax Reception Image] key.
The received data is listed.
You can also display the received data list by tapping the job status display and tapping [Check Received Data] on the
action panel of Job Status screen.
2
Tap the key of the received data you
wish to save, and tap [File] on the
action panel.
• Tap
to show a list of received data. The list view or
thumbnails view can be changed depending on the setting
mode.
• Multiple sets of received data can be selected.
• When you select a single received data only, you can tap [Check Image] on the action panel and check the image on
the preview screen.
• To store the sender fax number as a number for "Allow/Reject Number Setting", tap [Register as Junk Fax] on the
action panel and, in the confirmation message screen, tap the [Store] key.
Specify a sender fax number as a number for "Allow/Reject Number Setting" by selecting, in "Settings (administrator)",
select [System Settings] → [Image Send Settings] → [Fax Settings] → [Receive Settings] → [Allow/Reject Number
Setting].
3
Set the file information, and tap the [Save] key.
Store
Received data in the memory
Stored in the document filing folder
System Information
Check Fax
Reception Image
Check Confidential
Received Data
Check Error Box
Release Held
Received Data
Terminate
Remote Operation
Fax Receive
Event Information
Maintenance Information
Toner Remaining
Select External Application
Exit
Forward to Other Address
Check Image
All Received Data
Received Data List
Cancel All
Delete
File
Store Data in Folder