Using the keyboard and mouse effectively, Label security, Tracking label design and printing – QuickLabel Designer Pro User Manual
Page 40: Enable revision history comment
- 40 -
Using the Keyboard and Mouse Effectively
When selecting objects you can use <CTRL> key to adjust object's anchoring point by clicking the
object placeholders.
If you have a Wheel Mouse, you can use the wheel to scroll label up and down. Holding <CTRL>
when rotating the wheel adjusts zoom factor, <SHIFT> scrolls label left or right.
Double click the form name in the status bar starts Power Forms and opens form that is attached to
the label.
Double click on printer's name in status bar opens printer properties dialog box in which you can set
various options regarding currently selected printer. If you hold <CTRL> while double clicking,
printer setup dialog box is opened, in which you can select different printer.
You can quickly move objects from one open label to another by simply dragging desired object to
another window while holding <ALT>. If you want to copy objects instead, hold both <ALT> and
<CTRL>. Note that you must have both label windows visible to do that.
Different objects on label can be selected using the <TAB> and <SHIFT>+<TAB> keys.
Pressing cursor keys while holding <Ctrl> key can move currently selected object. This can be used
to fine-tune position of the object. Holding <SHIFT> while pressing cursor keys will resize the
object.
You can use the right mouse button almost anywhere on label to access most common options for
that area/object. For example, if you click an object with right mouse button, a pop-up menu is dis-
played that contains options and actions that can be performed on selected object. Similarly clicking
the other parts of label produces pop-up menu with options for that part of label.
Multiple objects can be selected by holding <SHIFT> while clicking them.
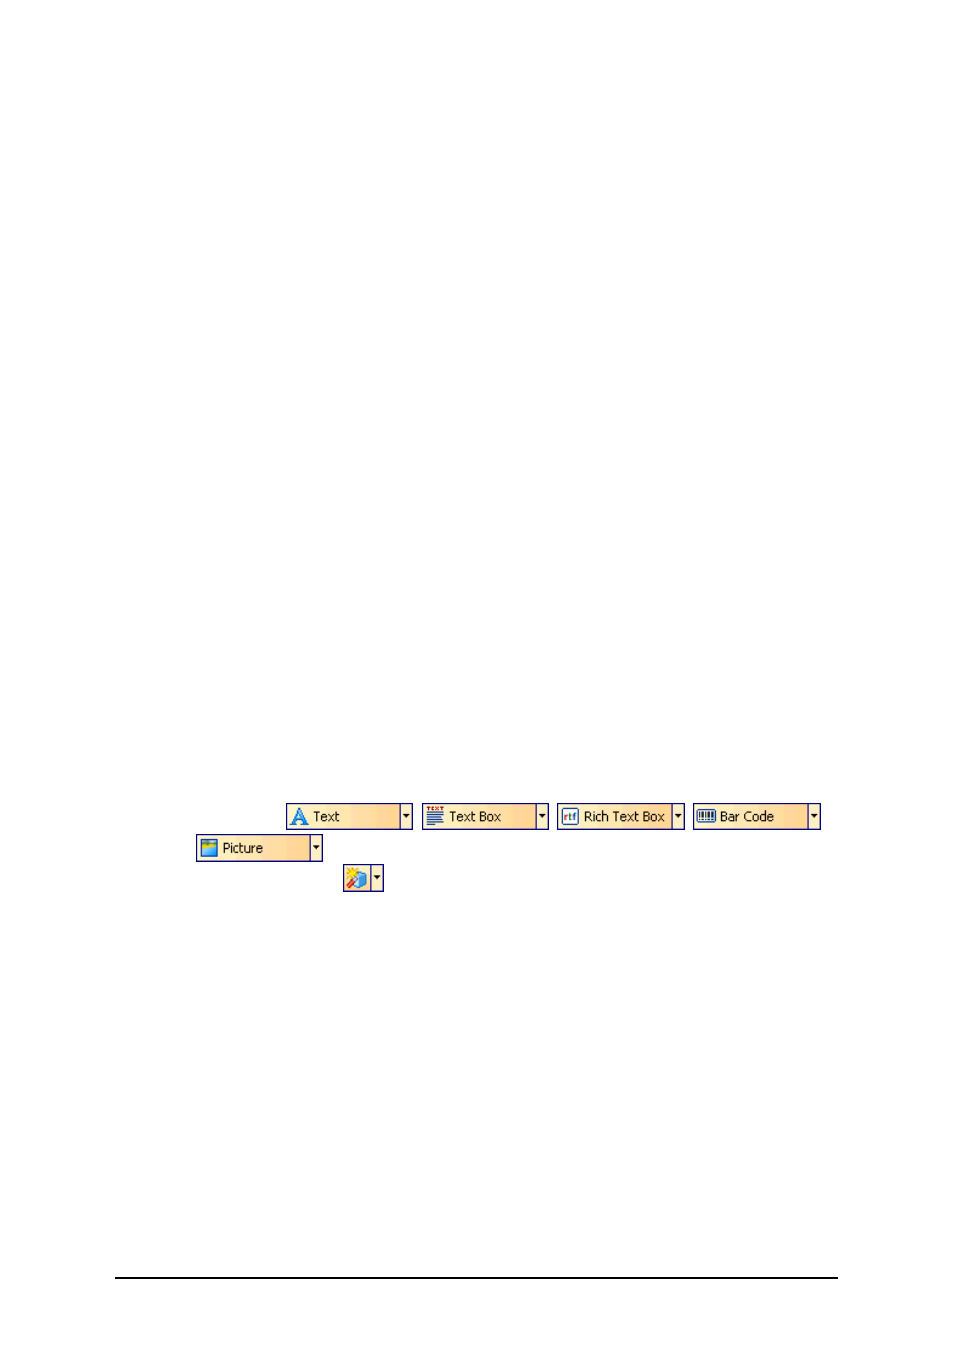
Use the element shortcuts in toolbars whenever possible. Each label element that can be connected
to some Contents Provider, has a shortcut enabled to quickly access existing variables or define new
ones. Click the element's shortcut handle for this shortcut. It is shown as a small arrow by the side of
toolbar button:
l
In the Toolbox:
,
,
,
and
l
In the Variable toolbar:
.
Label Security
Tracking Label Design and Printing
Enable Revision History Comment
To enable the revision history functionality, do the following:
1. Select Options from Tools menu.
2. Go to Settings tab.
3. Tick the option Enable revision history logging.