Craft port c, Onfiguration, Outer – Verilink XEL XSP-100 SHARK IAP (9SA-USRS-9.0R1.02) Product Manual User Manual
Page 108: Eview, Igure, Raft, Craft port configuration
Chapter 5: Graphical User Interface (GUI/WEB) Configuration Pages
Chapter 5-54
XEL P/N & Release: 9SA-USRS-9.0R1.02
SHARK™ IAD User's Guide
with the public community.
– Additional Destination: The SHARK™ IAD allows the user to specify
additional destinations to which the SNMP trap messages are sent. Enter
up to two additional trap destination addresses.
– Additional Community: Enter the SNMP community for the
corresponding additional destination. By default, the SHARK™ IAD is
associated with the public community.
–
Enter in your SNMP parameters and press the save button to store them. Once
the save button is pressed the SHARK™ IAD returns to the IP/Routing
configuration
menu.
CRAFT PORT
C
ONFIGURATION
P
AGE
The craft port configuration page allows the user to enable communication with
an external modem. Clicking on Craft Port from the IP/Router configuration
menu will display the page as shown in Figure 51.
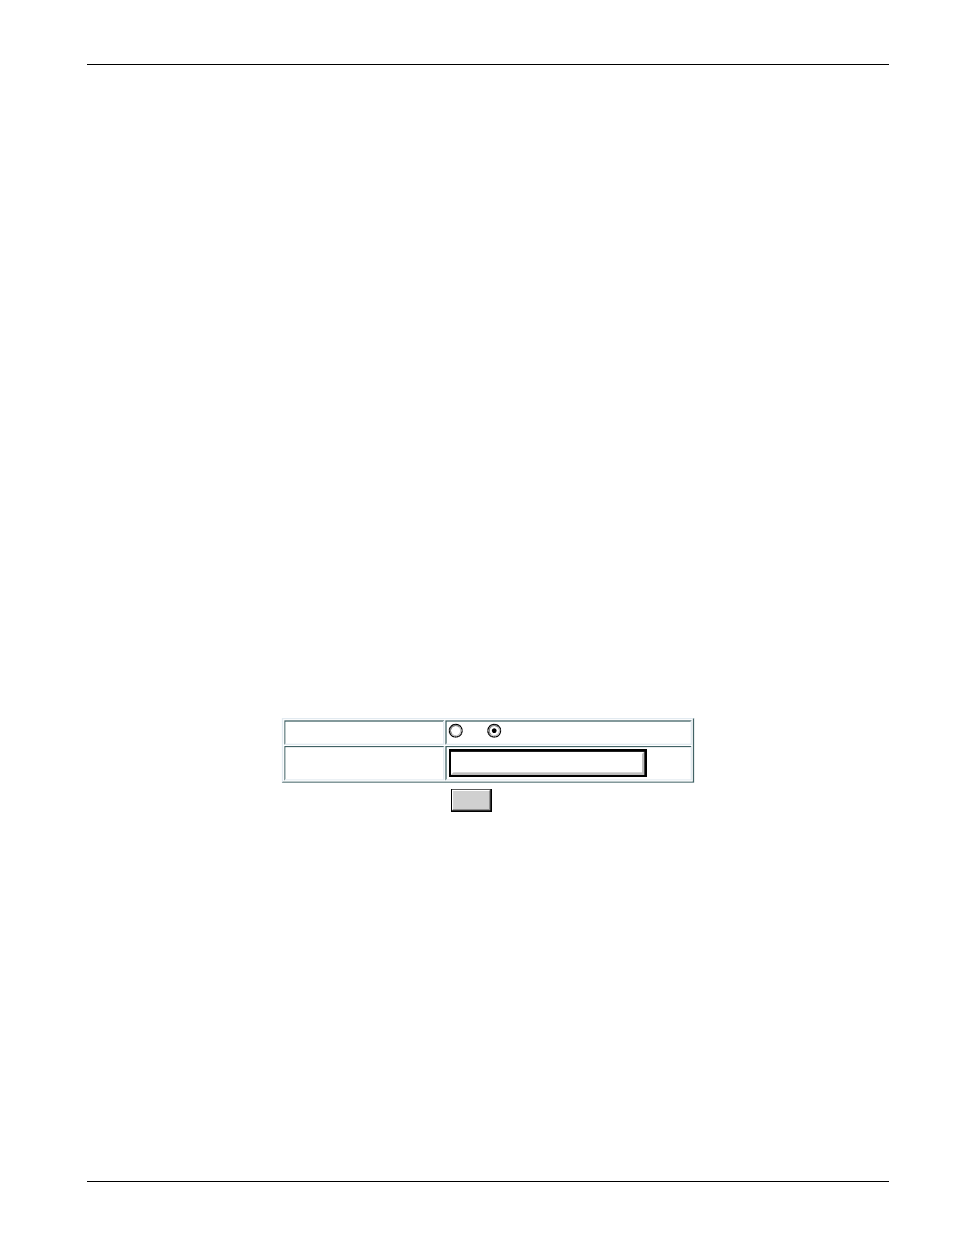
• Modem: Click the on button to enable modem communications via the Craft
port. The Craft port requires additional handshake signals (RTS/CTS) to be
connected between the SHARK™ IAD and the modem if enabled. Selecting
off
disables modem communication. The Craft port requires only a 3-wire
(RX/TX/GND) connection if disabled.
• Initialization String: String transmitted to modem on power up of
SHARK™ IAD. Default is ATZ.
Once the save button is pressed the SHARK™ IAD returns to the IP/Routing
configuration
menu.
Craft Port Configuration
Modem:
on
off
Initialization String:
ATZ
Save
Figure 51:
Craft Port Configuration page
R
OUTER
R
EVIEW
P
AGE
The last option on the IP configuration menu is the Review Router / Restart
page. Click on this button to view all the settings of the Router. Figure 53
shows the Review Router / Restart. This page shows all the router parameters
that you have configured. It will also display any loaded parameters that you
have not changed and saved. Review all the parameters displayed. You may
have to use the scroll bars of your web browser to see all the parameters. When
you are finished reviewing the saved router configuration, from this page, click
on restart router button of this page to reboot the router and load all the router
configurations. During this process the SHARK™ IAD validates all the
parameters that are saved in the router's memory. If you have made any errors in
you configuration of the router, they will be displayed on the screen. To
successfully load your router configuration all the parameters saved in the
routers memory must pass validation. If there are any errors the SHARK™ IAD