1 fundamentals, Overview, 1 f undamentals 16.1 fundamentals – HEIDENHAIN iTNC 530 (340 49x-05) Cycle programming User Manual
Page 384

384
Touch Probe Cycles: Automatic Workpiece Inspection
16.1 F
undamentals
16.1 Fundamentals
Overview
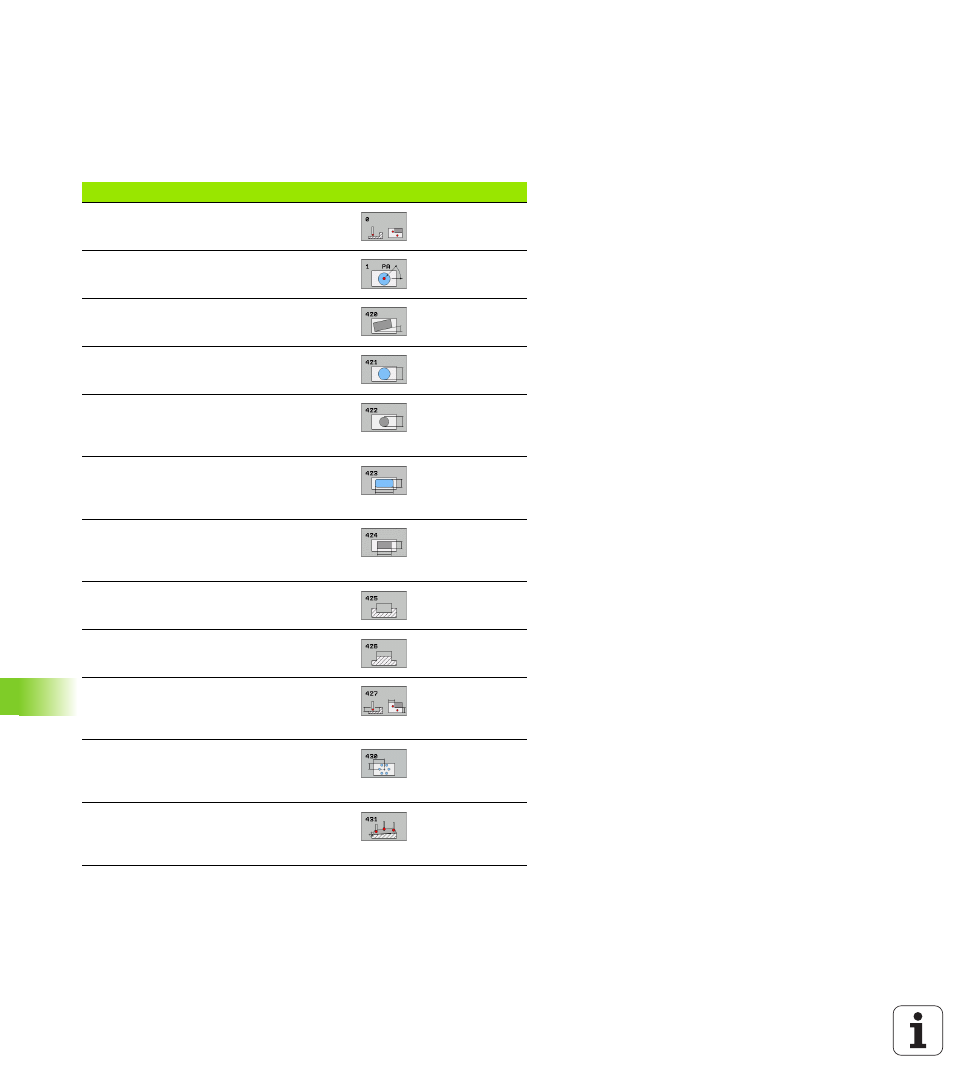
The TNC offers twelve cycles for measuring workpieces
automatically.
Cycle
Soft key
Page
0 REFERENCE PLANE Measuring a
coordinate in a selectable axis
1 POLAR DATUM PLANE Measuring a
point in a probing direction
420 MEASURE ANGLE Measuring an
angle in the working plane
421 MEASURE HOLE Measuring the
position and diameter of a hole
422 MEAS. CIRCLE OUTSIDE
Measuring the position and diameter of
a circular stud
423 MEAS. RECTAN. INSIDE Measuring
the position, length and width of a
rectangular pocket
424 MEAS. RECTAN. OUTSIDE
Measuring the position, length and
width of a rectangular stud
425 MEASURE INSIDE WIDTH (2nd
soft-key row) Measuring slot width
426 MEASURE RIDGE WIDTH (2nd soft-
key row) Measuring the width of a ridge
427 MEASURE COORDINATE (2nd soft-
key row) Measuring any coordinate in a
selectable axis
430 MEAS. BOLT HOLE CIRC. (2nd soft-
key row) Measuring position and
diameter of a bolt hole circle
431 MEASURE PLANE (2nd soft-key
row) Measuring the A and B axis angles
of a plane