4 measure angle (cycle 420, din/iso: g420), Cycle run, Please note while programming – HEIDENHAIN iTNC 530 (340 49x-05) Cycle programming User Manual
Page 392

392
Touch Probe Cycles: Automatic Workpiece Inspection
16.4 MEA
S
URE ANGLE (Cy
c
le 420, DIN/ISO: G420)
16.4 MEASURE ANGLE (Cycle 420,
DIN/ISO: G420)
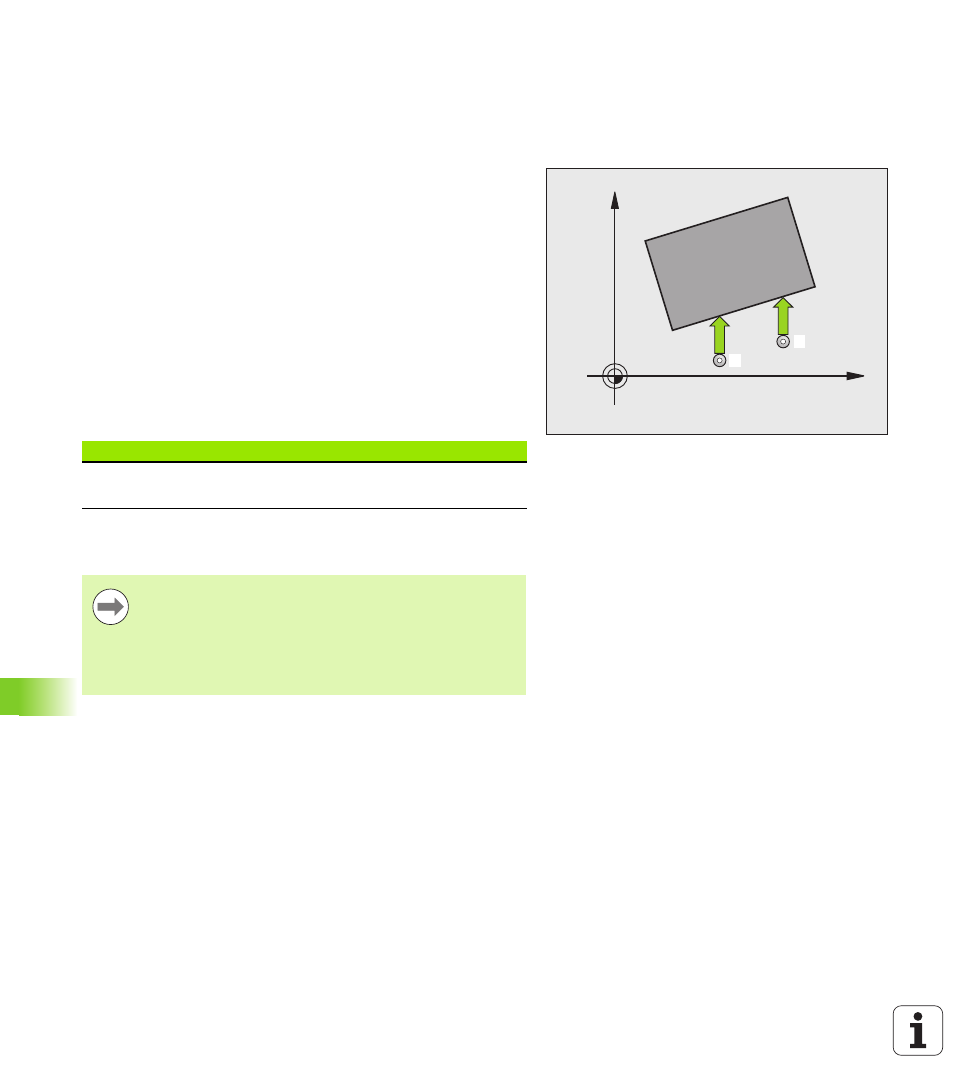
Cycle run
Touch Probe Cycle 420 measures the angle that any straight surface
on the workpiece describes with respect to the reference axis of the
working plane.
1
Following the positioning logic (see “Executing touch probe
cycles” on page 306), the TNC positions the touch probe to the
programmed starting point
1
at rapid traverse (value from MP6150
or MP6361). The TNC offsets the touch probe by the safety
clearance in the direction opposite the defined traverse direction.
2
Then the touch probe moves to the entered measuring height and
probes the first touch point at the probing feed rate (MP6120 or
MP6360).
3
Then the touch probe moves to the next starting position
2
and
probes the second position.
4
The TNC returns the touch probe to the clearance height and saves
the measured angle in the following Q parameter:
Please note while programming:
X
Y
1
2
Parameter number
Meaning
Q150
The measured angle is referenced to the
reference axis of the machining plane.
Before a cycle definition you must have programmed a
tool call to define the touch probe axis.
If touch probe axis = measuring axis, set Q263 equal to
Q265
if the angle about the A axis is to be measured; set
Q263
not equal to Q265 if the angle is to be measured about
the B axis.