Generating the testbench, Simulating the example design – Altera Arria V Avalon-ST User Manual
Page 17
Generating the Testbench
Follow these steps to generate the chaining DMA testbench:
1. On the Generate menu, select Generate Testbench System. Specify the parameters listed in the
following table.
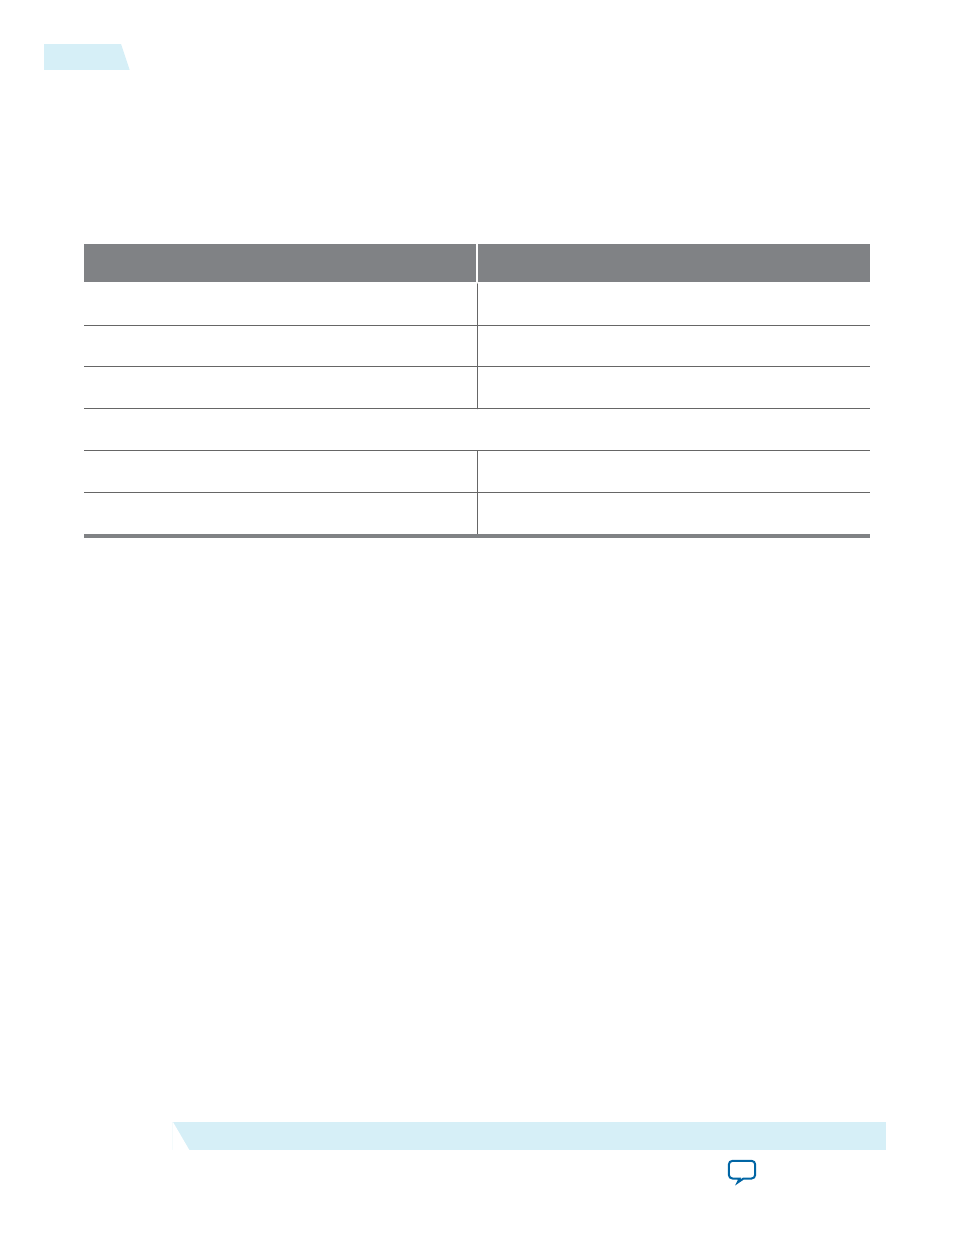
Table 2-1: Parameters to Specify on the Generation Tab in Qsys
Parameter
Value
Create testbench Qsys system
Standard, BFMs for standard Qsys interfaces
Create testbench simulation model
Verilog
Allow mixed-language simulation
Turn this option off
Output Directory
Path
<working_dir>/pcie_de_gen1_x4_ast64
Testbench
<working_dir>/pcie_de_gen1_x4_ast64/testbench
2. Click the Generate button at the bottom of the Generation tab to create the testbench.
Simulating the Example Design
1. Start your simulation tool. This example uses the ModelSim
®
software.
2. From the ModelSim transcript window, in the testbench directory type the following commands:
a.
do msim_setup.tcl
b.
ld_debug
(This command compiles all design files and elaborates the top-level design without any
optimization.)
c.
run -all
The simulation includes the following stages:
• Link training
• Configuration
• DMA reads and writes
• Root Port to Endpoint memory reads and writes
Disabling Scrambling to Interpret TLPs at the PIPE Interface
1. Go to
<project_directory/<variant>/testbench/<variant>_tb/simulation/submodules/
.
2. Open altpcietb_bfm_top_rp.v.
3. Locate the declaration of
test_in[2:1]
. Set
test_in[2] = 1
and
test_in[1] = 0
. Changing
test_in[2] = 1
disables data scrambling on the PIPE interface.
4. Save altpcietb_bfm_top_rp.v.
2-4
Generating the Testbench
2014.12.15
Altera Corporation
Getting Started with the Arria V Hard IP for PCI Express