Tiling setup – Oki ColorPainter E-64s User Manual
Page 99
99
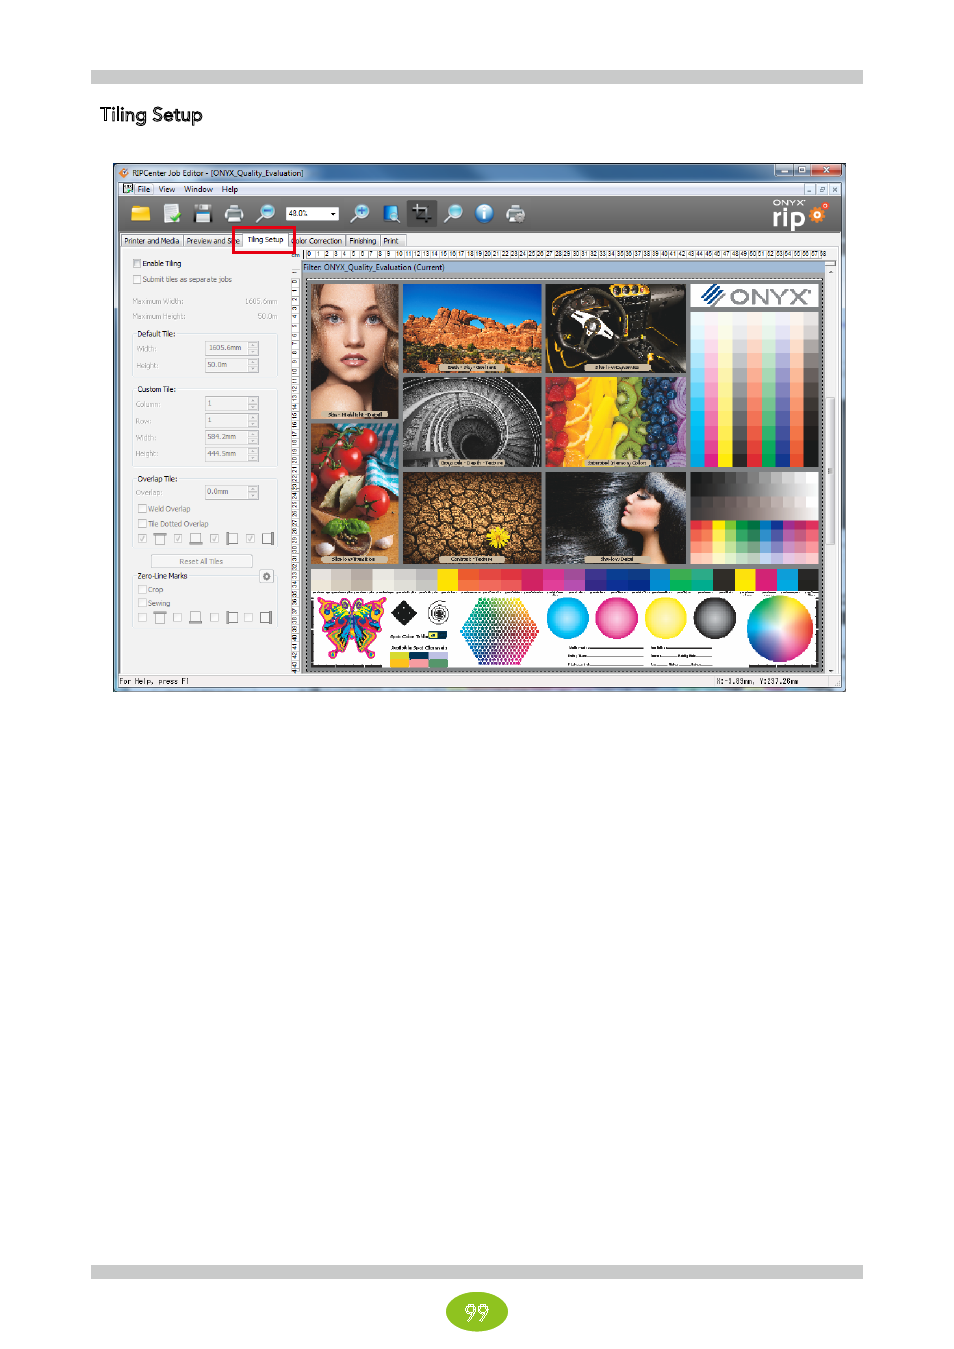
Tiling Setup
This tab divides the print data.
Enable Tiling
Select this checkbox to activate the tiling feature.
Submit tiles as separate jobs
Select this checkbox to submit one tile as one job to RIP-Queue.
(The actual selection work is done on the Print tab.)
Width/Height (Default Tile)
The width reflects the area that can be printed on for the page size that is configured in RIP-Queue. The height is
50 m.
Column/Row (Custom Tile)
These show the tile numbers. Vertical is the column, horizontal is the row, and the count starts from the top left of
the screen.
Width/Height (Custom Tile)
These show the size of the tile. The values can also be entered here.
Overlap Tile
The overlap (margin) setting.
Zero-Line Marks
Settings for printing a black crosshair with a white inner portion in the middle of the tile overlap area.
Reset All Tiles
Click this button to reset all of the tiling settings.
* For the actual procedures, see page 39 to 42.