Adobe Elements Organizer 12 User Manual
Page 106
Note:
1. Click Tags/Info from the taskbar.
2. Expand the
menu and then click New Person or New Group.
3. Follow the on-screen instructions and organize your people tags.
Create place tags
1. Click Tags/Info from the taskbar.
2. Expand the
menu and then click New Place.
3. In the Add New Place dialog, search for a place.
4. When prompted, confirm that you want to assign the new location.
5. Click Done. The new location is added to the Places hierarchy.
Place tags in Elements 12 have GPS coordinates associated with them. These coordinates are also associated with any media tagged with
these place tags.
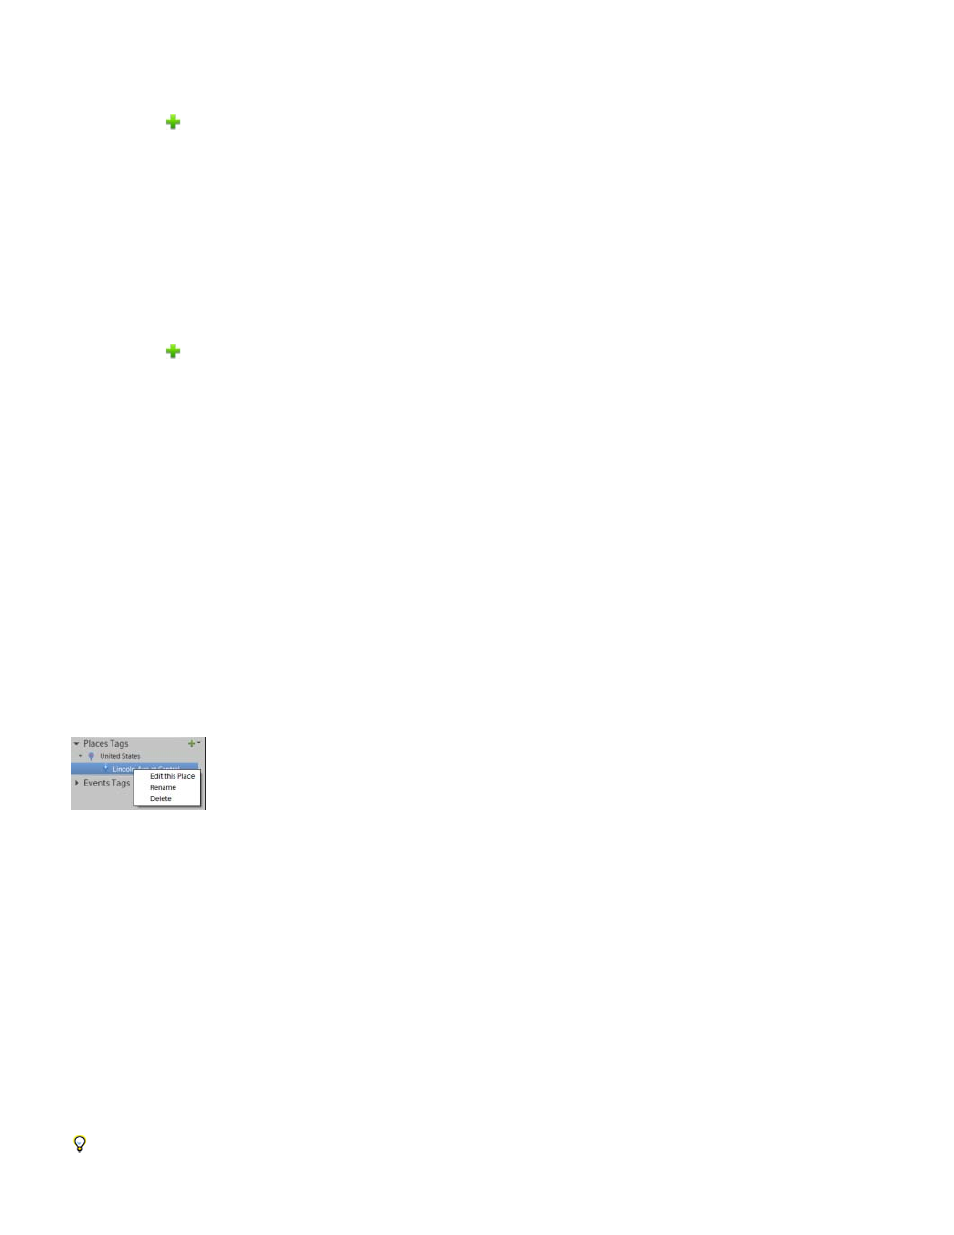
Edit a place tag
You can edit a place to assign different GPS coordinates to it. Follow these steps:
1. Right-click the place in the Places hierarchy and select Edit This Place.
Edit a place
2. On the map that appears, drag the pin corresponding to the place to its new location.
3. When prompted, confirm that you want to assign the new location.
4. Click Done. The place appears with a new name in the Places hierarchy.
Rename a place tag
You can change the default names of places. For example, you can rename Lincoln Ave as Home. Follow these steps:
1. Right-click the place in the Places hierarchy and select Rename.
2. Enter a new name for the place.
3. Click OK.
To delete a place from the Places hierarchy, right-click it and select Delete. Confirm that you want to delete the place.
103