People groups and managing photos – Adobe Elements Organizer 12 User Manual
Page 130
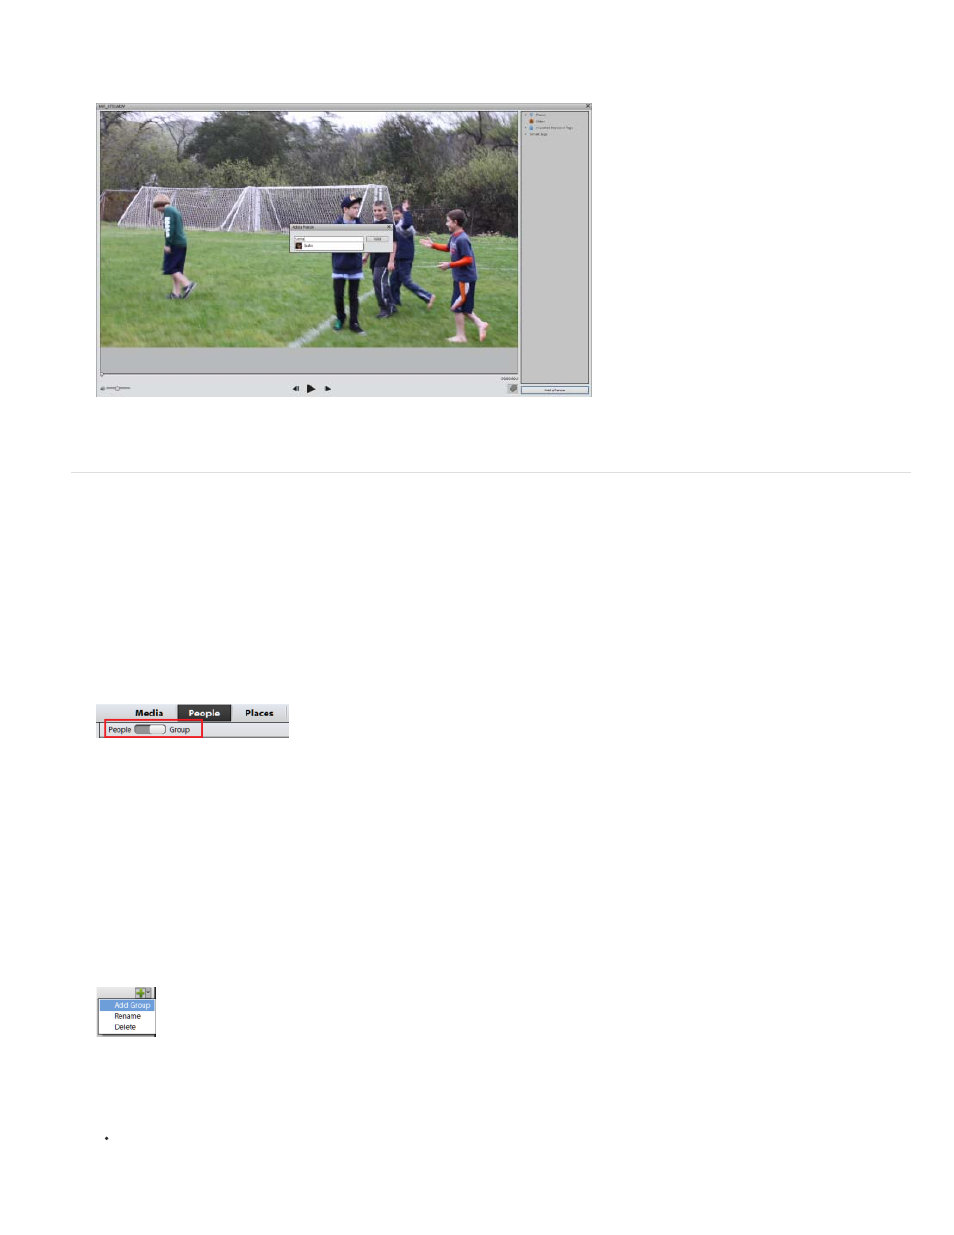
3. In the Add a Person dialog box, enter the name of the person you identify in the video and want to tag. If you have already downloaded your
Facebook friend list, you might get suggestions as soon as you begin typing the name of the person.
People groups and managing photos
You can further improve identifying faces in photos by organizaing them by groups. A group displays photostacks of people tagged for that group.
For example, you can create a group named work or colleagues and tag photos of people from your professional contacts.
1. Switch to people view. Click on Groups to switch to Groups mode.
The switch bar is present on the task bar. You can switch back to people view by moving the switching the silder to People by clicking next
to it.
2. In the Groups pane, you can add and organize groups. Click the add button (+) to create a new people group.
a. Enter the name of the group.
b. Select a group from the drop down list Group, to add this group as a child or sub-group to that group. Do not select anything from the
Group list to create a new group.
c. Click Ok.
You can rename a group by selecting that group and selecting Rename from the Add flyout menu.
To delete a group, select the group and select Delete from the Add Flyout menu.
3. There are two ways of assigning a group to a photo stack.
In the Group pane, select the group and drag it on the Person stack.
Or
127