Creating slide shows (windows only) – Adobe Elements Organizer 12 User Manual
Page 180
Creating slide shows (Windows only)
About slide shows (Windows only)
Create a slide show (Windows only)
Publish a slide show (Windows only)
About slide shows (Windows only)
Slide shows are a fun way to share media files. With Elements Organizer, you can customize slide shows with music clips, clip art, text, and even
voice narration. Images in PDF format do not display in slide shows.
After you complete a slide show, you can choose several ways to share it.
You can save it as a PDF, convert it into a WMV file, or burn it onto a VCD.
You can also save the file locally to print using Acrobat.
You can also burn it directly onto a high-quality DVD if Adobe® Premiere® Elements is also installed on your system.
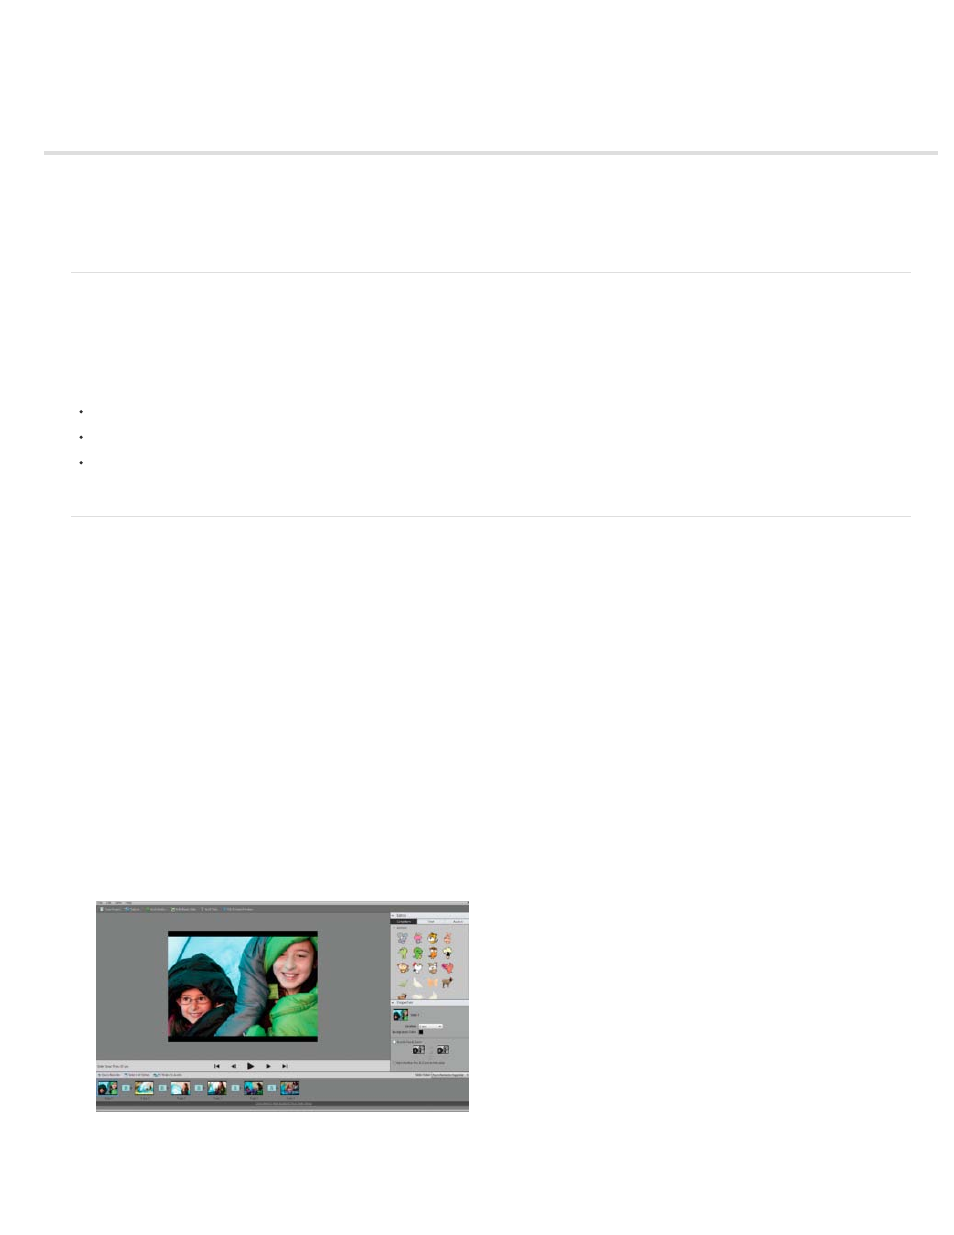
Create a slide show (Windows only)
You use the Slide Show dialog box to create slide shows. At any time, to see a preview of the slide show, click Full Screen Preview in the top bar
of the slideshow creation dialog box. You can also click the play button to preview the slide show.
1. In the Media view, select the media files to use in the slide show.
2. Select Slide Show on the Create tab.
3. Click Ok. The Slide Show dialog box is displayed
4. You can customize Slide Show Preferences from Edit > Slide Show Preferences in the Slide Show dialog box.
All the tools for creating your slide show are in the Slide Show dialog box. The media files you chose to use in the slide show appear at the
bottom of the screen.
Slide Show dialog box
177