Perform a diva master network, How to perform a diva master, Network – ATEIS DIVA8G2 User Manual
Page 151
System Functionality
151
© 2012 ATEÏS
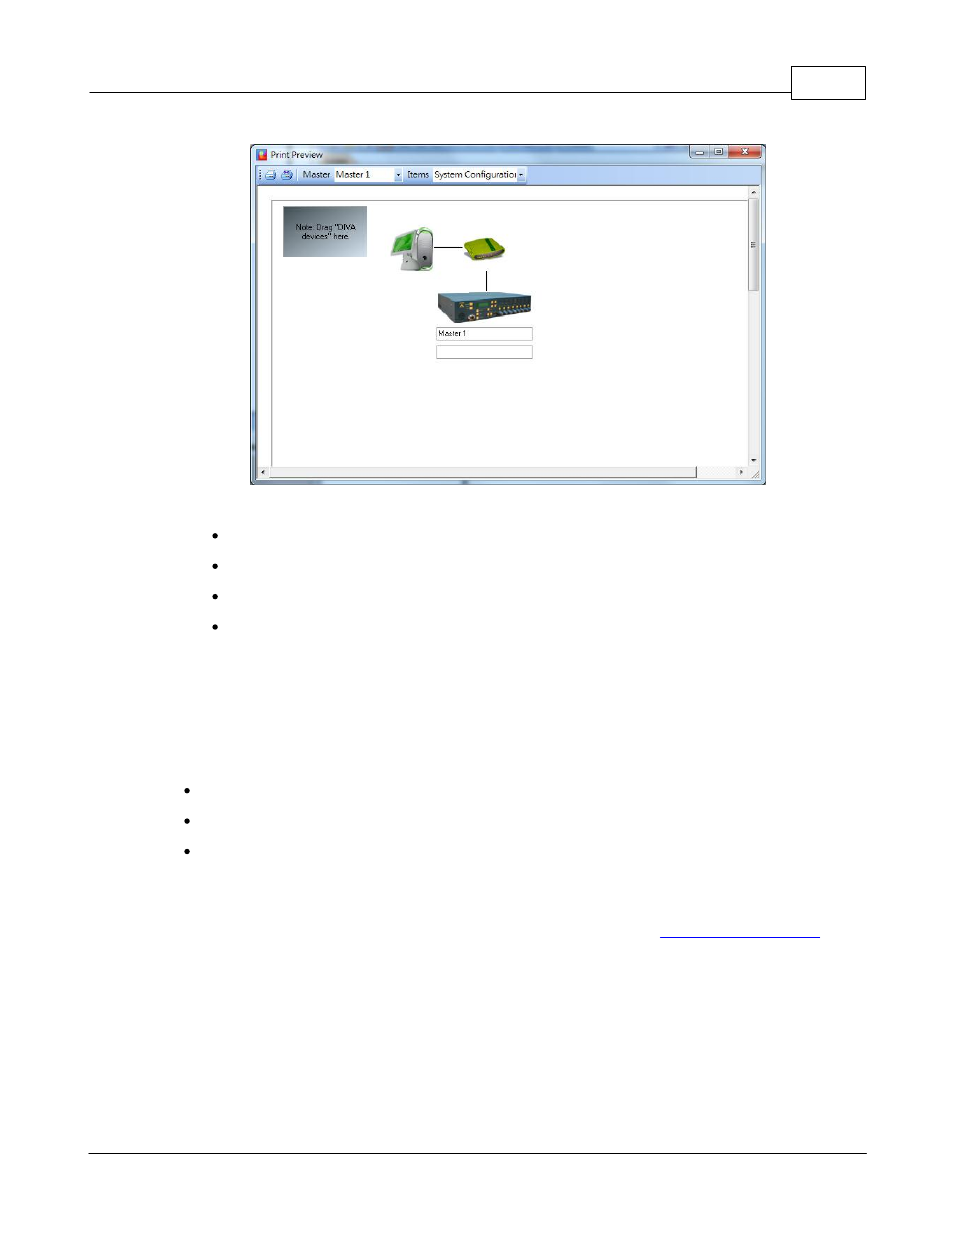
The print toolbar include:
Print Button: in order to send the print request.
Print Setting Button: in order to set your printer parameters.
Master Drop-Down Menu: here you can change the DIVA master unit.
Items Drop-Down Menu: Here you can select which window have to be print, choose between
'System configuration', 'Master Configuration' and 'DSP Configuration'.
5.2.3
Perform A DIVA Master Network
As briefly explained before, you can put several DIVA master on a same network. The DIVA master
network is based on Ethernet protocol. Keep in mind that DIVA slave unit are not on Ethernet network. In
order to complete a DIVA network you will need the following devices:
Ethernet Switch/Hub
Multiple DIVA8M units
A computer
Before connecting those devices on the network, you need to check the IP address of each DIVA master
units and set each DIVA IP address corresponding to your project's network.
By default, a new DIVA8M unit has the following IP: 192.168.100.100. See
Link the DIVA master units and the computer to the Ethernet switch, see diagram below.