4 photo archive – MacroSystem Bogart SE Ver.4 User manual User Manual
Page 103
103
Bogart SE 4 User manual
be saved on a medium (USB, CD/DVD) . As an example: the
medium will then have the folder ‘Images’, which in turn will
contain the folders ‘2005’ and ‘2006’ .
The option ‘1 album is upper directory name’ would not create
any sub-folders, in this case only the folder ‘Images’ would
be created . ‘2 album is lower directory name ‘ ignores the top
folder and, in our example would only create the folders ‘2005’
and ‘2006’ . With the option ‘3 album is full path’, you will be
able to create many folders . Not only will this create the ‘2005’
folder, but also folders like ‘2005_beach’ and ‘2005_holiday’,
etc .
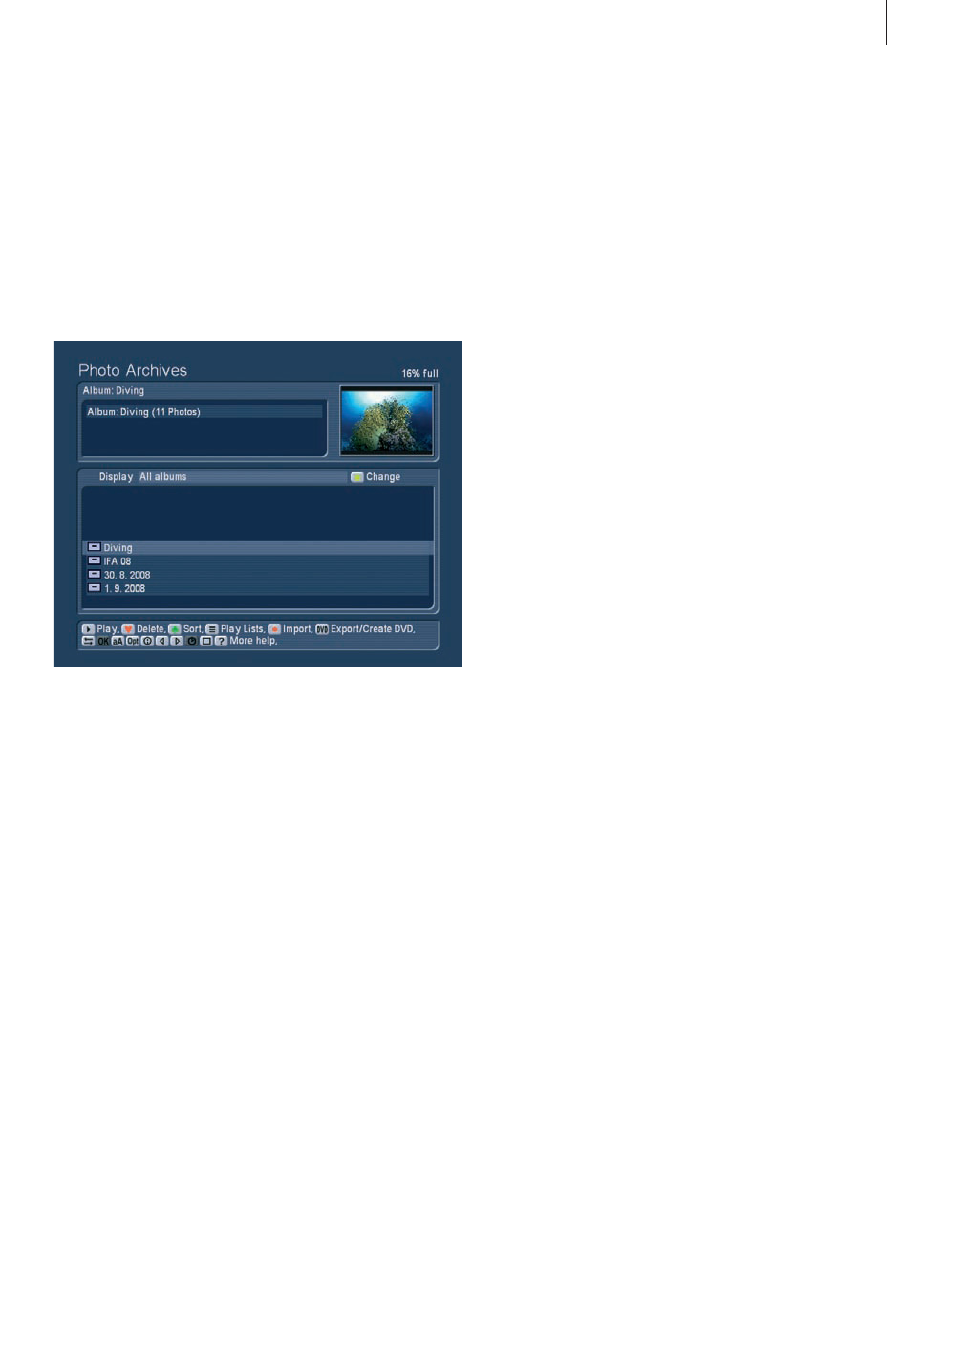
2.4.2 Photo archive main menu
Once you have imported your photos, press the ‘Return’ but-
ton to go back to the main menu of the photo archive . You
should now see the information panel at the top (date, pixel
resolution) and the images themselves below . The currently se-
lected item is shown in a highlighted blue color . Just like in the
other two archives, you can switch between the different dis-
play types by pressing the left/right directions: ‘All photos’, ‘All
albums’ and the contents of the album . If you select a single
photo, you will see a small preview image at the top right . if
you want to rotate this preview image, go to the help menu
and press ‘1’ to rotate right and ‘2’ to rotate left . This rotation
will also be applied later when playing back .
Tip: If you want to see one of the images in full size, press the
‘Full image’ button. To exit, go to the help menu and press the
Stop button. The image is scaled to fit the entire screen. Due to
the different aspect ratio of photo and TV signal, it may be nec-
essary to show the photo with black bars either on the sides or
top/bottom. Some examples: 10x15 photo = aspect 1:1.50, TV
resolution PAL 720x576 = aspect 1.25:1 / FullHD 1920x1080
= aspect 1.77:1 (with photos the ratio is given height x width,
TV has width x height). The functions for control and operation
are mostly the same as in the film archive. Make sure to read
that part of the manual before you continue to go through the
special features of the photo archive.
2.4.3 Displaying photos / slideshow
General information
You can display photos (the slideshow) directly from the me-
dium, even prior to importing them . Depending on the menu
you are working with, the playback will ensue directly from CD/
DVD, or from the USB device, from the list of the photo archive
list, a sub-folder or the playlist . The photos are displayed in
a resolution matching the TV set or monitor . The DVI/HDMI
connection in particular allows for the highest resolution at
1920x1080 pixels, which is roughly 2 million pixels .
Note: If the image you want to display is larger than the TV
resolution (e.g. 8 Mega pixel), the image is scaled down to
the TV’s resolution. The archive however always contains the
spective the track and album .
2.3.10 Direction buttons
See Film archive, chapter 2 .2 .9
2.4 Photo archive
In the main menu, press ‘6’ to enter the photo archive . This
archive is used to record photos from digital photo cameras,
organize, edit and present them . The following menu shows
you that we have already created two folders with photos:
If you haven’t yet imported photos, the list will be empty .
The photo archive can import photos in JPEG (JPG) format
and edit them, making it compatible with most digital photo
cameras . Pictures in RAW format or those already edited on
the PC with a progressive JPEG storage (optimized for Internet
use) may not be loaded properly . Importing pictures is similar
to importing into the film archive . Please read chapter 2 .2 .4 for
more information .
2.4.1 Photo import options
Press the Options button for these options:
• Remove all entries
• Sort content of medium. There are the following options:
recording time, alphabetically, album alphabetically, motive
alphabetically
• Additionally, the selection button in this window enables you
to decide whether you want to create albums . You can create
folders with the following possibilities:
- -’Do not create album’ imports the single photos without an
album structure . All images are imported into one long list .
- -’Create album name from date’ creates a new folder for
every day (date) you have created photos . If you have taken
pictures during a 7-day vacation, this will result in 7 folders .
- -’1 album is upper directory name’, ‘2 album is lower direc-
tory name’ and ‘3 album is full path’ are only useful if you are
importing images that have been edited on a PC and will then